
Watering gels are a beautiful way to gently water your plants, by gradually releasing water into the soil.
They are ideal for maintaining stable humidity, especially when you are less present at home.
Materials:
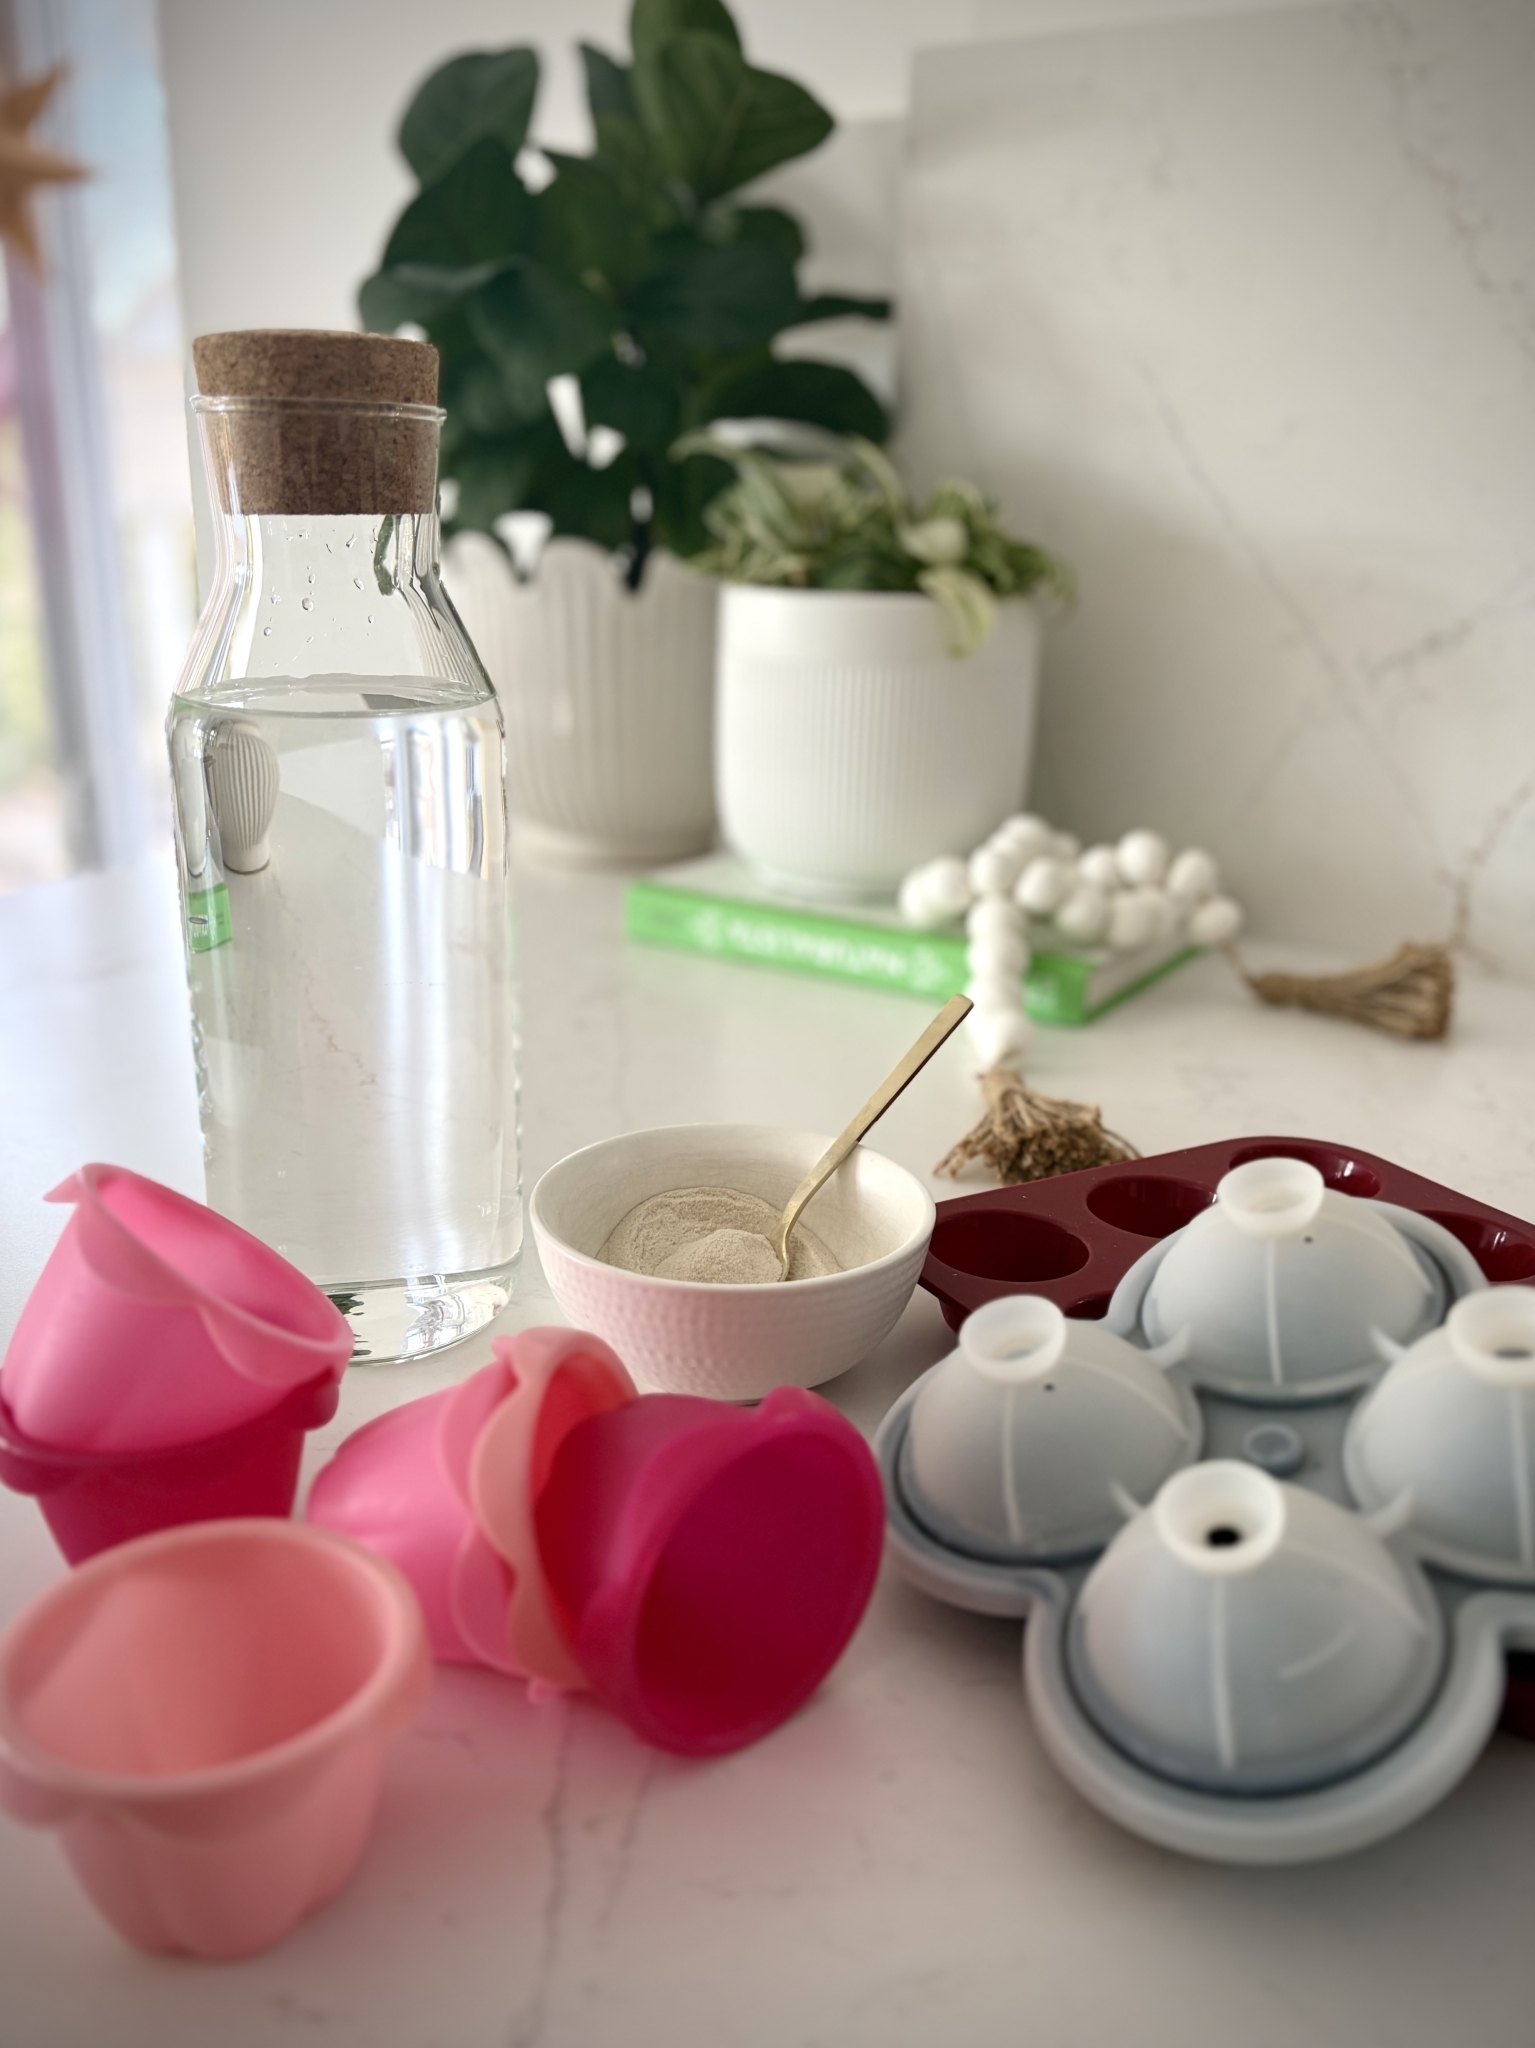
- 1 pot
- 1 teaspoon
- 1 measuring glass
- Silicone molds
- 1 ladle (to pour more easily into the molds)
Steps:
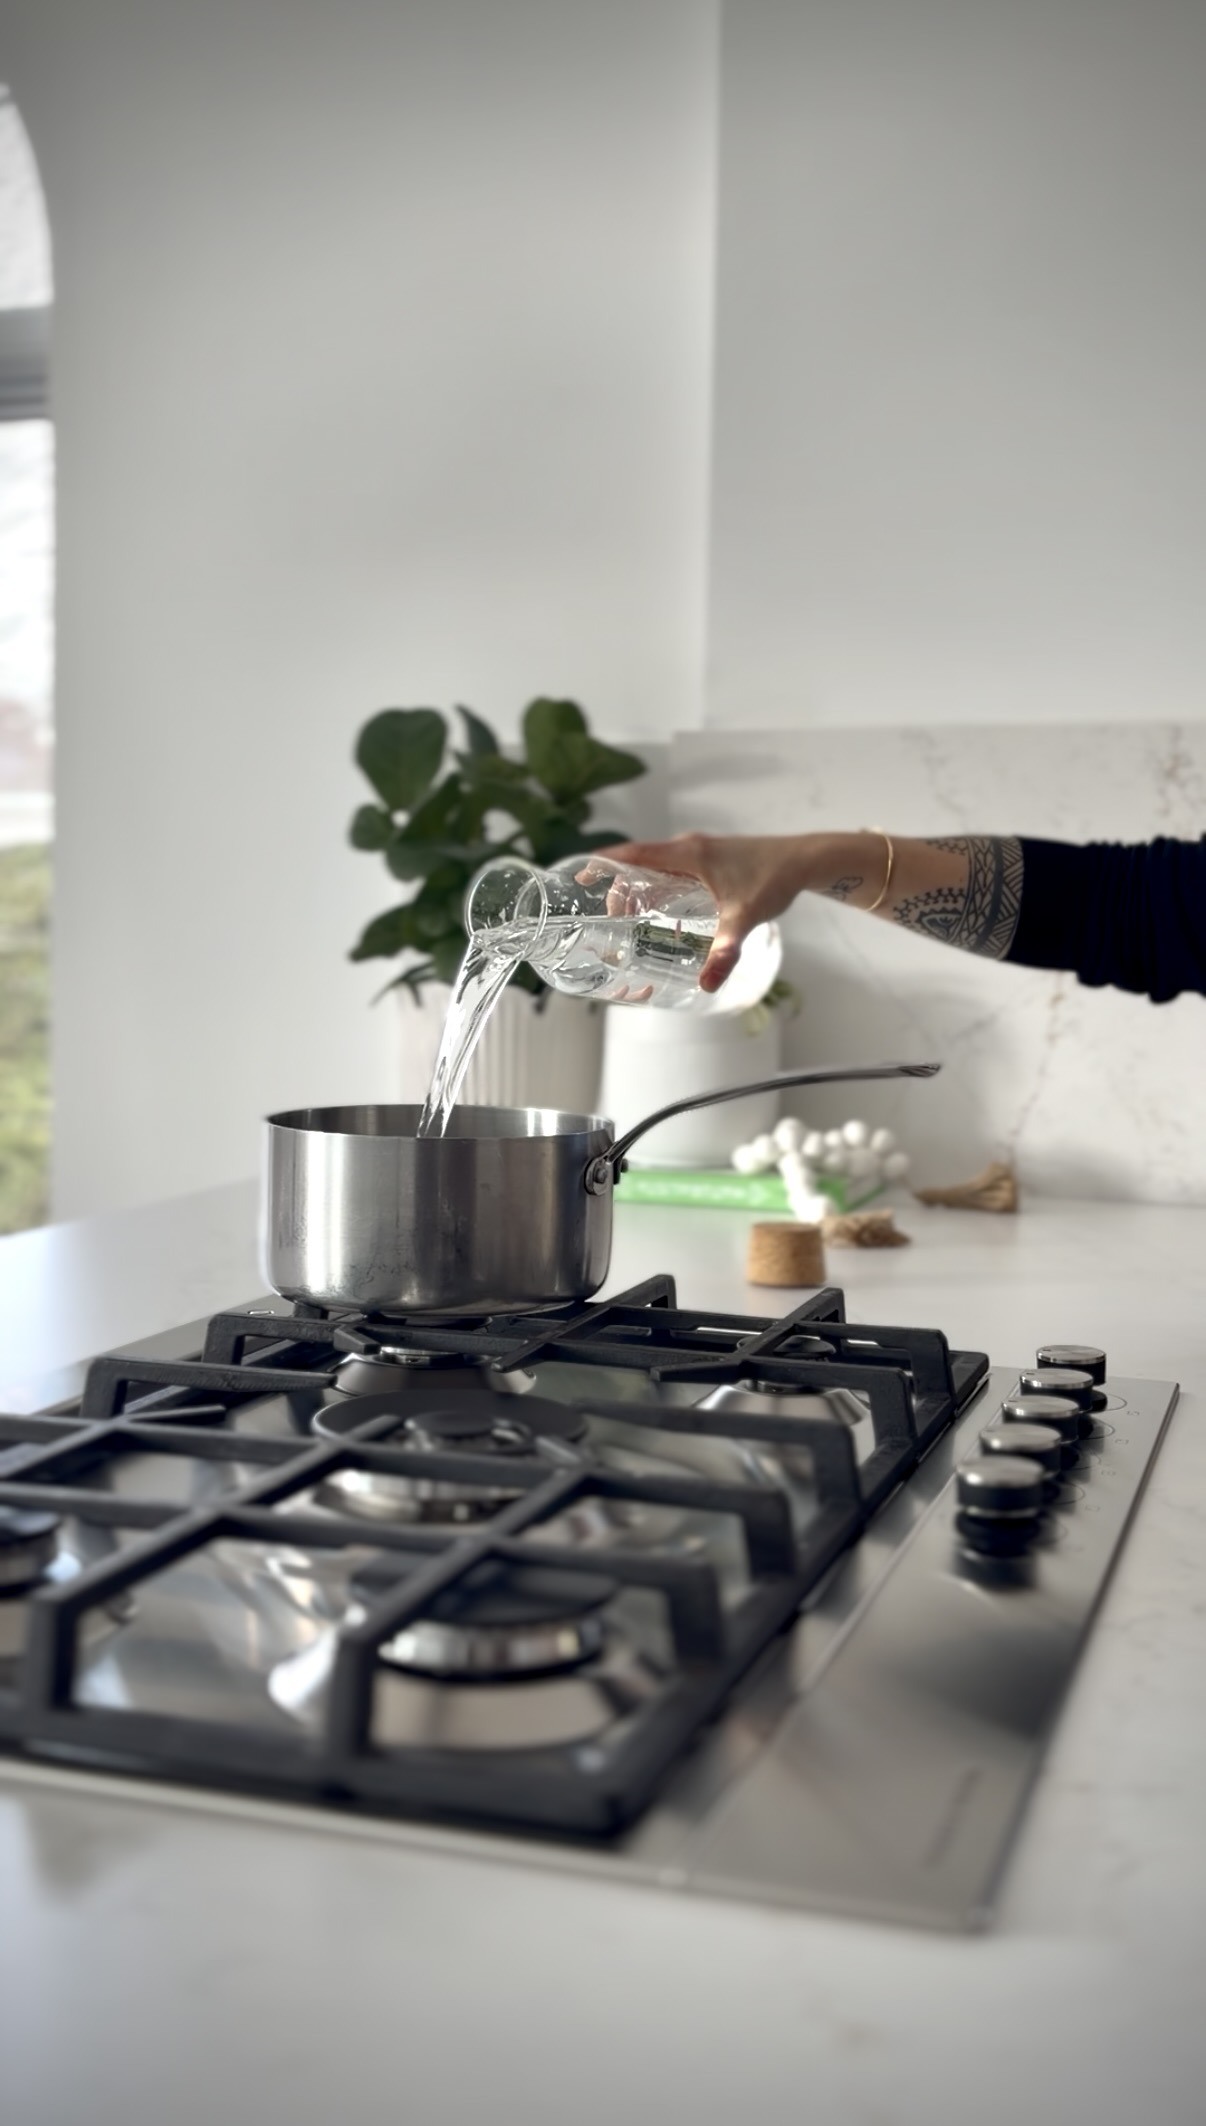
1- To make them, start by pouring 1 liter of water into a pot.
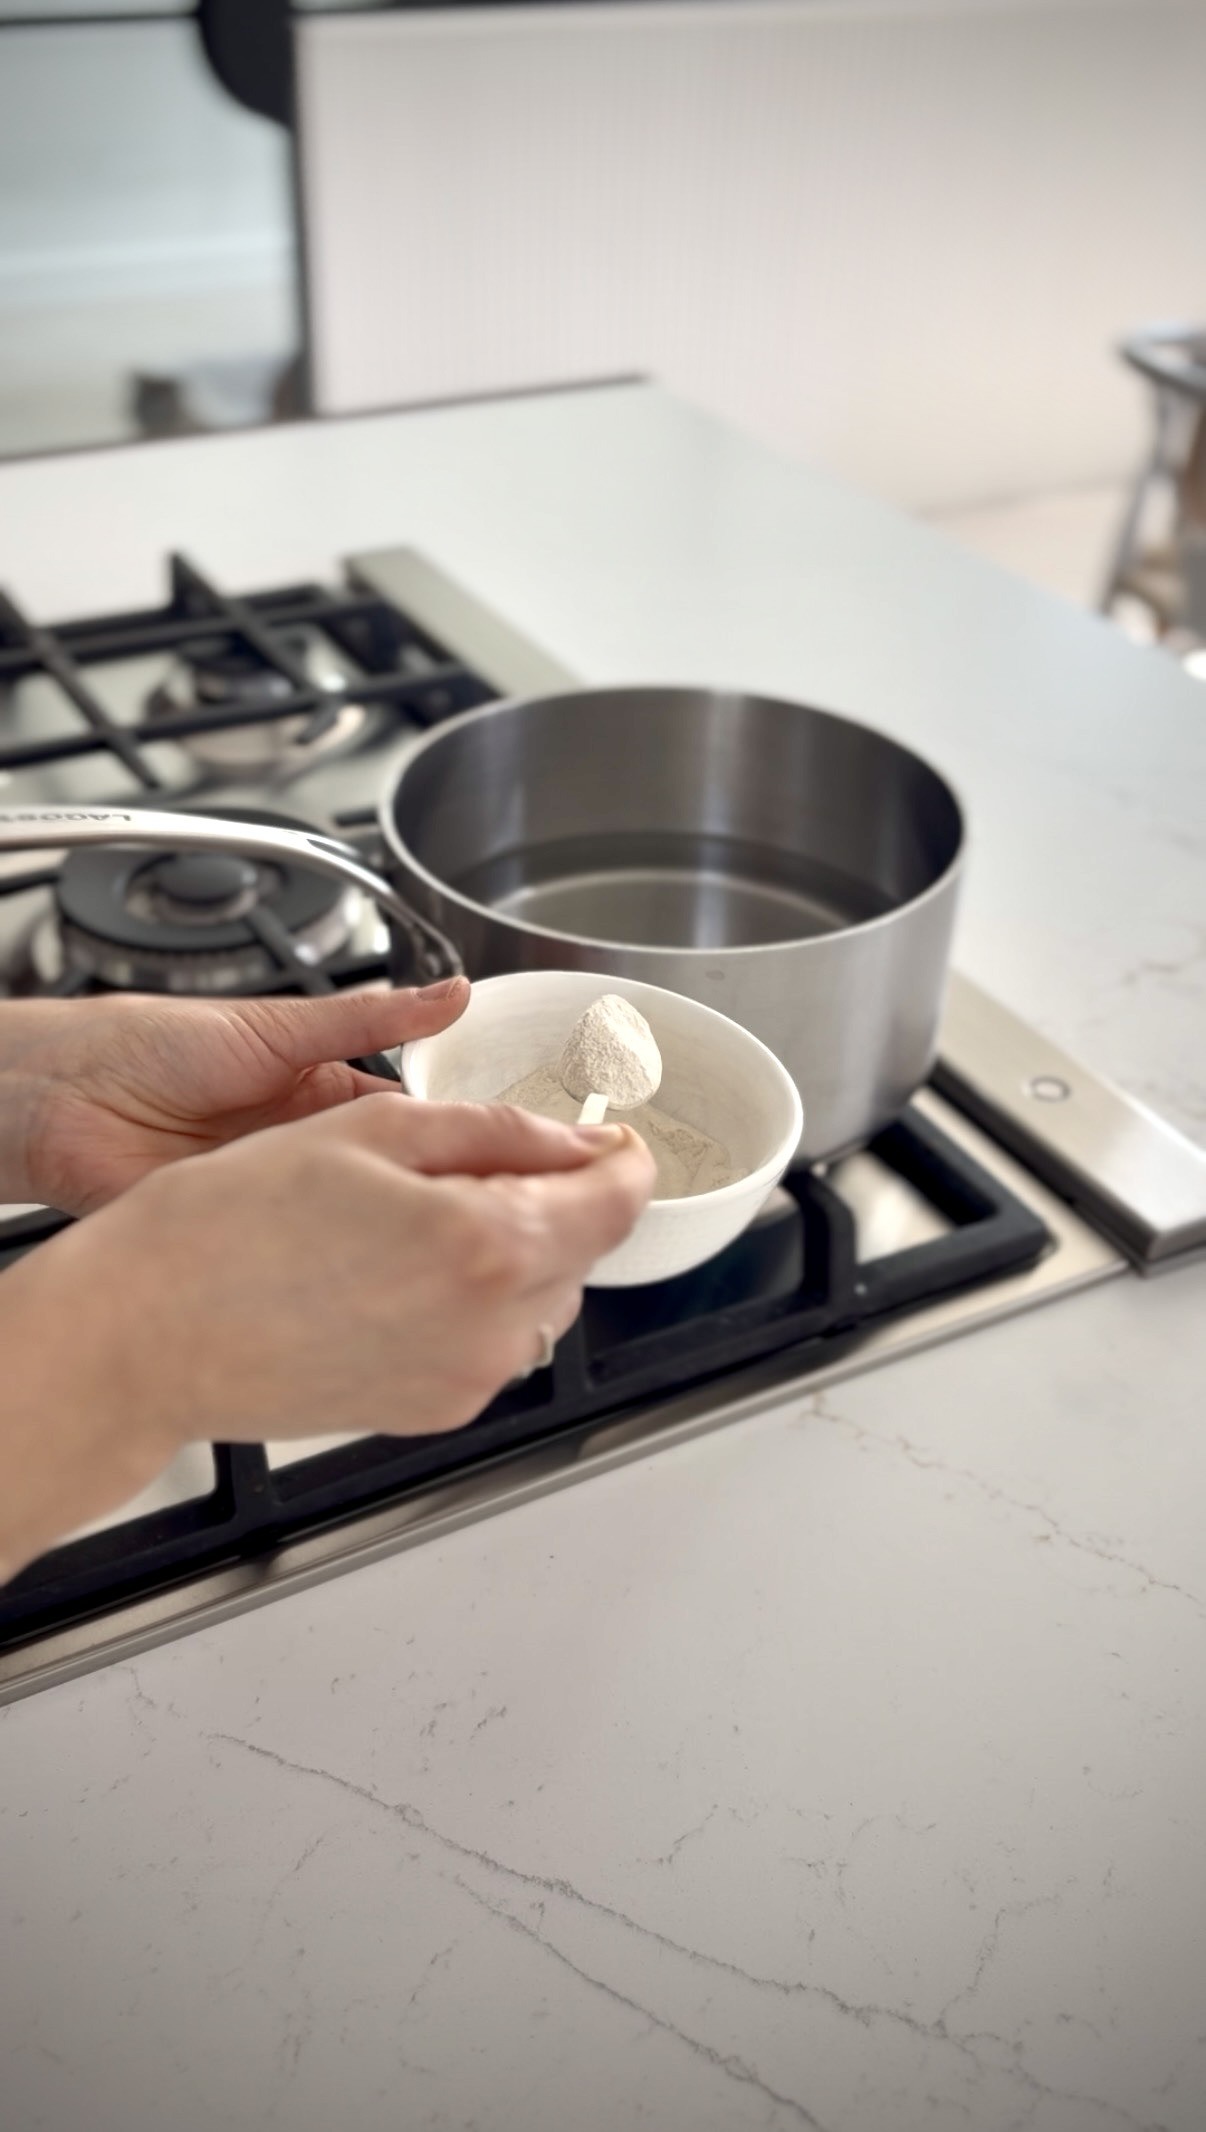
2- Then add 1 heaping teaspoon of agar-agar (about 2 to 4 g depending on the desired firmness), then mix gently.
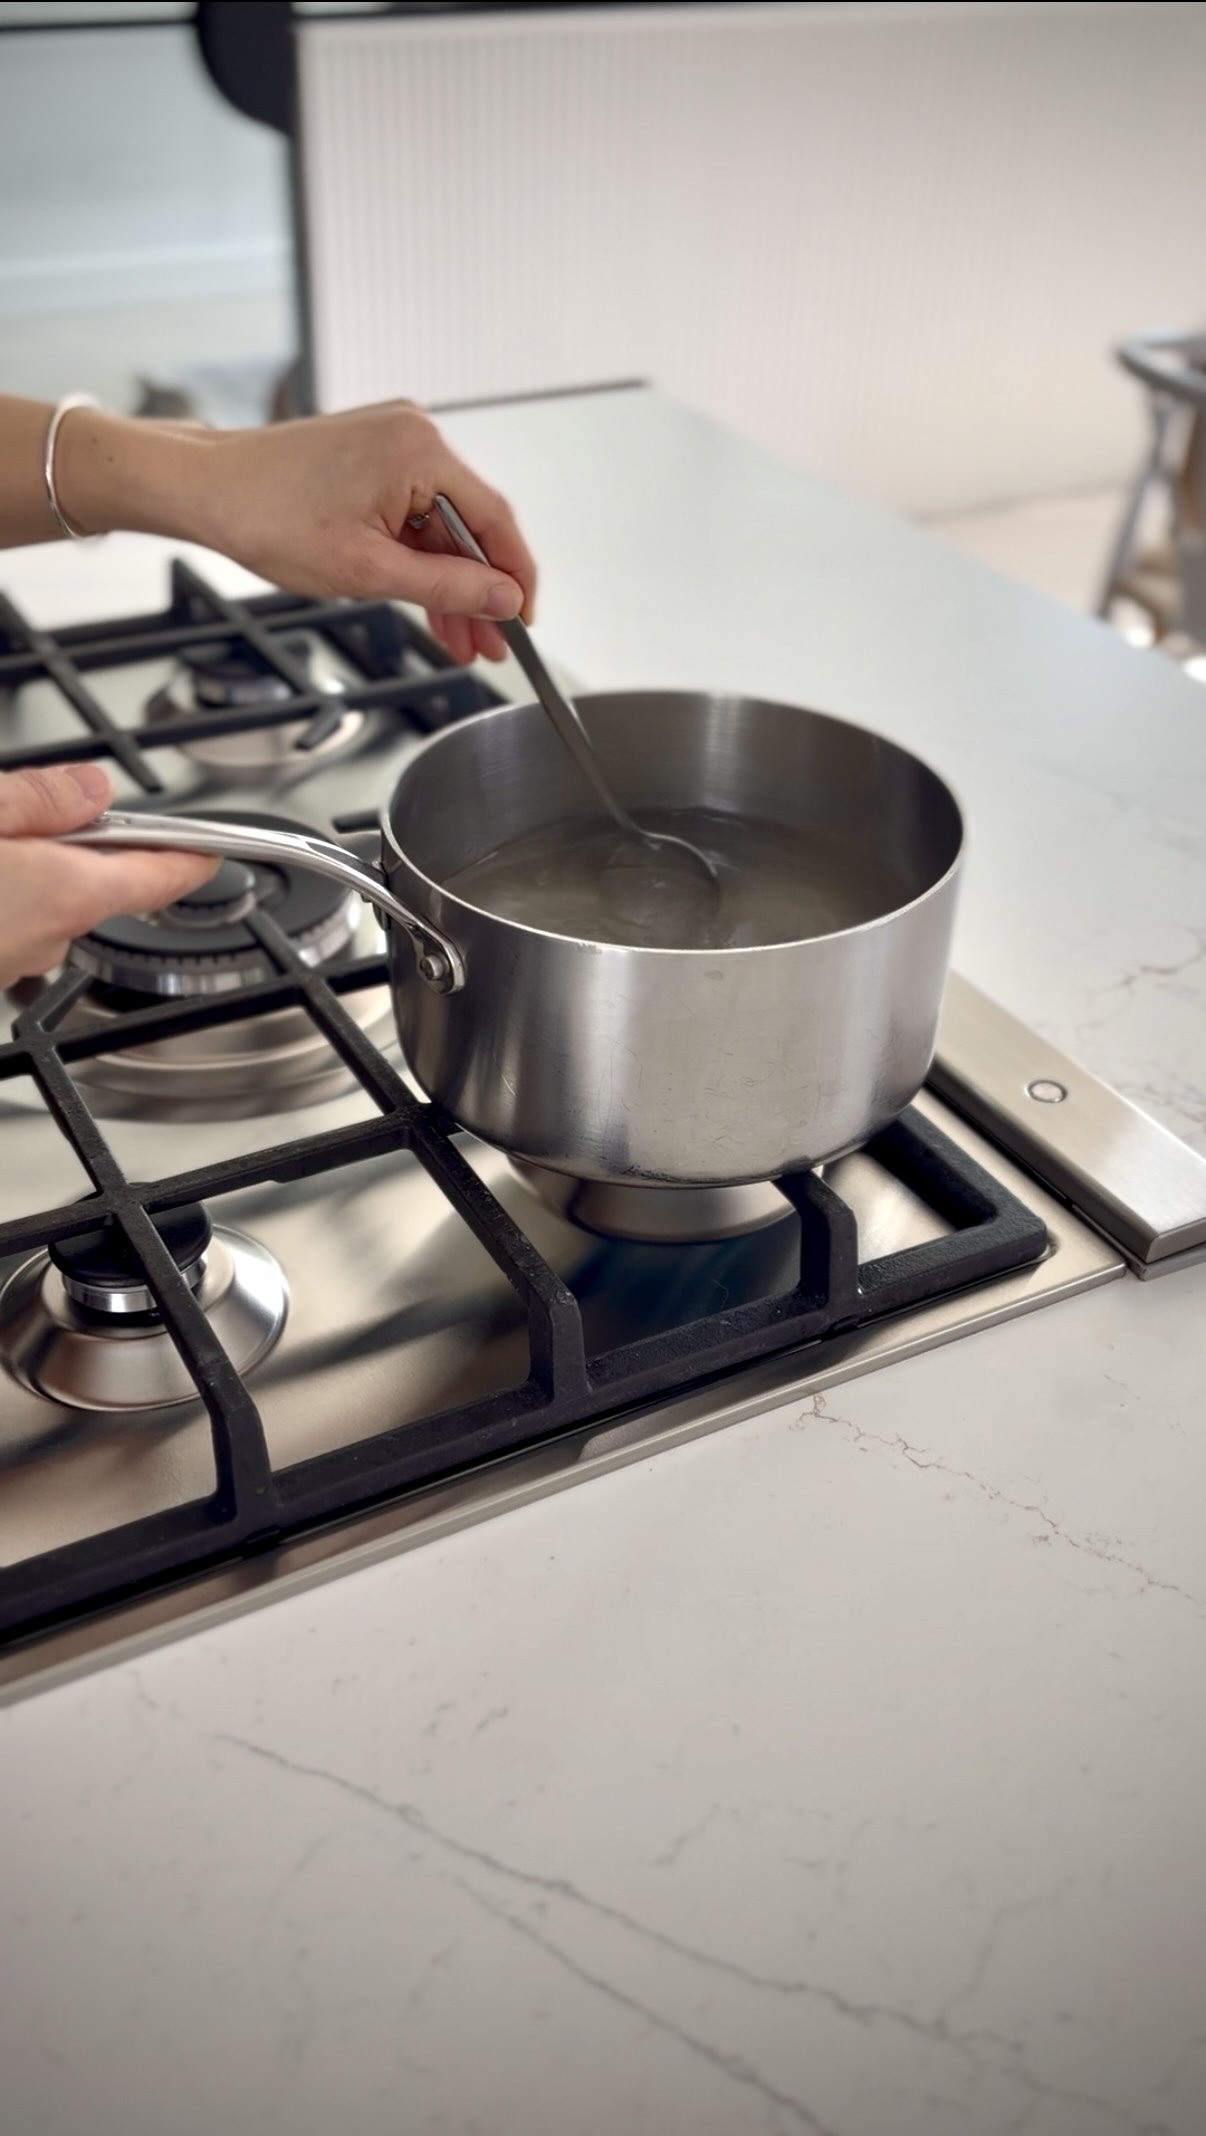
3- Bring everything to a boil while stirring constantly. The agar-agar must be well dissolved to activate its gelling power. Once the water simmers for a few seconds, remove from heat.
4- Immediately pour the still liquid mixture into silicone molds (more or less small depending on your needs). You can use a ladle to avoid spilling it everywhere. Let it cool at room temperature, or place in the refrigerator for about 1 to 2 hours, until the gels are well set.
5- Once unmolded, simply place one, two, or three gels directly on the soil of your plants. They will release water slowly, helping to keep the soil moist longer, without excess.
A simple, economical, hassle-free solution... perfect for gently taking care of your little protégés.
Tips & tricks:
1- Place 1 gel at the base of your plant if you are away for about 10 days and up to 3 (stacked on top of each other) if you leave for 1 month.
2- To obtain more nutritious watering gels, you can retrieve 1L of cooking water used to boil your eggs to which you add 1 tablespoon of agar-agar in the still hot water. Stir well and pour into the molds!
Tips and advice


