Although the nice weather is still around for a few weeks, I often choose the end of August, beginning of September as a transition period to rethink my decor and give it a cozier look in anticipation of the colder seasons.
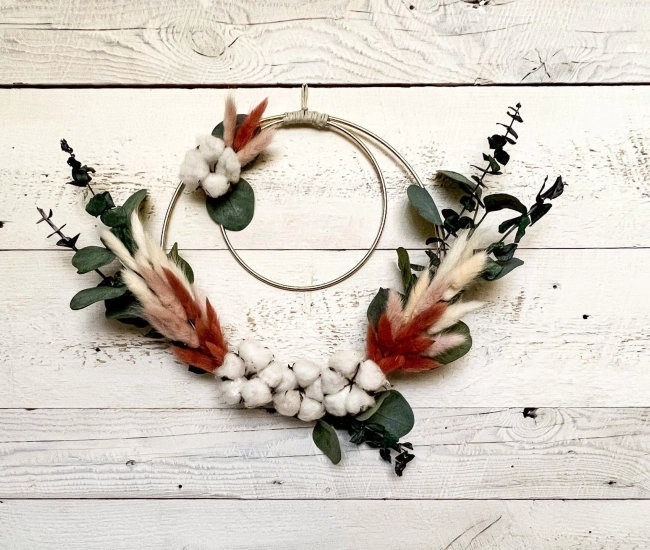
This is what I propose you do very simply with clay and dried flowers by recreating these lovely soliflores.
Whether they serve as a centerpiece, paperweight, or hostess gift, their soft and poetic side will make you want to leave a bit of them all around the house.
Materials:

- Air-drying clay in the color of your choice
- Skewer stick
- Acrylic paint (color of your choice)
- Old toothbrush
- Acrylic markers (color of your choice)
- Precision scale
Steps:
1- Stone effect soliflores:

Start by defining the size and number of your soliflores.
To obtain soliflores of identical size (if desired), weigh your clay using a precision scale.

Once your clay pieces are cut and weighed, form nice balls.

If the clay cracks during handling, dries somewhat, or shows some unevenness, you can smooth the surface by dipping your fingers in water.

Once you are satisfied with the shape obtained, create a flat base under your clay ball by placing it on a flat surface and pressing it down lightly without deforming it.

Poke the top of your ball to create the hole where you will slip in your dried flower(s).

Let all your soliflores dry for at least 72 hours, so that the clay reaches its maximum hardness and contains no moisture before proceeding to the next step.
Once your clay is well dried, you can sand it slightly to obtain a very smooth surface.

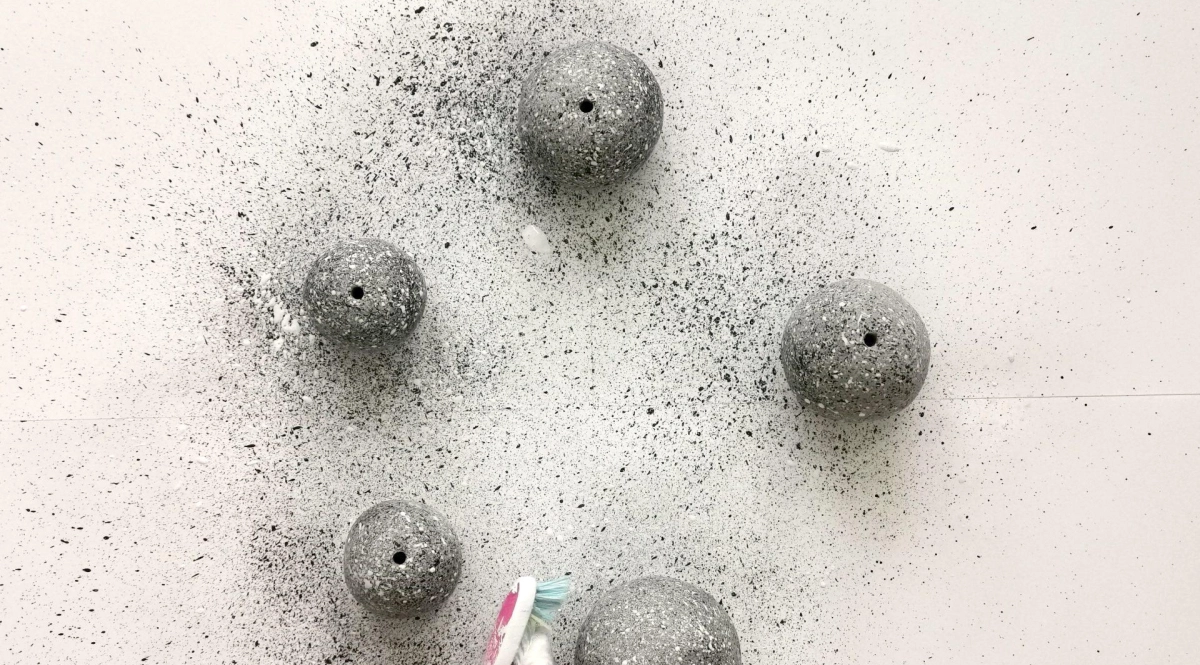
You can decide to stop there or go a little further to give them a stone effect by preparing a small mixture of acrylic paint and water. Dip your old toothbrush in the paint and spray your soliflores over their entire surface to achieve a speckled effect.


2- Marble effect soliflores:

Start by defining the size and number of your soliflores.
To obtain soliflores of identical size (if desired), weigh your clay using a precision scale.

Once your clay pieces are cut and weighed, form 2 rolls of each color used. You can make one color stand out more than another by varying the proportions of the 2 colors, keeping in mind that dark colors often dominate pale colors.

Mix your 2 rolls by forming a spiral, then a snail shape.


Form your nice balls by following the same steps as for the "stone effect soliflores" from step 3 to 7.


Tips and tricks:
To give a "stone" effect to your clay soliflores, you can speckle them with several colors of paint. Example: black + white on white or gray clay, and brown + white on terracotta-colored clay.
All that's left is to select the dried flowers you wish to place in your soliflores to complete and enhance your decor!
Creation and photos: L’An Vert du Décor
Tips and advice
