
(Photos, video, text: Chloé Comte - L’an Vert Du Décor)
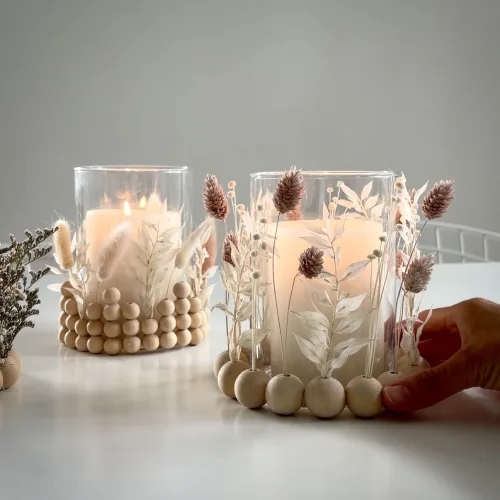
Three glass vases, a handful of wooden beads, and a few dried flowers: that's all you need to transform an ordinary candle into a decorative element.
The bead crown does most of the work. It dresses up the base of the vase, keeps the flowers upright, and gives that sleek Scandinavian touch that has been seen everywhere in decor for some time.
The best part; no complicated technique! A glue gun and ten minutes per vase, that's all the expertise it requires. And since dried flowers don't wilt, the result will remain beautiful until the urge for change arises.
Materials:
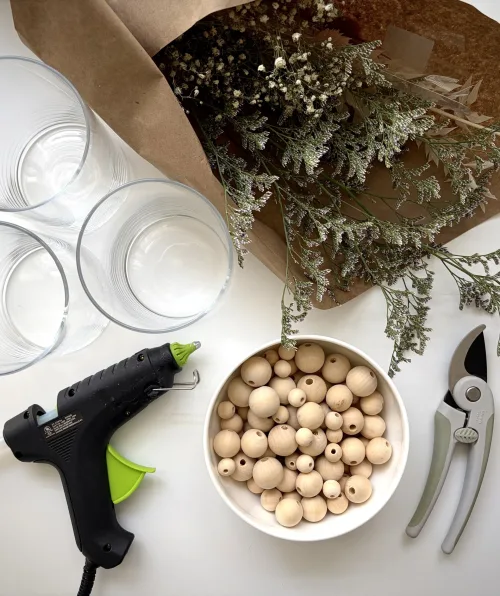
- Cylindrical glass vases (sizes of your choice)
- Unvarnished wooden beads (diameters of your choice, quantity to be tested according to the diameter of the vases and beads)
- Wooden skewer sticks
- Various dried flowers
- Pruning shears or wire cutters
- Hot glue gun and glue sticks
- Candles (wax or LED)
- Rubbing alcohol and cloth
- Parchment paper or silicone mat
Steps:
1. Clean the base of the vase with rubbing alcohol.
- Let it dry thoroughly. Hot glue does not adhere to a greasy surface.
2. Do a dry run before gluing.
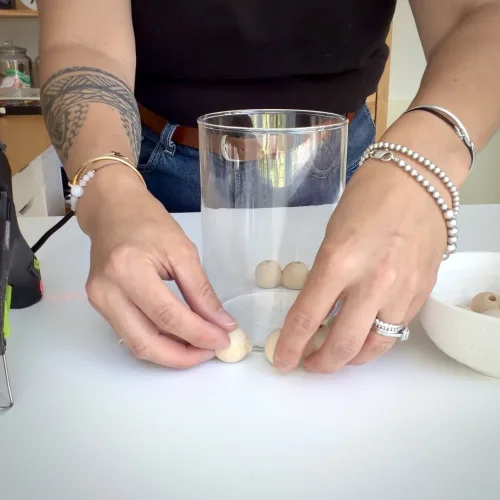
- Arrange the beads all around the base of the vase, hole facing up.
- Adjust the number of beads so that the crown thus formed closes without empty spaces.
3. For the crown-shaped support:
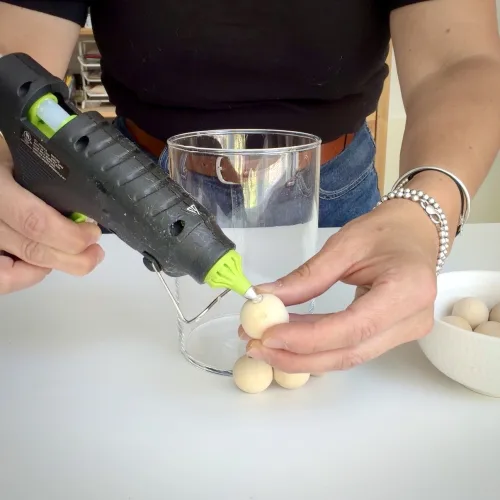
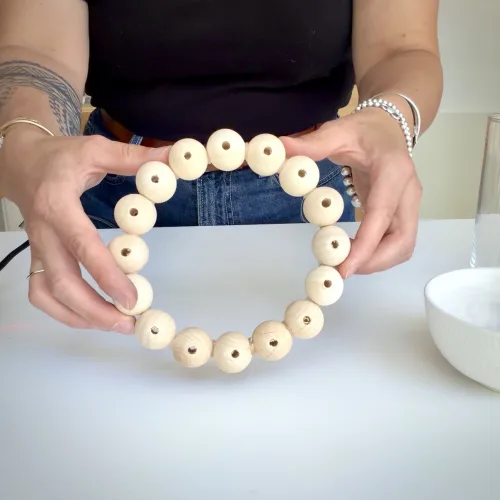
- Glue the beads one by one.
- Apply a drop of glue on the bead and glue the beads together, pressing them against the vase to follow its shape properly.
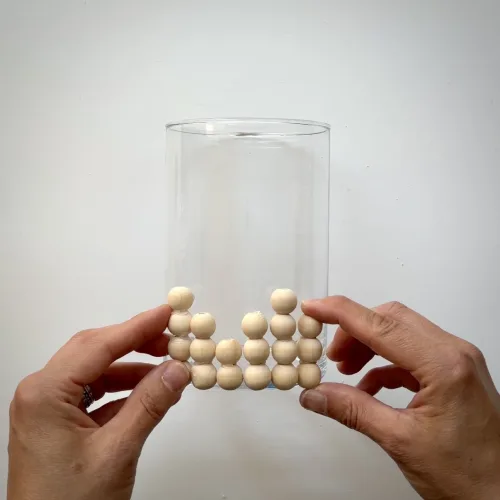
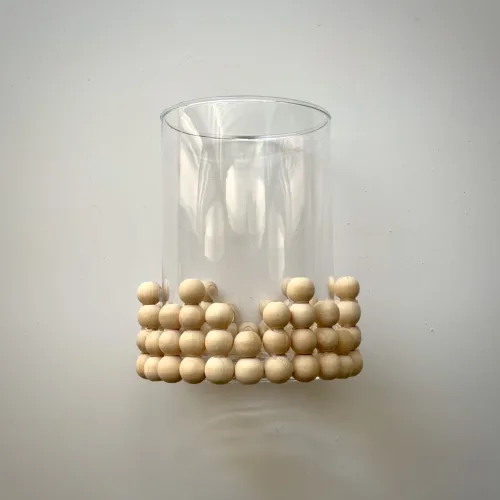
4. For the “wave” shaped support
- Glue a bead to the base of a skewer stick.
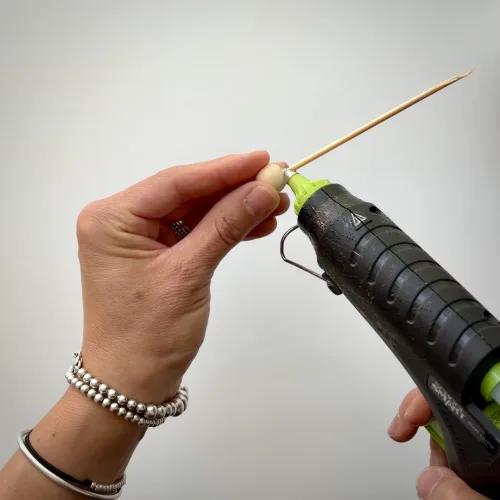
- Place and glue together the desired number of beads, minus the last one (keep it aside).
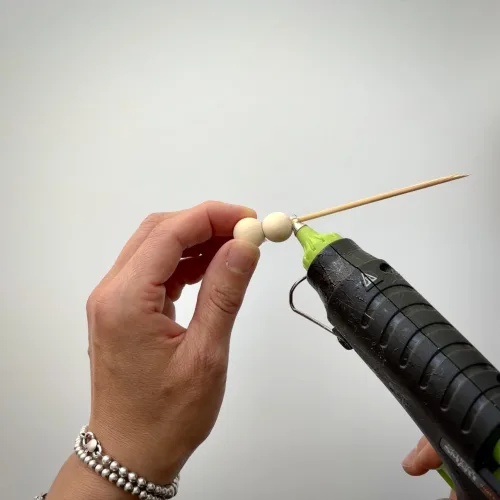
- Cut the stick with pruning shears.
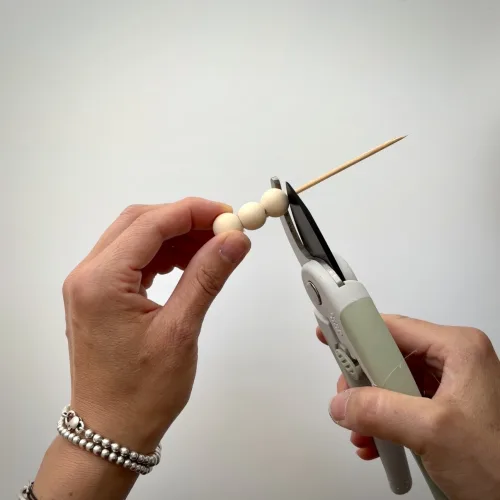
- Glue the last bead to the penultimate one so that there is an empty hole to slip the flower stems into.
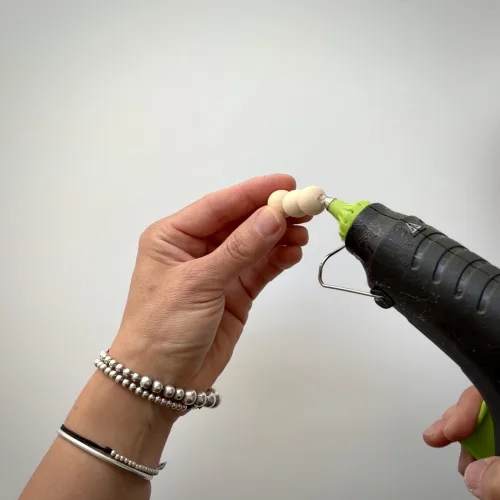
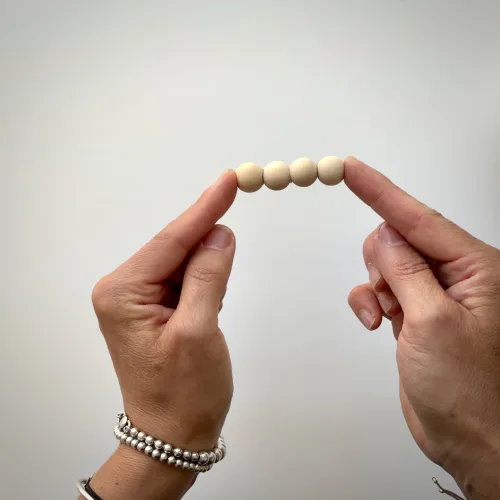
- Groups of 2 beads can be assembled without a skewer stick.
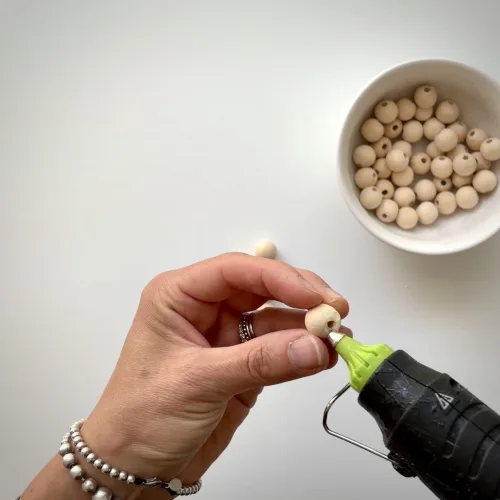
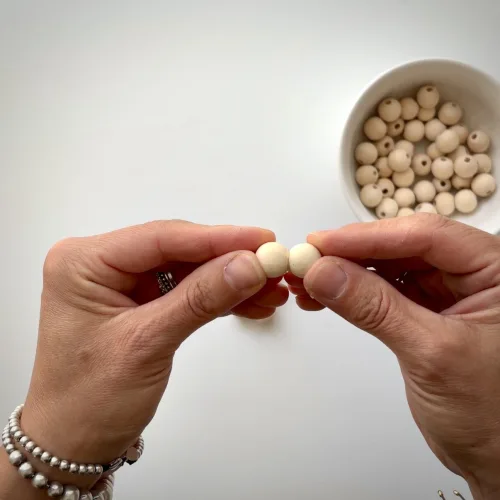
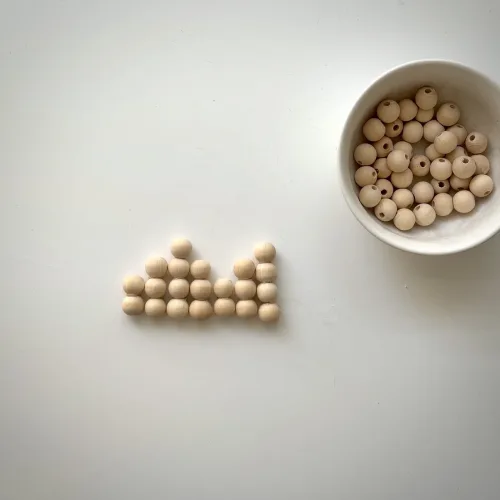
- Recreate the “wave” pattern flat before gluing it onto the glass vase, row by row.
5. Prepare the dried flowers.
- Cut the stems to about 10 to 15 cm, test by placing the flowers in the beads and trim to adjust.
- Group 2 or 3 strands per bouquet to add volume. Secure them together with hot glue or tape if needed.
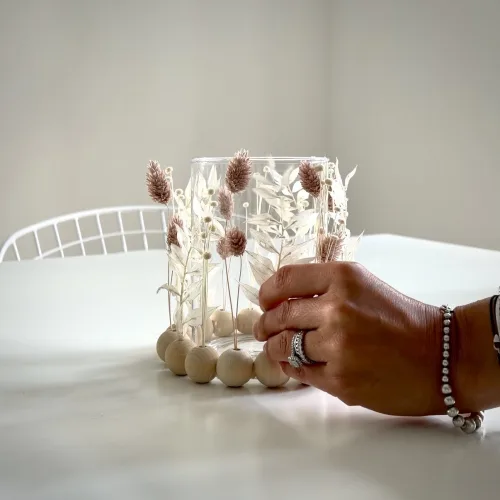
6. Place the bouquets in the supports.
- Place the small bouquets of dried flowers in the crown.
- Vary the heights and angles around the vase and alternate the varieties and sizes to achieve an interesting rhythm and harmony.
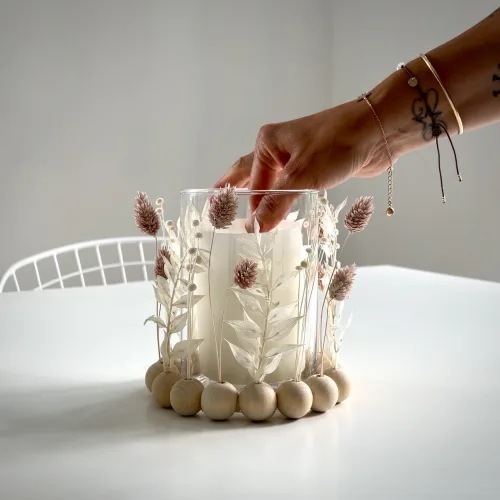
7. Place the candle in the center and light it.
- Arrange the vases together to achieve the desired decor (centerpiece, on books, etc.).
Tips & tricks:
- Hot glue doesn't always adhere well to glass. If the decor is temporary, hot glue is perfect, otherwise, using industrial glue E6000 or clear epoxy glue will give a permanent result. Use a bit of hot glue to hold the beads on the glass while the strong glues dry.
- A warm hairdryer blast instantly removes hot glue threads!
- Choose unvarnished beads. They adhere much better to glue than glossy beads.
- Dried flowers are very flammable. Keep the flame well below the edge of the vase, or opt for an LED candle if the candle holders are left unattended.
- Change the size of the beads, the density of flowers from one vase to another, or play with the size of the glass vases to create dynamism.
Entry console, bathtub edge, window corner, or grouped at the center of the table for a dinner with friends: these candle holders find their place wherever the decor needs a touch of softness. And since each vase is assembled in ten minutes, it also makes the ideal hostess gift, prepared the day before without stress.
A little tip: start with just one vase to get the hang of it. The other two will follow on their own!
And you, which palette would you choose? White and natural wood for a minimalist look, or colorful dried flowers for a more punchy effect? Tell me in the comments, I can't wait to see your DIYs.
Credits:
- Photos, video, writing & production: Chloé Comte
- Video music: morunas.music
Tips and advice


