In my daily life, I like to combine the useful with the pleasant, regardless of the project. Whether it's the pantry, my workshop, the garage, or the garden shed: I like to organize and arrange things so that they are as nice to look at as they are practical to use.
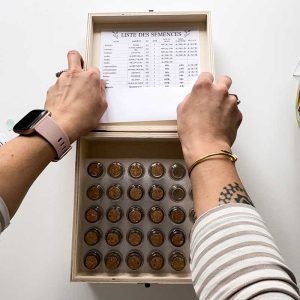
Organizing my seed stock is no exception. Tired of wasting time searching for what I need when preparing my seedlings, I decided to create a seed organization box that is both practical and aesthetic.
If you also want to create one to easily find your way when it's time to prepare your garden, I'll quickly explain how I did it.
Click to see the video, followed by the detailed tutorial, step by step.
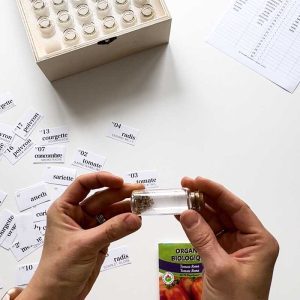
Place the protective support with the glass bottles in the wooden box.
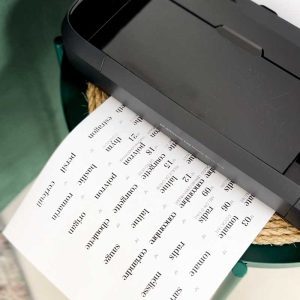
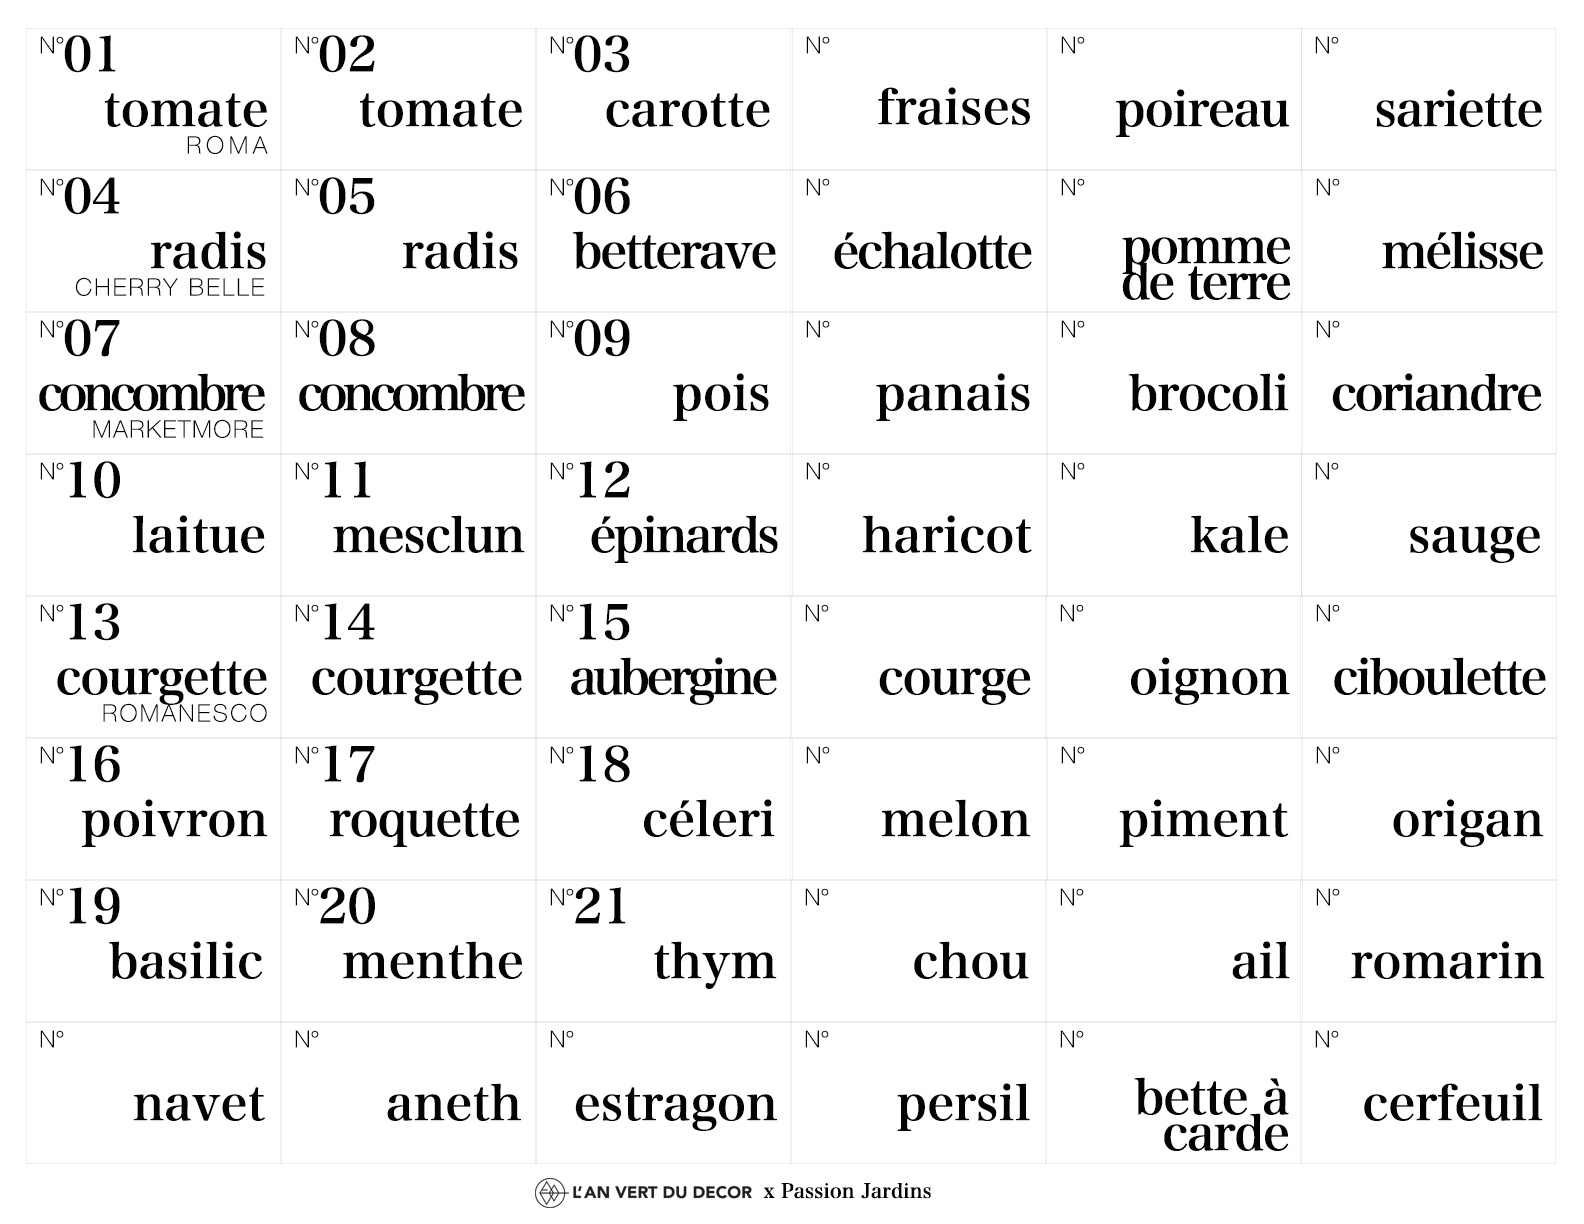
Download and print the label template.
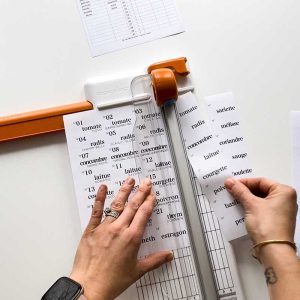
Cut out the labels.
To stick and protect the labels, place wide adhesive tape on each one and stick them on each glass bottle.
Fill the glass bottles and close them.
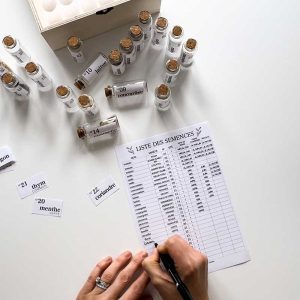
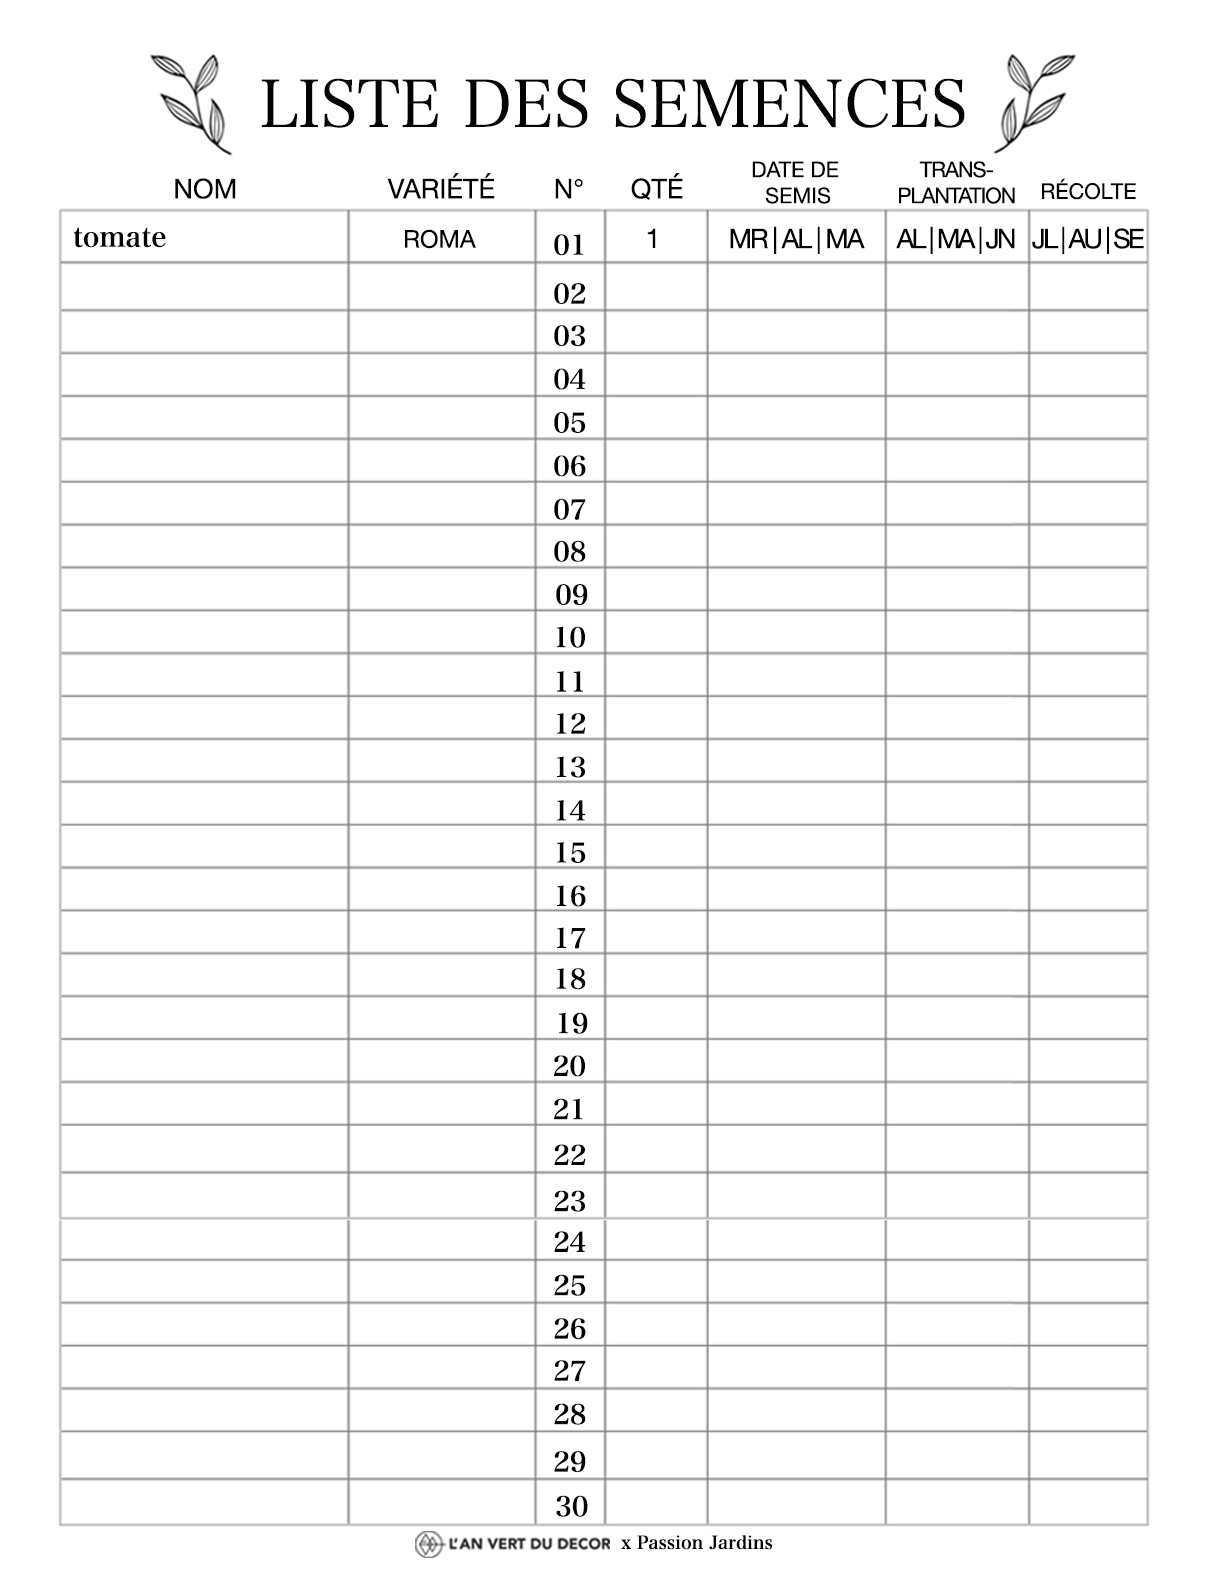
Download, print, and cut out the “seed list”. Fill it out or complete it by hand as needed.
Stick the seed list inside the box lid with double-sided tape to easily keep the contents up to date.
Tips and tricks:
I found my wooden box at Dollarama. The size of this model is very practical for storing seeds without taking up too much space.
It is possible to buy several boxes according to the types of seeds to group them by family: vegetables, herbs, flowers…
If you need additional labels, you can simply create them by hand and add them to the list (the templates are there to give you an example and ideas for organizing).


