
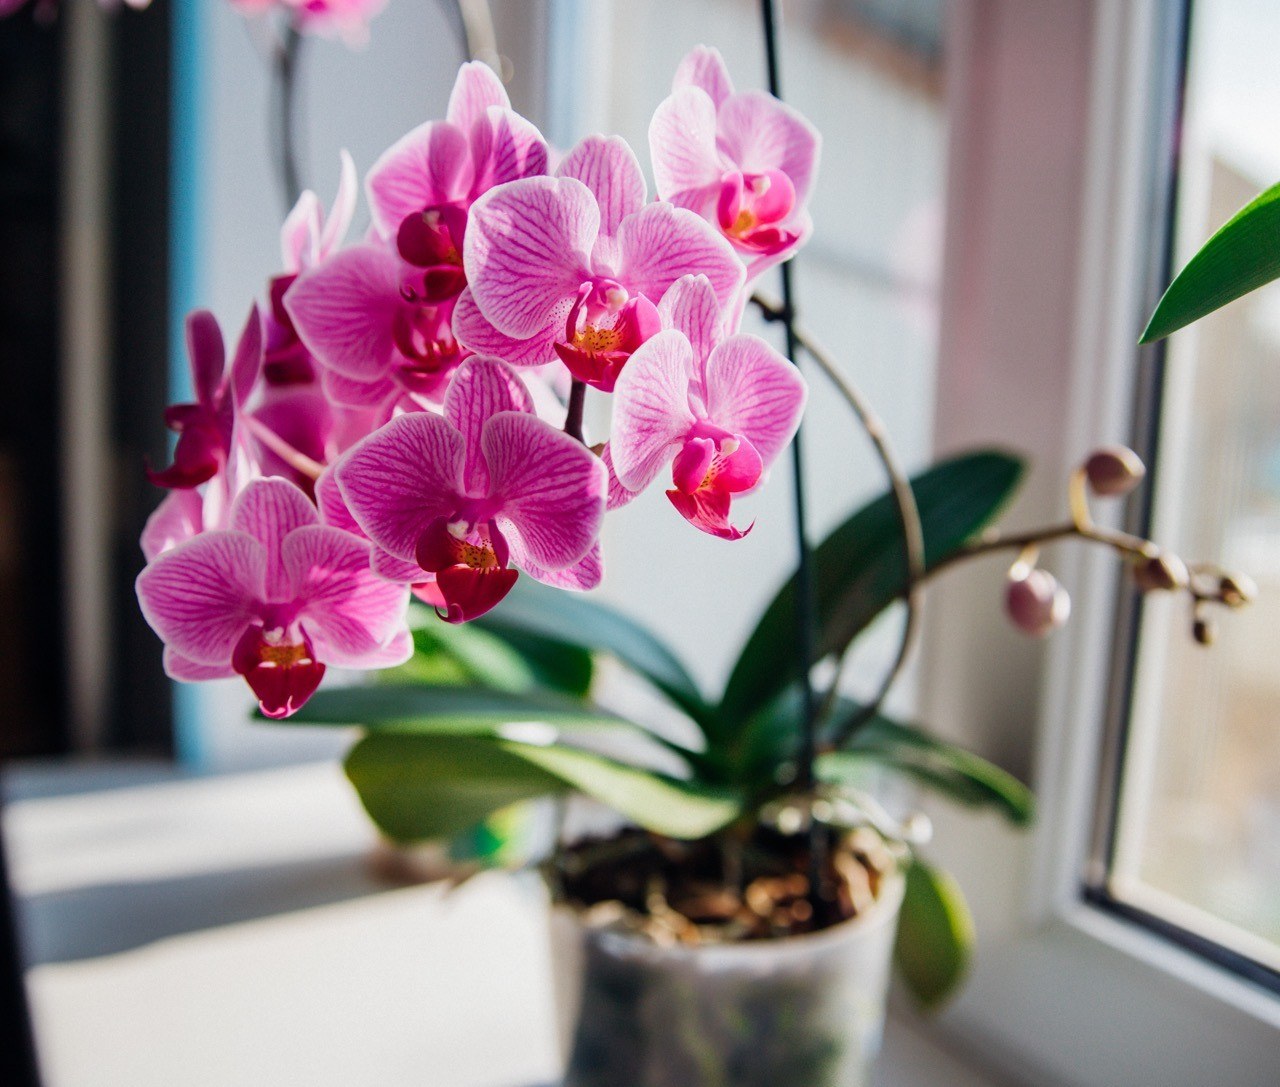
Repotting is an essential step to ensure the vitality of orchids, especially Phalaenopsis, the most popular and easiest to grow. Unlike many houseplants, orchids have very specific needs in terms of substrate, pot, and handling. Here's how to successfully carry out this operation, which may seem intimidating but is actually very easy and beneficial for your orchids.
When to repot an orchid?
As a general rule, an orchid is repotted every 2 to 3 years. Some signs may indicate that it is time to perform this task:
- the potting mix is degraded and retains too much moisture
- the potting mix emits a mushroom (moldy) smell
- the plant seems disproportionate to the pot
The best time to repot is after flowering, when the plant enters an active growth phase. One should never repot a flowering orchid.
Necessary materials:
- Orchid potting mix or sphagnum moss
- Transparent pot
- Outer pot (optional)
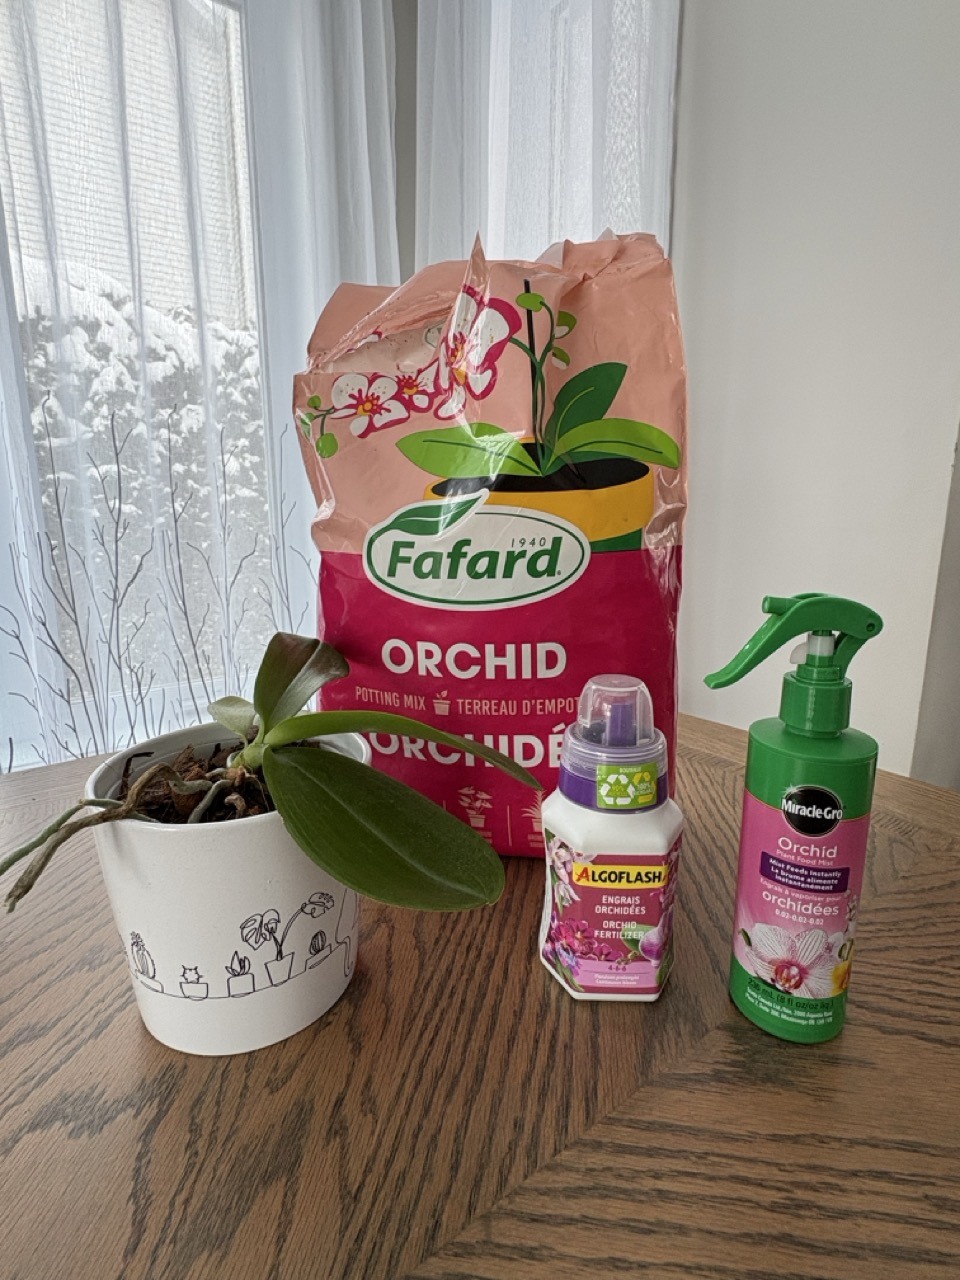
The potting mix: a substrate suitable for orchid cultivation
Orchids do not grow in tropical plant potting mix. In nature, they are often epiphytes, meaning they grow and cling to trees, with their roots exposed to the air. Therefore, it is necessary to use a potting mix specially designed for orchids, mainly composed of pine bark and coconut chunks. Sphagnum moss can also work.
This type of substrate ensures excellent drainage and good air circulation around the roots, two essential elements to prevent their rot.
Pro tip
Did you know that orchid potting mix can also be used for repotting anthuriums and bromeliads? It is also regularly included in homemade mixes for houseplants.
The choice of pot: transparency and drainage
The pot plays a key role in the success of repotting. Transparent pots are preferred, especially for Phalaenopsis, as they allow monitoring of the roots' condition and the substrate's moisture level. Green roots indicate good hydration, while grayish roots signal that watering is needed.
Also, ensure that the pot has several drainage holes. Avoid a pot that is too large: orchids prefer to be slightly cramped. Instead, choose a container slightly larger than the previous one.
Sometimes, it is not necessary to enlarge the pot: it is enough to change the degraded potting mix or moss by repotting in a new substrate.
The repotting technique
Start by gently removing the orchid from its pot. Remove the old substrate and inspect the roots. Using a small clean pruner, cut off soft, brown, dry, or broken roots. Keep only those that are firm and green or silver in color.
Place a bit of the new substrate in the pot and then place the plant in the center. Add the substrate around the roots, without packing it too tightly. The roots need air, so it's normal for the mix to remain slightly airy. Some roots may have difficulty fitting into the pot: if they were already outside the pot, they are aerial roots and do not need to be included in the repotting, they can stay outside. If there are too many and they bother you, you can cut a few without damaging the plant.
Once the operation is complete, water the newly repotted orchid. If you wish, at this stage, you can place your orchid in an outer pot.
*** Be careful never to leave water in the outer pot after watering.
And there you go! With a specially designed potting mix, a suitable pot, and the right technique, repotting your orchid will no longer be a source of stress... for both the plant and you!
Tips and advice


