
For many, the month of March rhymes with spring cleaning. It's an opportunity to move furniture and reorganize your decor to give yourself a little refresh before the return of the beautiful season. It's also the time for your indoor plants to get a makeover and regain vigor thanks to a good repotting.
Why repot?
Repotting indoor plants allows them to access new nutrients. Over time, the potting soil becomes depleted and reduced, and the resources available to nourish your plant are less and less present. Deficiencies can thus appear. The root system of your plant also constantly develops, and the lack of space can limit the aerial growth of the plant: leaves, flowers, new stems, etc. Offering it a new pot and rich new soil will give it a beautiful youthful glow!
If you find that your pot is already sufficiently large, you can keep it. You would then proceed with top-dressing instead of repotting. To do this, you need to scrape and remove the top few centimeters of soil around the trunk and root ball. Then refill with new potting soil, and there you go!
When to repot your green plants?
You can repot your plants at any time of the year, but March is the most suitable month to do so. The plant resumes its growth period after winter and will be very happy in its new environment: it will let you know! However, avoid repotting if your plant is in full bloom.
Repotting in a few steps:
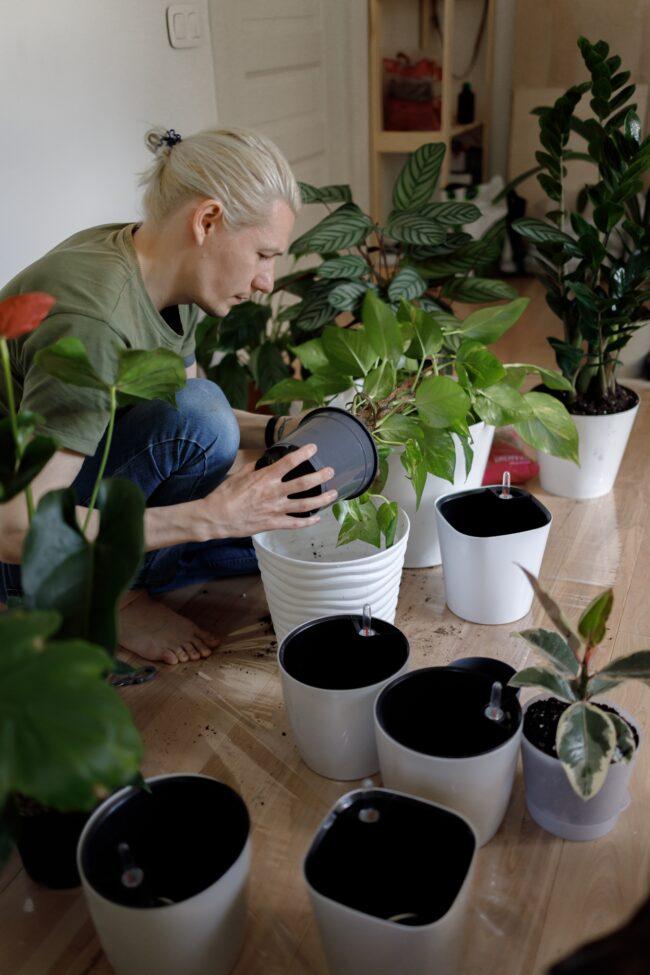
1. Choose a pot for your plant. Take one that is only a few centimeters larger than the current pot. If it's too large, your plant will focus on making roots and forget to put energy into its leaves or flowers. Opt for a perforated pot that will allow excess water to drain. You can choose a saucer or a cachepot to avoid spills. However, make sure to always empty it and never leave stagnant water to prevent root rot.
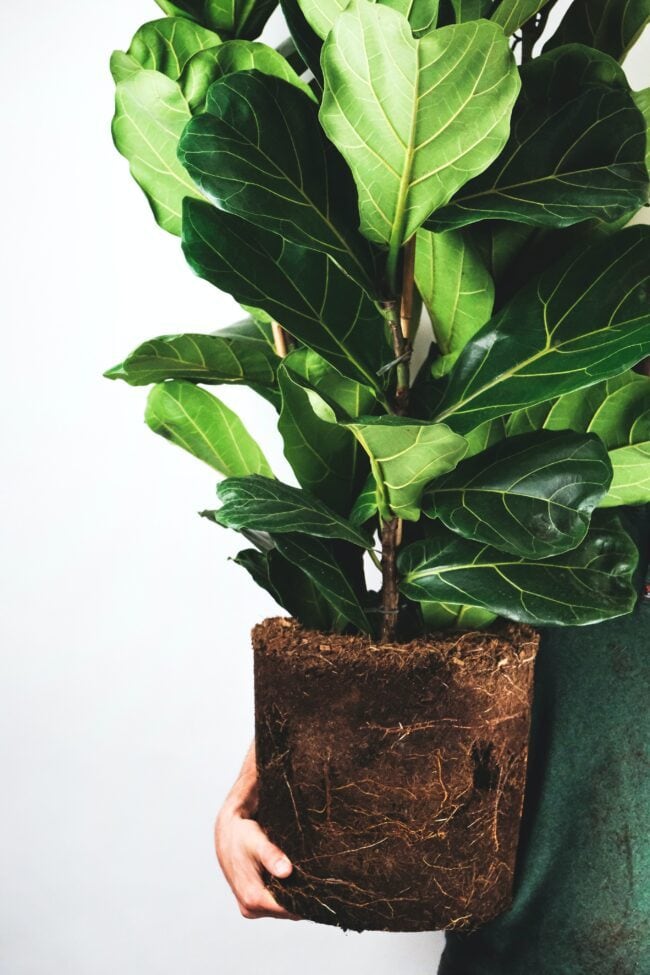
2. Gently remove the plant from its pot by holding it by the main stem and clean the root ball by removing the excess potting soil. Separate the roots and cut those that form spirals.
3. Place the plant well-centered in its new pot and add a potting soil specially designed for indoor plants that you have previously moistened. Press lightly, but avoid compacting too much and leave about two cm of space free between the potting soil and the edge of the pot to facilitate watering and prevent overflows.
4. Water and admire! For the next few weeks, your plant will have limited water needs. It is therefore important to listen and give it water only when it shows signs of thirst.

You are not obliged to repot all your plants every year. Some plants are very happy in tight spaces. If your plants show signs of fatigue: yellowing, constant thirst, poor growth, it's time to offer them a new environment!
Tips and advice


