At a time when "chemicals" are being harshly criticized by very strict regulations in ornamental horticulture, composting naturally finds its place in the habits and customs of gardeners.
In addition to providing an outstanding product for amending soil and fertilizing lawns, flower beds, and vegetable gardens, this process allows for the recycling of tons of organic waste that would be very costly for public services to process. At least 30% of our household waste can be composted.
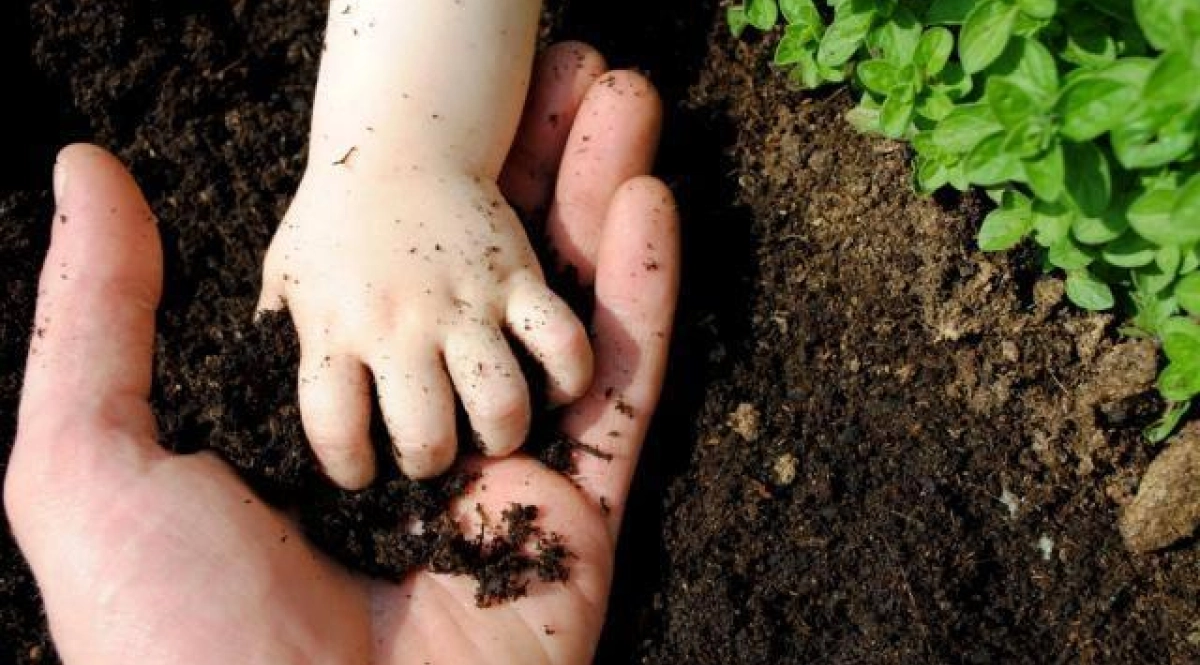
Compost is humus, which is a type of topsoil resulting from the biodegradation of organic matter decomposed by bacteria and fungi. It is therefore considered a "natural" process.
As virtuous as the act of composting may be, keep in mind that for certain crops, you need to use compost in combination with specific organic fertilizers and natural minerals.
How to make your compost? The 14 steps to follow:
Below are the 14 steps to help you start composting and obtain a hygienic product rich in humic products, humus.
Step 1 — Identify the composting site
The first thing to do is find the perfect spot in your yard for composting. It should meet the following criteria:
- easily accessible site
- well-drained location
- sheltered from cold winds
- shaded area.
Step 2 — Choose your composting technique
Once you have chosen your composting corner, you can now select your composting technique. You have 2 choices: heap or bin.
Heap composting involves an open-air mound at least 1 meter high and wide. Its greatest advantage: easy handling. Composting is slower because the materials are exposed to the elements. A disadvantage that can be mitigated by covering the heap with a protective tarp, which is not always aesthetically pleasing.
Bin composting involves making your compost in a homemade or commercial compost bin. This method yields better results because the organic materials are protected from drying out and soaking.
Step 3 — Prepare and organize the composting site
Before placing your bin or starting your heap at the chosen spot, turn the soil where the compost will rest. The lower materials must be in contact with the soil. Also, cover the bottom with small branches for aeration.
Step 4 — Set up the composter or heap
Depending on the method you have chosen, start the heap or set up the composter.
Step 5 — Gather gardening residues
Now, composting begins. Gather all your gardening residues. These materials fall into 2 categories: dry or wet. These residues are:
- grass, wet material
- dead leaves, dry material
- green garden debris, wet material
- brown garden debris, dry material
- wilted flowers, wet material
- twigs, dry material
- faded potting soil, can be considered dry or wet material.
Step 6 — Collect kitchen residues
Also gather your kitchen residues like:
- fruit peels and scraps, wet material
- vegetable residues, wet material
- crushed eggshells, dry material
- small amounts of pasta, wet material
- small amounts of rice, wet material
- cereals, dry material
- tea bags, dry material
- coffee grounds, dry material.
Step 7 — Use household residues
In your compost, you can also put your household residues like:
- shredded newspaper, dry material
- tissue paper, dry material
- sawdust, dry material
- small amounts of wood ash, dry material
- hair, dry material
- pet hair, dry material
- seaweed, dry material.
Step 8 — Sort and process
If necessary, sort and process the materials before composting to speed up decomposition:
- separate dry residues from wet residues
- ensure the materials are healthy
- break, crush, or shred the materials into small pieces of about 3 cm (1 inch) in diameter
- you can compost larger pieces, but the composting period will be longer.
Step 9 — Mix your compost
Place the organic materials in thin successive layers on the heap or in a bin, alternating dry and wet materials.
Step 10 — Monitor your compost
Regularly monitor the progress of composting to adjust the situation in case of:
- unpleasant odors: this occurs when there is excess moisture. You can neutralize it with good aeration, by breaking up clumps or adding dry materials
- lack of heat at the center of the mass: to solve the problem, water the materials if they are dry or let them dry if they are too wet.
Step 11 — Aerate your compost
During composting, aerate your compost by:
- stirring the organic materials
- mixing them
- turning the heap at least once a week.
Doing this operation more often helps speed up the process.
Step 12 — Moisten your compost
Regularly check the moisture level of your compost and water during composting if the materials appear dry.
Step 13 — Harvest and use your compost
When your compost crumbles and emits an earthy smell, harvest it and use it. Decomposed at 65%, the compost is already ready to be used and is even at its best in terms of humic content (humus).
Step 14 — Sift if necessary
To use it in your delicate seedlings or houseplants, sift a portion of the compost.
```
Tips and advice
