DIY Christmas 2022
Passion Jardins x Chloé Comte
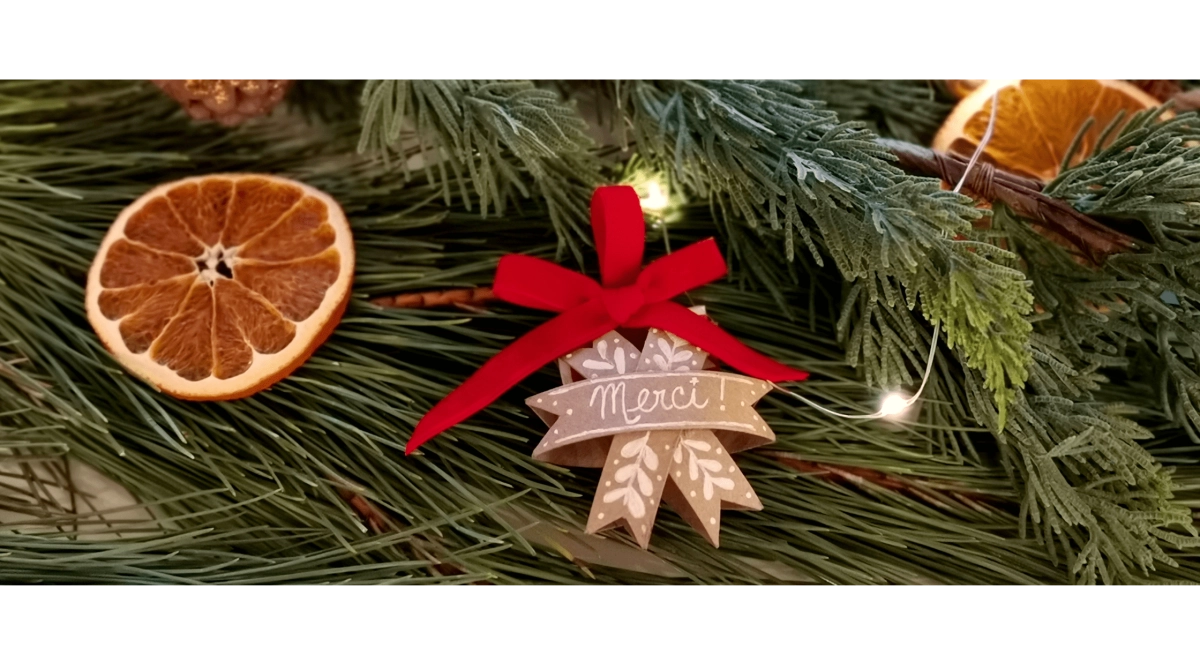
Whether it's perfecting your holiday decor, assigning seats at the table for the Christmas Eve dinner, or personalizing your gift packages, here is a little idea for star-shaped surprise tags to make yourself.
This DIY is mainly made up of recycled cardboard rolls, inside which are hidden small herb seeds to plant.
A great idea to offer to anyone who loves having their little indoor herb garden in winter!
Materials

– Recycled cardboard rolls (toilet paper rolls, paper towels…)
– Graduated ruler
– Pencil
– Scissors
– Double-sided tape or hot glue
– White gel pen
– Tissue paper
– Washi tape
– Felt-tip pen
– Ribbon
Steps:
Flatten your cardboard rolls well by marking the sides.

Mark pencil guides every 1.5 cm.

Cut your strips 1.5 cm wide.

Cut each end of your strips to form a “tailcoat”.

Keep your strips flat to decorate them by drawing on them with a white gel pen.

Using double-sided tape or hot glue, assemble your stars by crossing 3 strips into each other.

Finish your star with the personalized or named strip.

To form your little surprise bags that will contain the herb seeds to plant, cut rectangles of tissue paper.

Fold them widthwise, then form the bottom of the bags by folding back the edge twice and securing everything with washi tape.

Identify the contents of the bags with a felt-tip pen and fill them.

Close the bags with washi tape to form a small rectangle that can easily be placed inside the cardboard stars.

Attach ribbon to your bags and insert them into your stars.

The bags, once placed, will allow your stars to be hung.
For the finishing touch, create a quick knot that you will attach to the ribbon using double-sided tape or hot glue. See the “easy & quick knot” video here.

Tips and Tricks:
– To have uniform stars and make it easier to draw your designs with the gel pen, choose the smoothest side of the strip.
– To attach the ribbons to the bags, I simply secured them with double-sided tape.
This very simple DIY will have an even greater effect if there are many stars gathered. Once the technique is known, it’s so easy to make them that you won’t be able to stop! You've been warned!

Credit and photos: Chloé Comte
Tips and advice
