
Text and photos by Chloé Comte
Transform your cuttings into true decorative objects with these elegant ceramic-effect propagation dishes.
Easy to make and entirely handmade, they allow you to root your plants in style while adding a handcrafted touch to your interior.
Whether you are a plant enthusiast or simply a fan of creative decoration, this DIY will allow you to create a charming little plant nursery where your cuttings can grow while beautifying your space.
Materials:
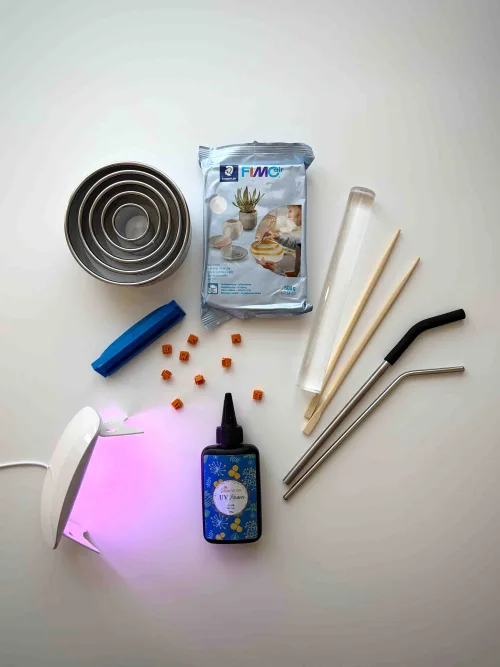
For the dishes
• Air-drying clay
• Rolling pin
• Wooden sticks
• Bowl or round cutter
• Straws
• Small bowl or ramekin (to shape the dish)
• Fine-grit sandpaper (220 to 400)
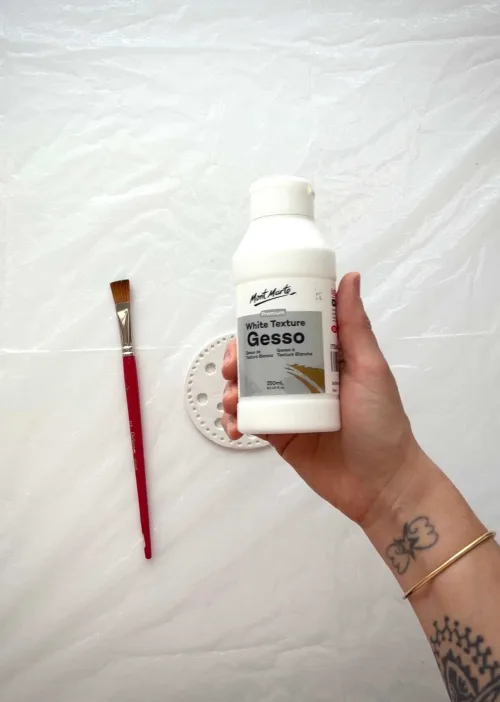
• White gesso
• Soft flat brush
• Acrylic paint (colors of your choice)
• Embossing tool
• Palette or plate for the paint
• UV resin varnish or clear UV varnish
• UV lamp
• Protective gloves (optional)
• Parchment paper or silicone mat
For propagation
• Water
• Containers
• Cuttings or seeds
Steps:
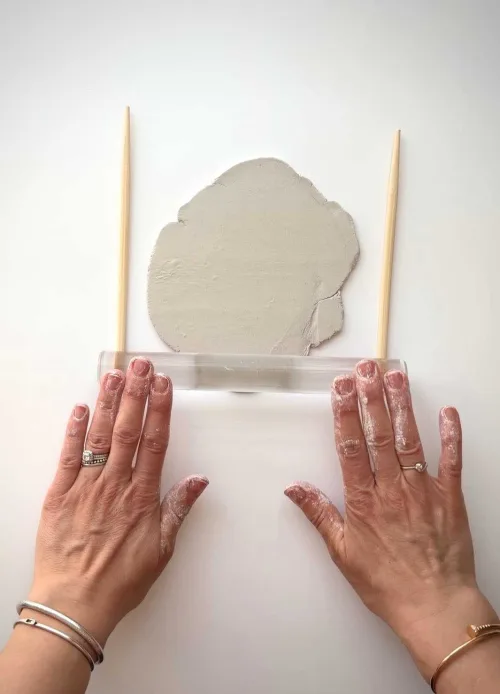
1. Knead the clay for a few minutes to soften it.
• Roll it out evenly between 2 wooden sticks to maintain a good thickness.
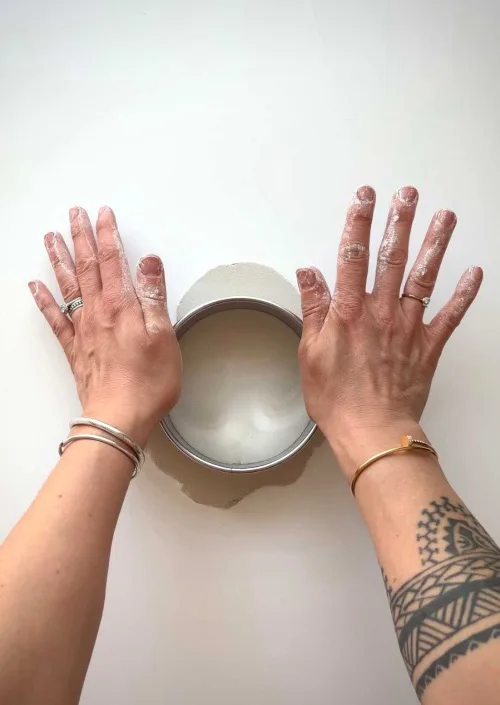
2. Cut out a circle using a bowl or a cutter.
• Smooth the edges with slightly dampened fingers.
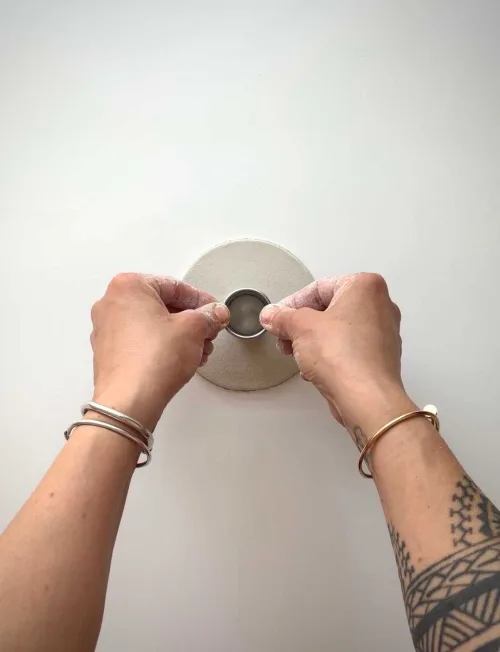
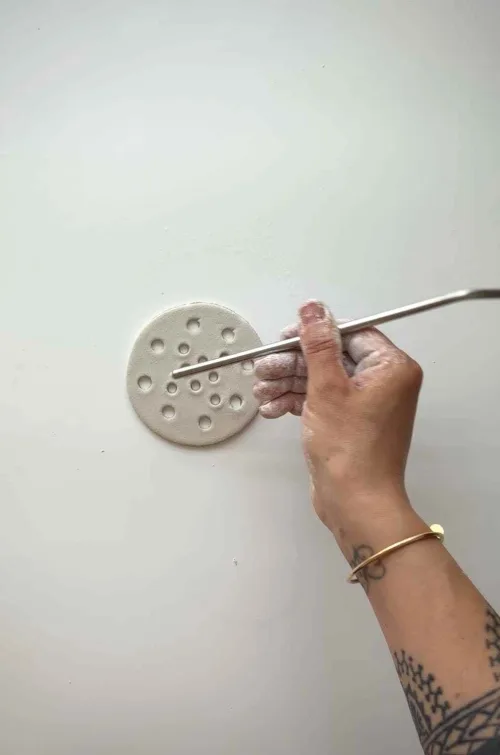
3. To form the propagation dish for seeds (avocado, mango, etc.); pierce the center of the dish using a small round cutter.
• Place the pierced clay circle on a small overturned bowl or in a ramekin.
• Create a slight depression in the center to hold water and the cutting.

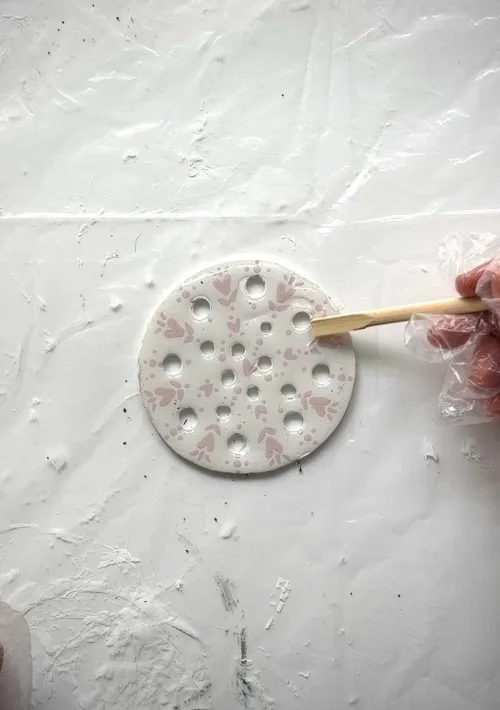
• For flat dishes; simply pierce several holes with straws of varying sizes.
4. Let dry according to the manufacturer's recommendations (usually 24 to 48 hours).
• Turn the piece halfway through drying to ensure even drying.
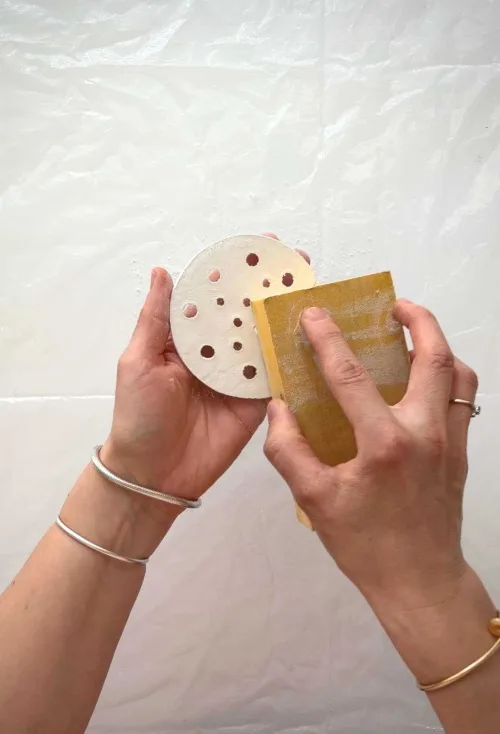
5. Once the clay is completely dry, lightly sand imperfections.
• Carefully dust the dish.
6. Cover the entire surface with a thin layer of gesso.
• Let dry.
7. Place a bit of acrylic paint on a palette.
• Dip the embossing tool in the paint.
• Create patterns with small touches, dots, or geometric shapes on the dish.
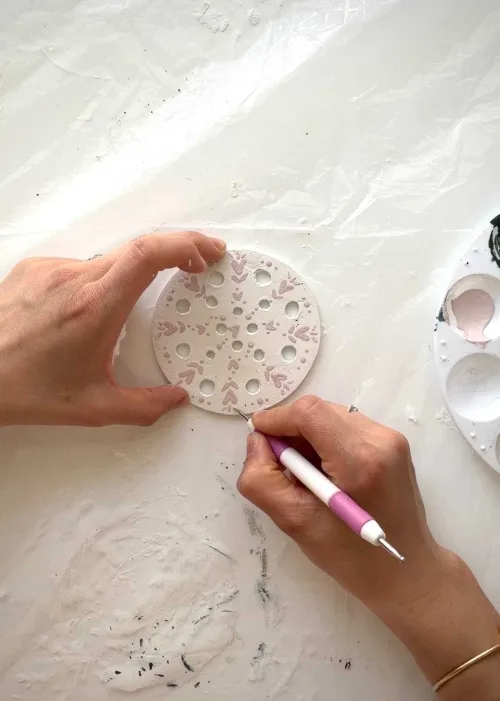
• Let dry completely.
8. Apply a thin layer of UV varnish over the entire decorated surface.
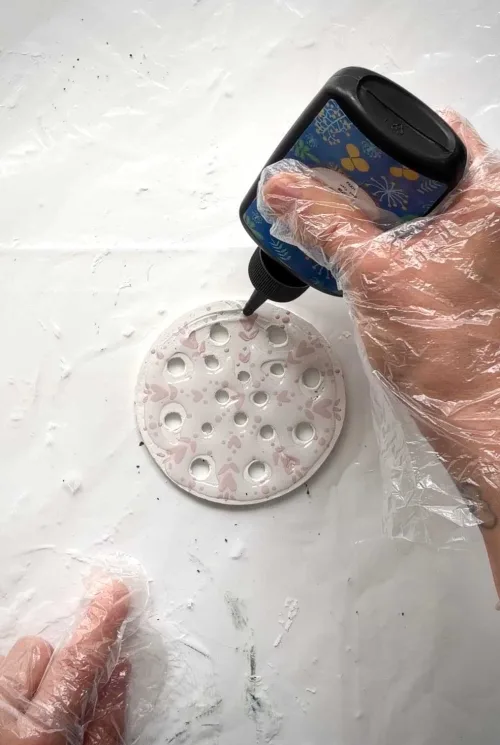
• Avoid product buildup.
• Cure under a UV lamp according to the manufacturer's instructions.
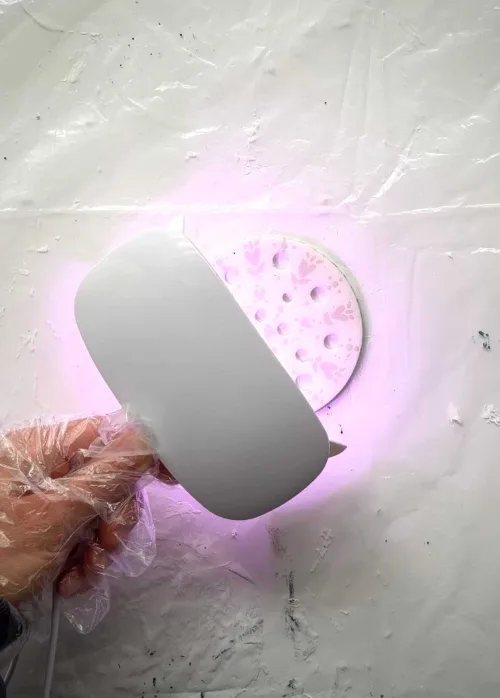
9. Ensure the entire surface is perfectly cured.
• Add a second coat of UV varnish if necessary.
• Cure again under the UV lamp.
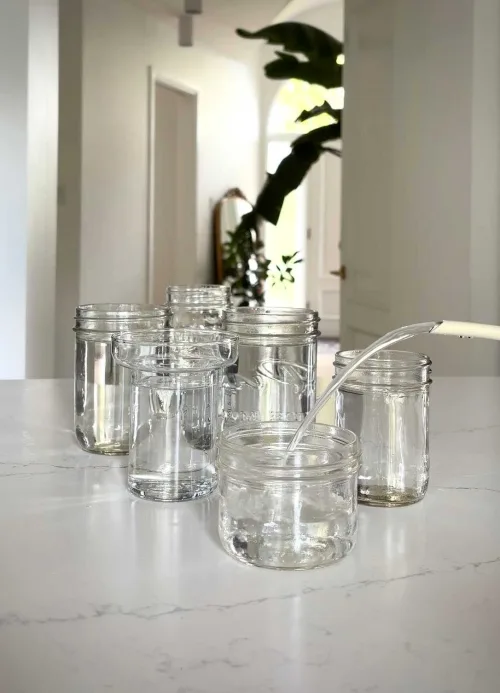
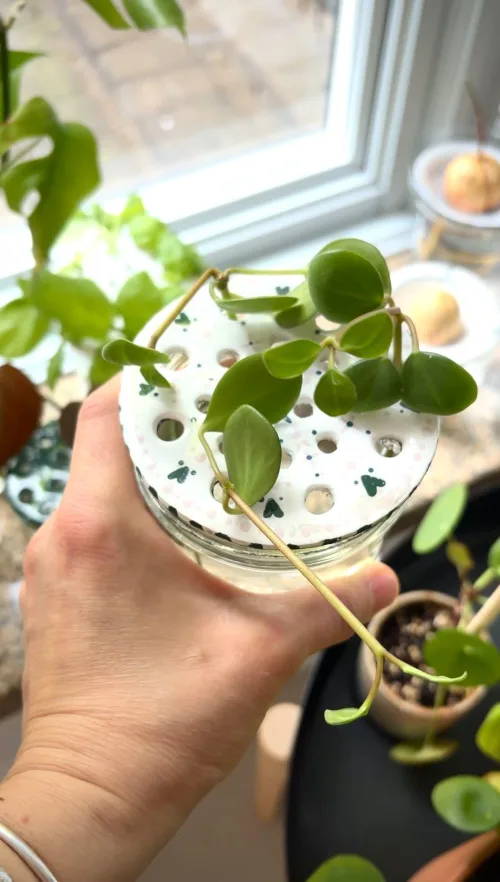
10. Fill containers with water.
• Place the dishes on the water-filled containers & place the cuttings so that the base of the stem is in contact with the water.
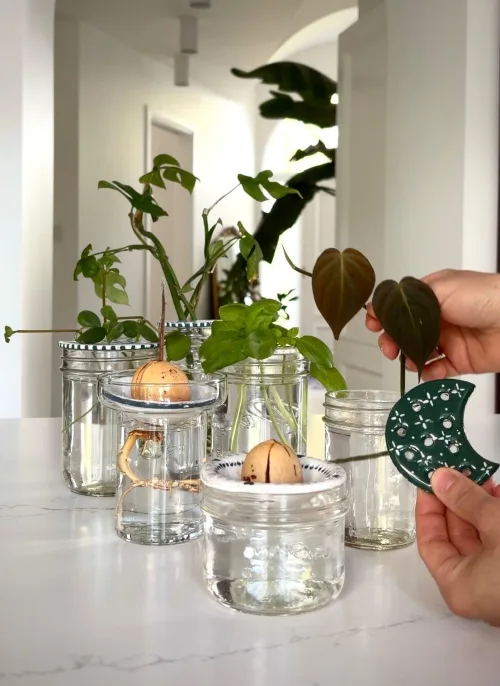
• Place the cuttings in their beautiful dishes in a bright spot.
Tips & Tricks:
• Slightly moisten your fingers to smooth cracks before the clay dries.
• Use two sticks of the same thickness to achieve an even dish.
• Apply several thin coats of gesso rather than one thick coat for a smoother finish.
• Start with simple patterns, like dots or lines, for a successful result on the first try.
• Use a skewer or wooden stick to evenly distribute the UV varnish and prevent drips.
Tips and advice


