
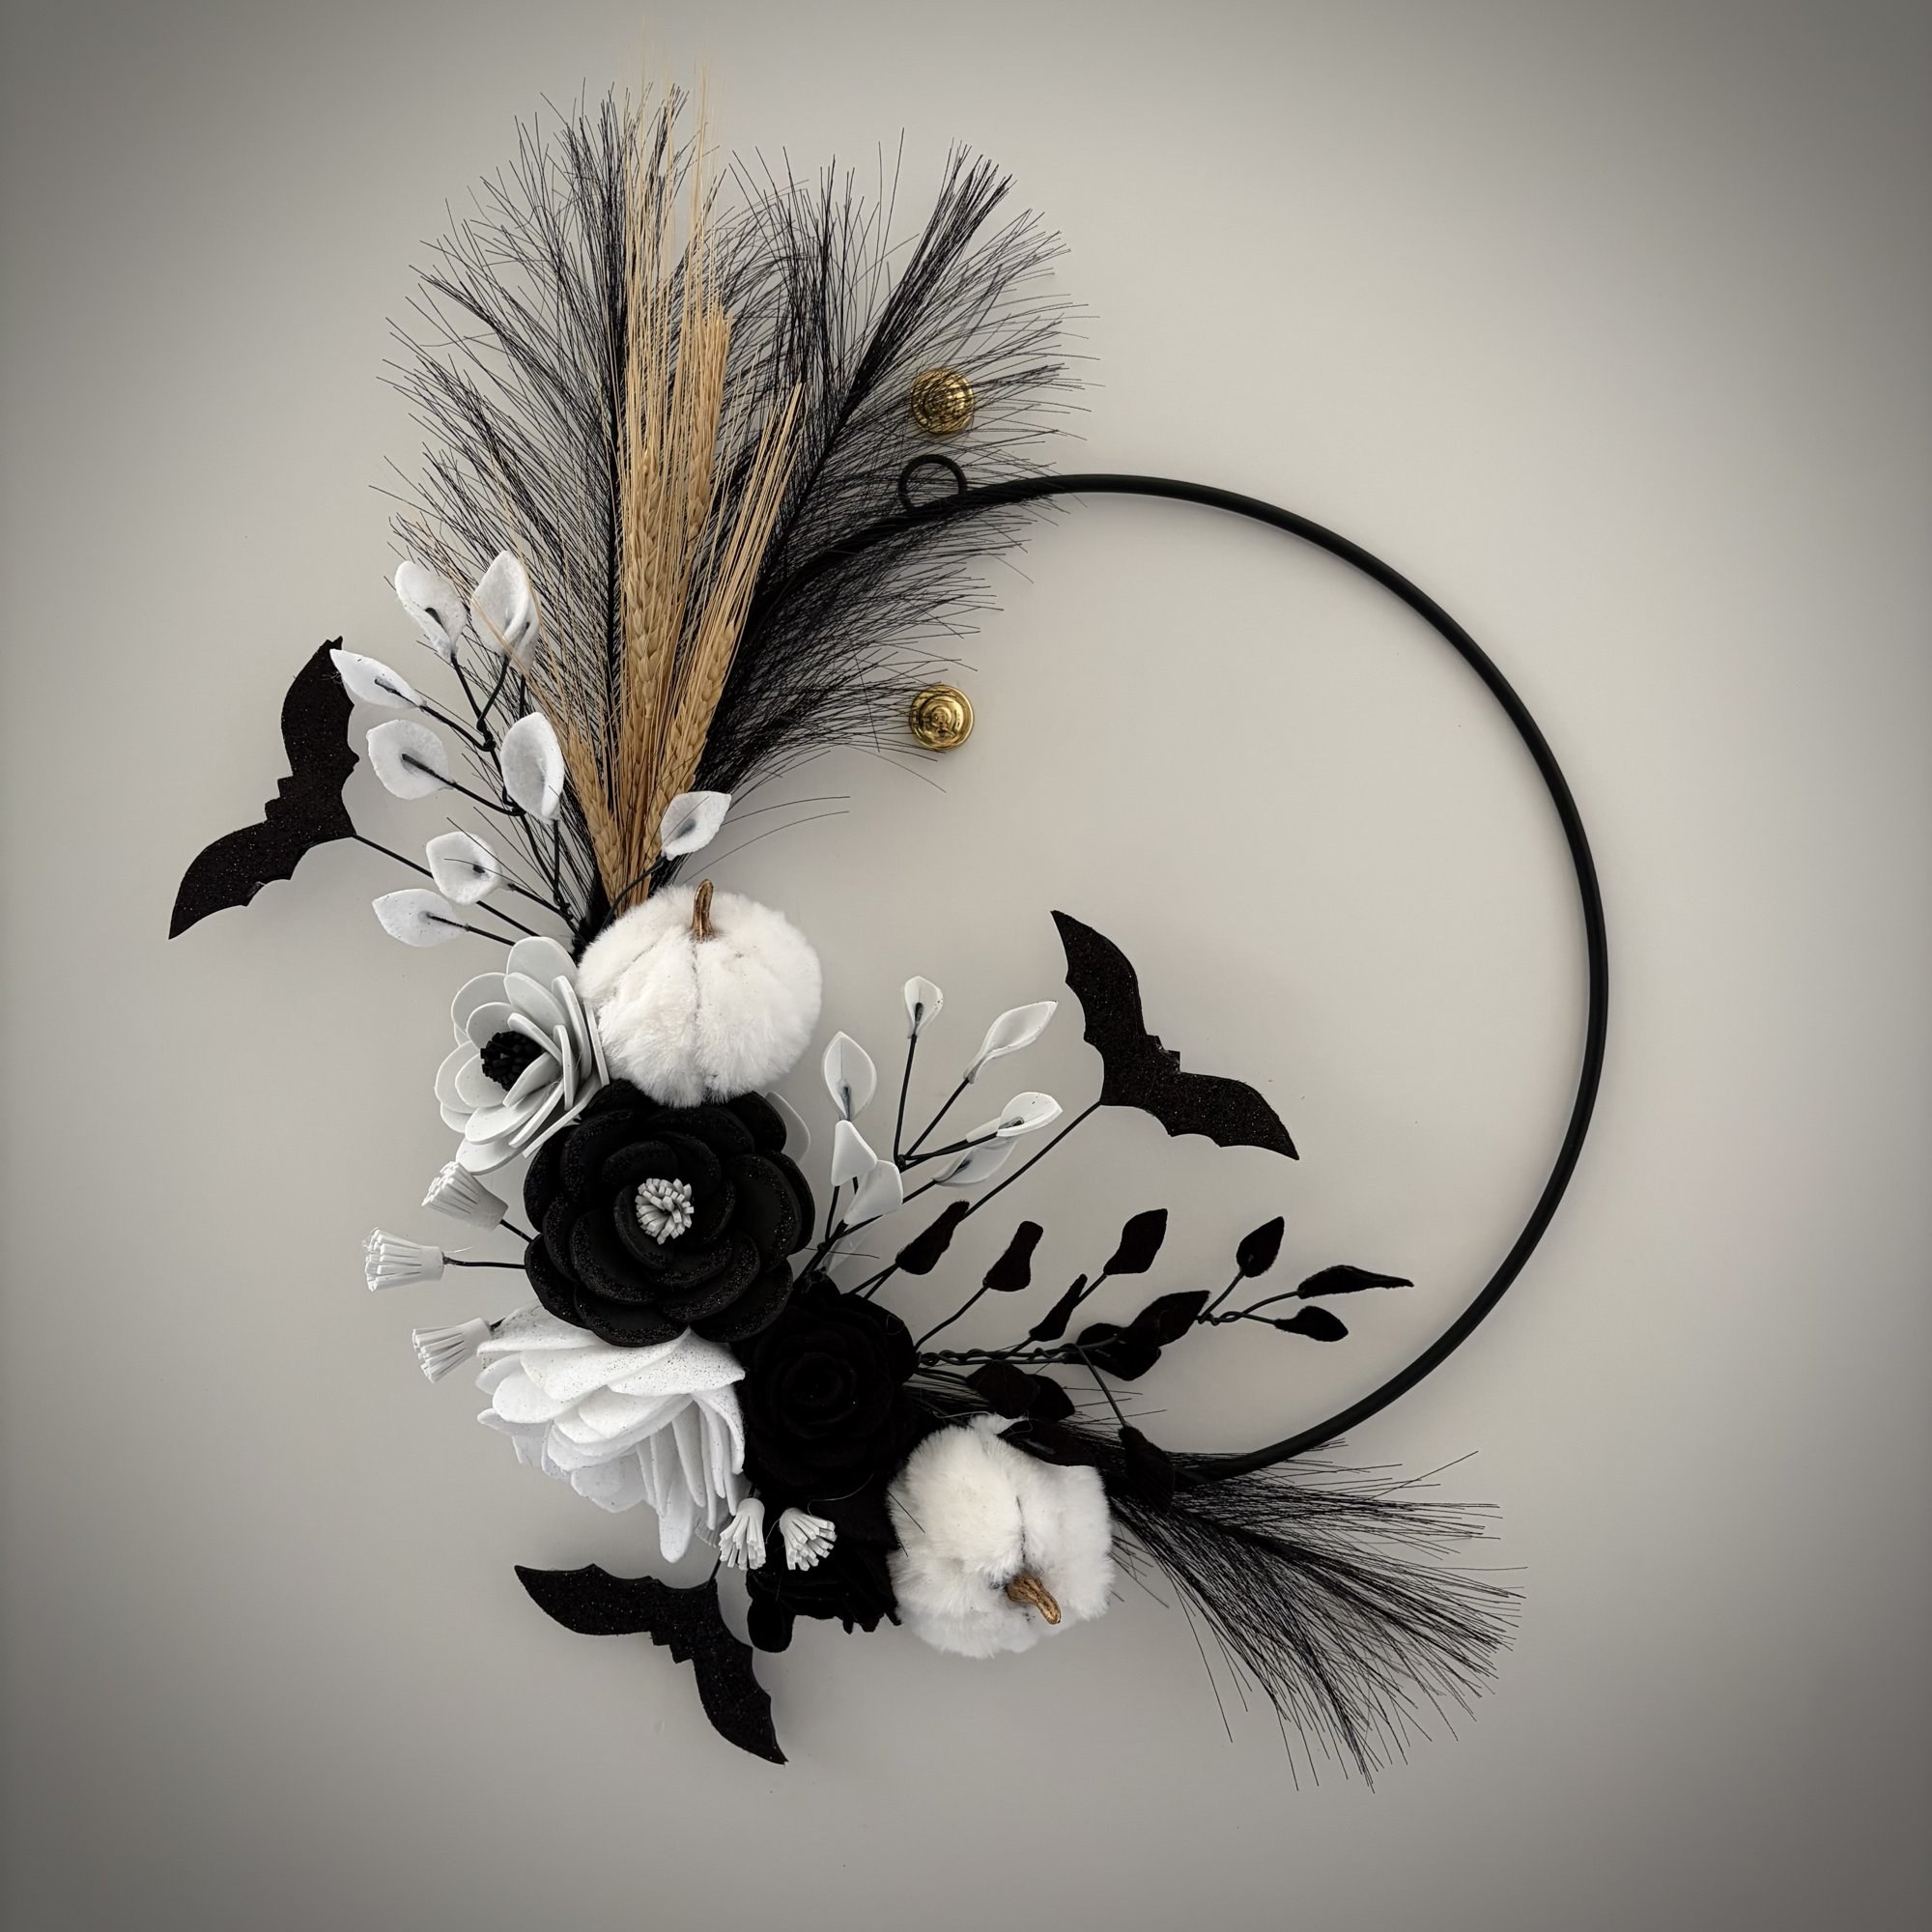
Who said Halloween had to be orange and scary? This year, we're going for a chic and slightly mysterious wreath, with its sparkling bats, felt and foam roses, and soft little pumpkins.
No need to be a sewing pro or have fairy fingers: a glue gun, some felt pieces, and a bit of wire are enough. The result? An elegant autumn decoration that will have all the visitors talking (and even the neighborhood ghosts).
Materials
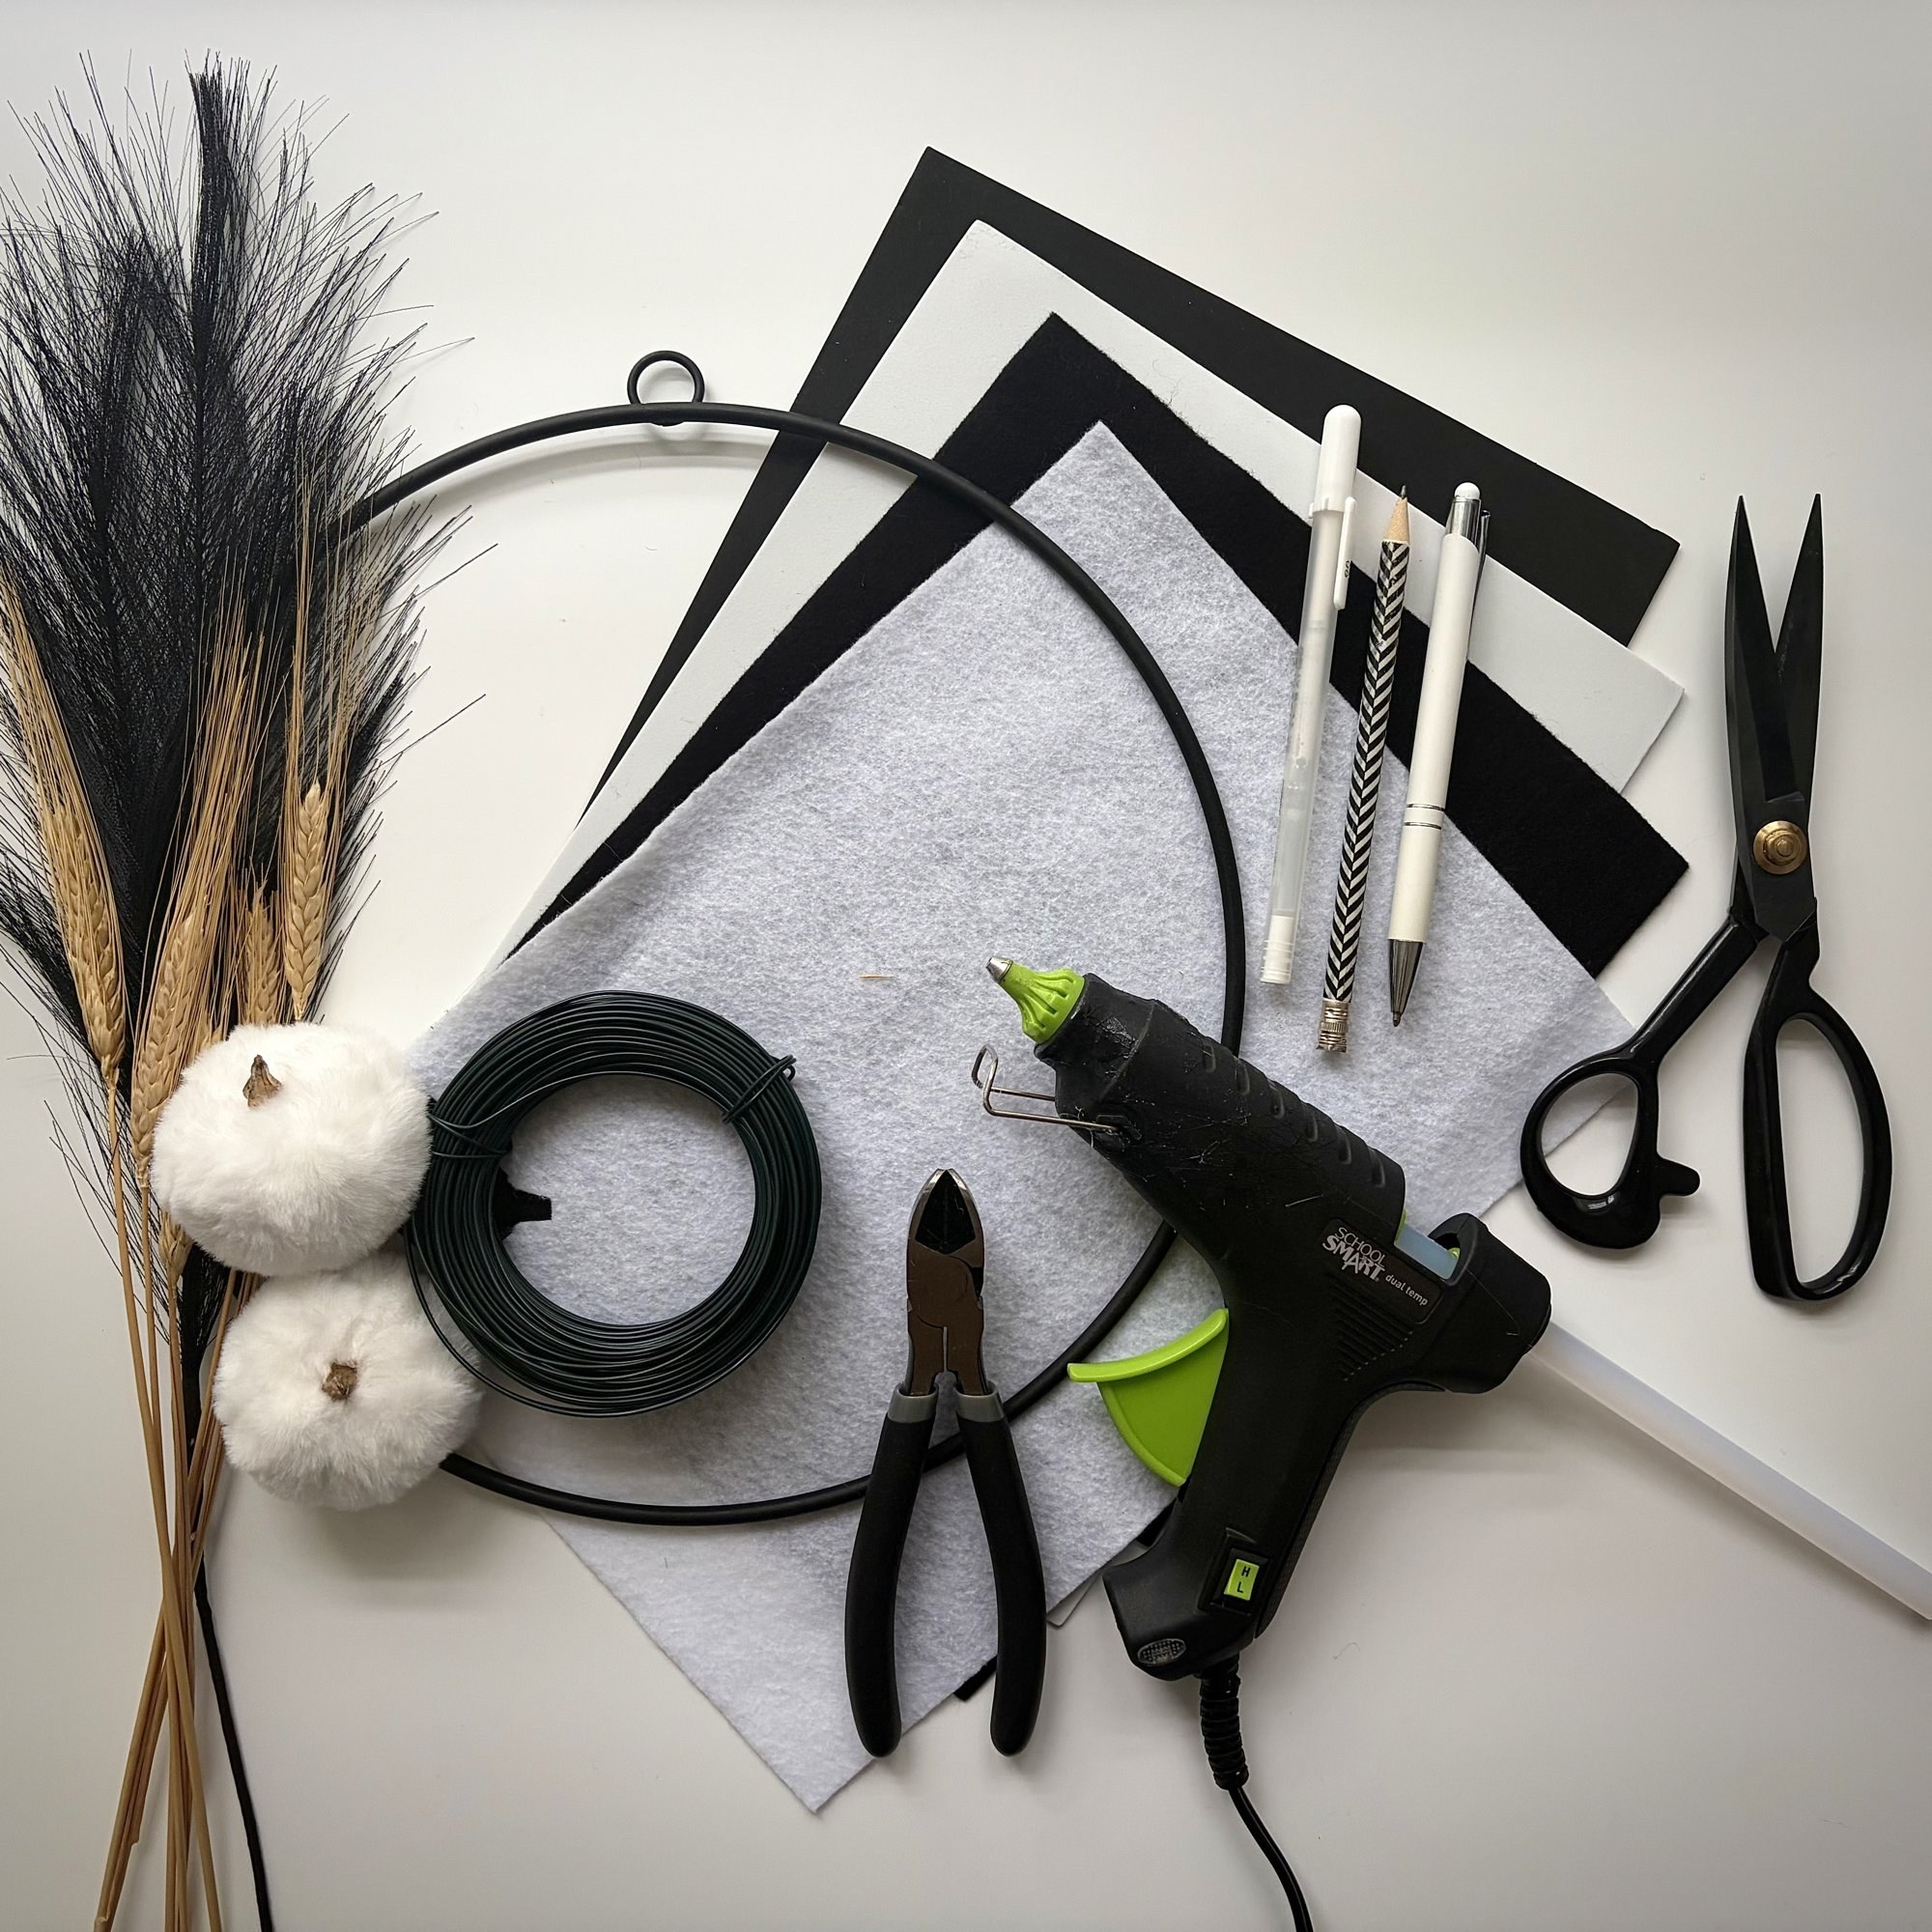
For the bats
- Black craft foam sheet
- Pen
- Scissors
- White glue (like Mod Podge)
- Brush
- Black glitter
- Glitter tray or plate
For the flowers and branches
- Black & white felt
- Black & white foam sheets
- Black floral wire
- Wire cutters
- Hot glue gun and glue sticks
- Lighter
For the wreath
- Black metal ring
- Black pampas feathers
- Dried wheat ears
- Small white faux fur pumpkins
Steps
1. Trace the bats
Draw a bat on the black foam sheet using the pen.
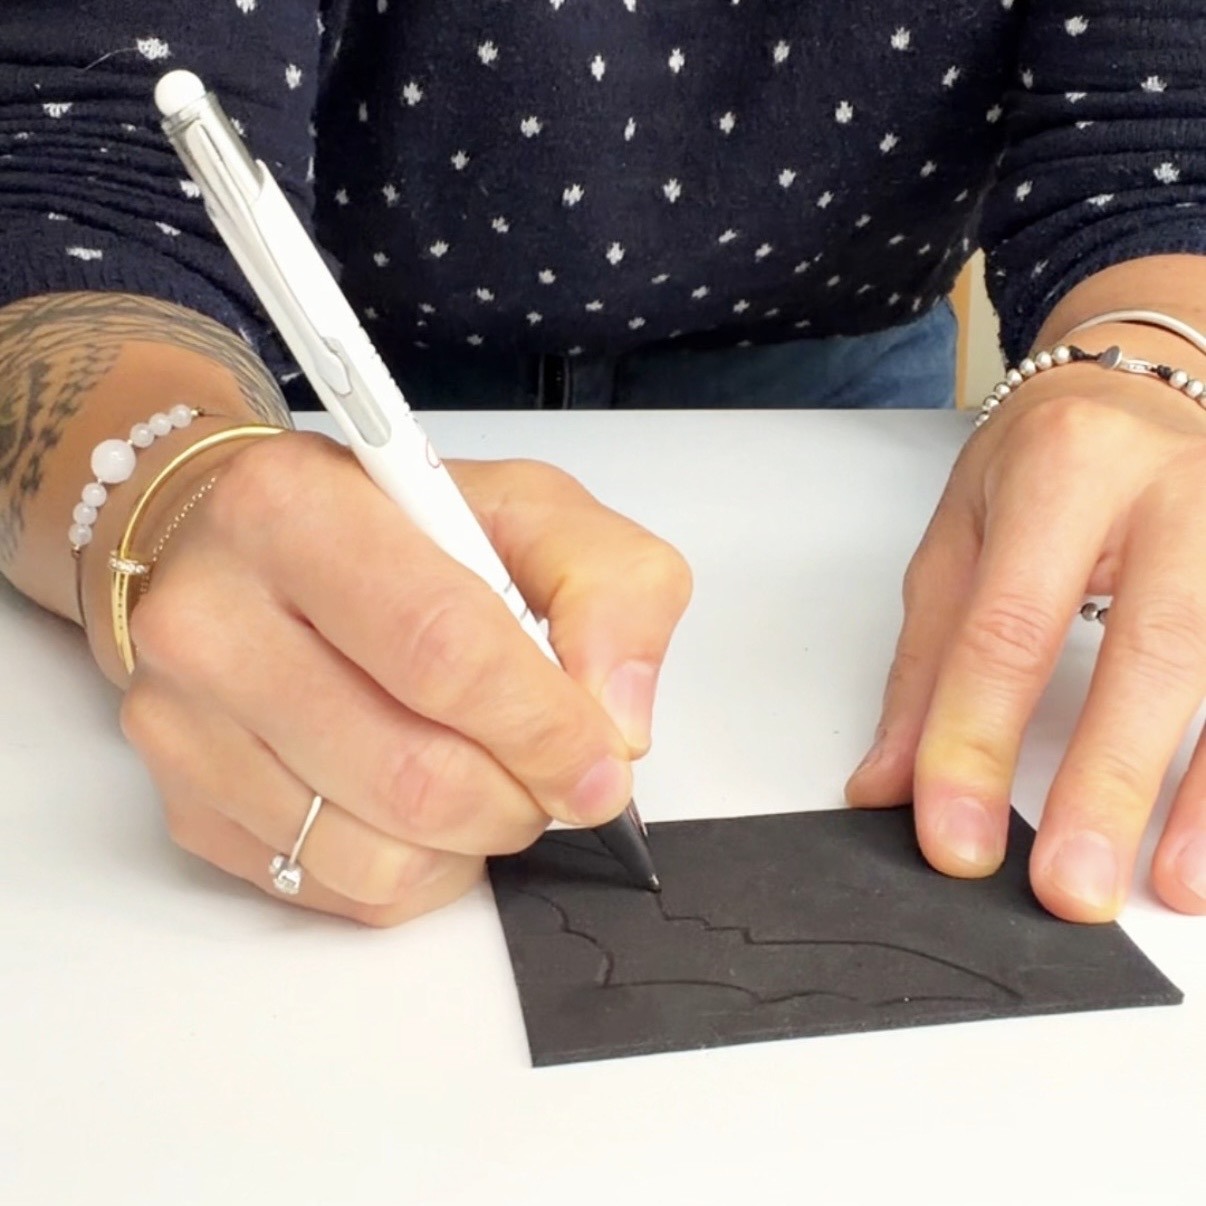
Plan for 2 identical shapes per bat (one front, one back).
2. Cut out the bat shapes with scissors
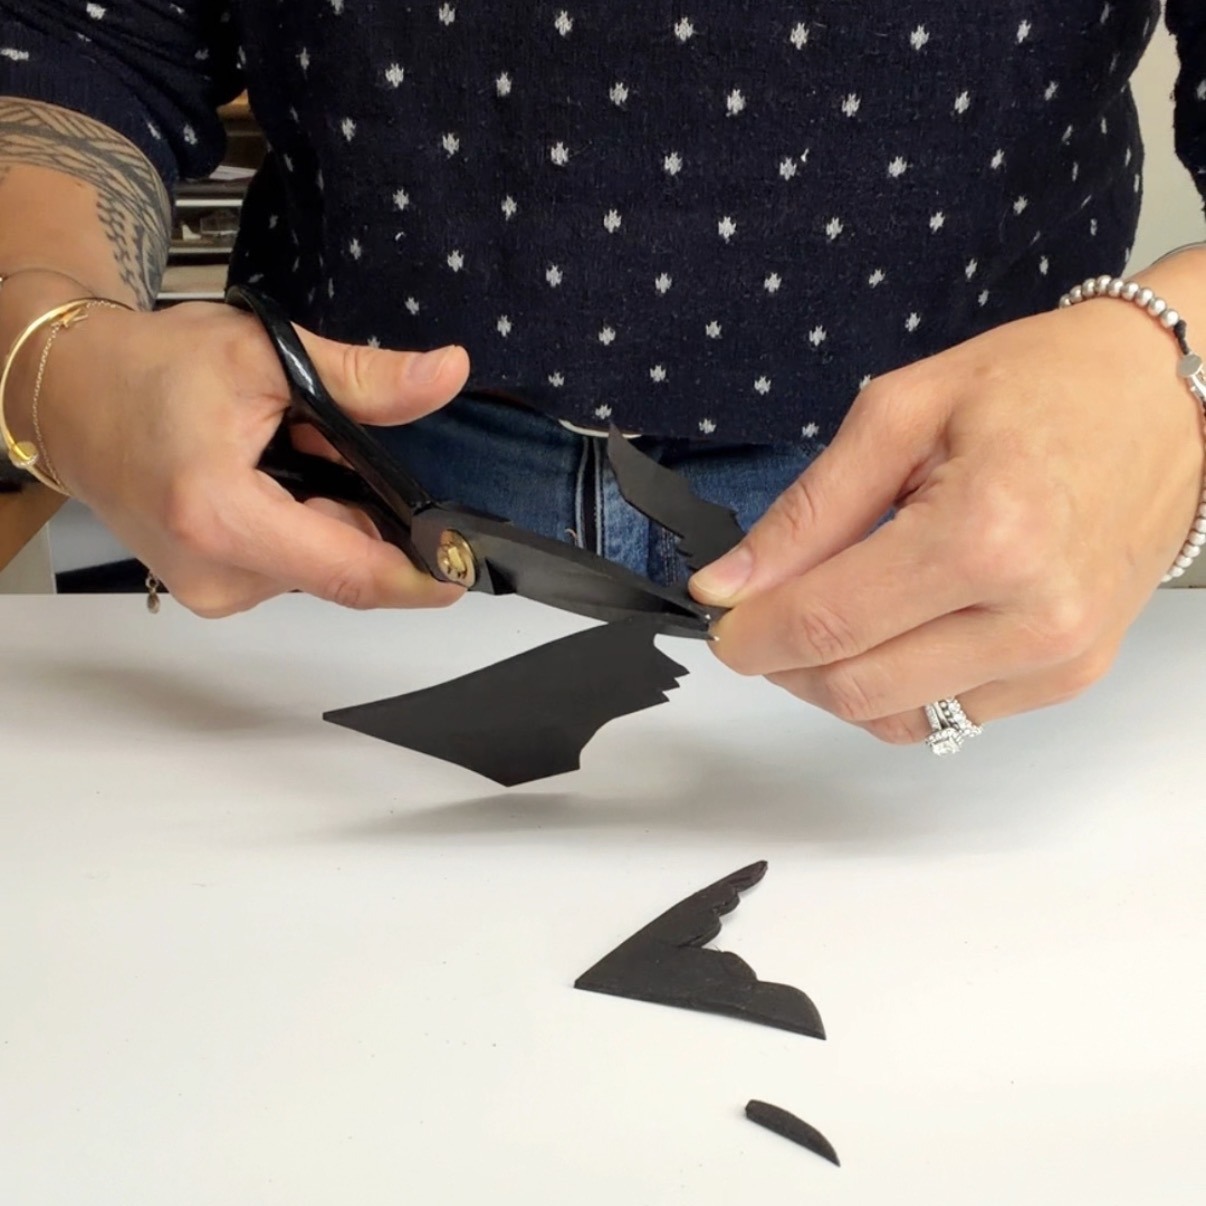
3. Add glitter
Brush the top of the bat with white glue (like Mod Podge) using the brush.
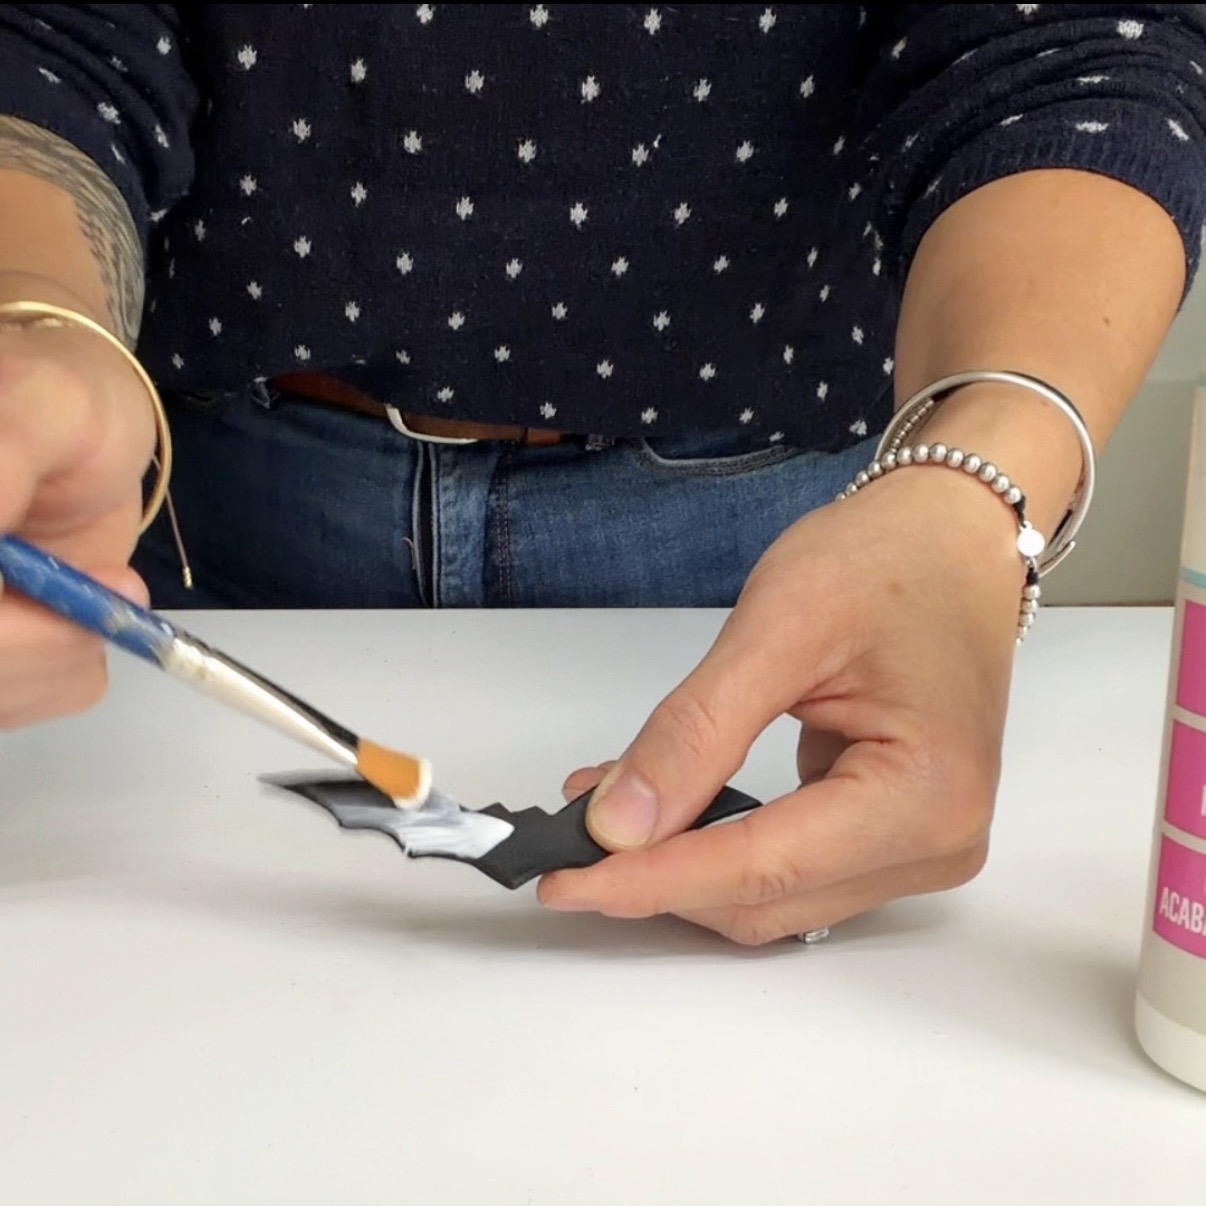
Place the glued side of the bat into the glitter and press lightly.
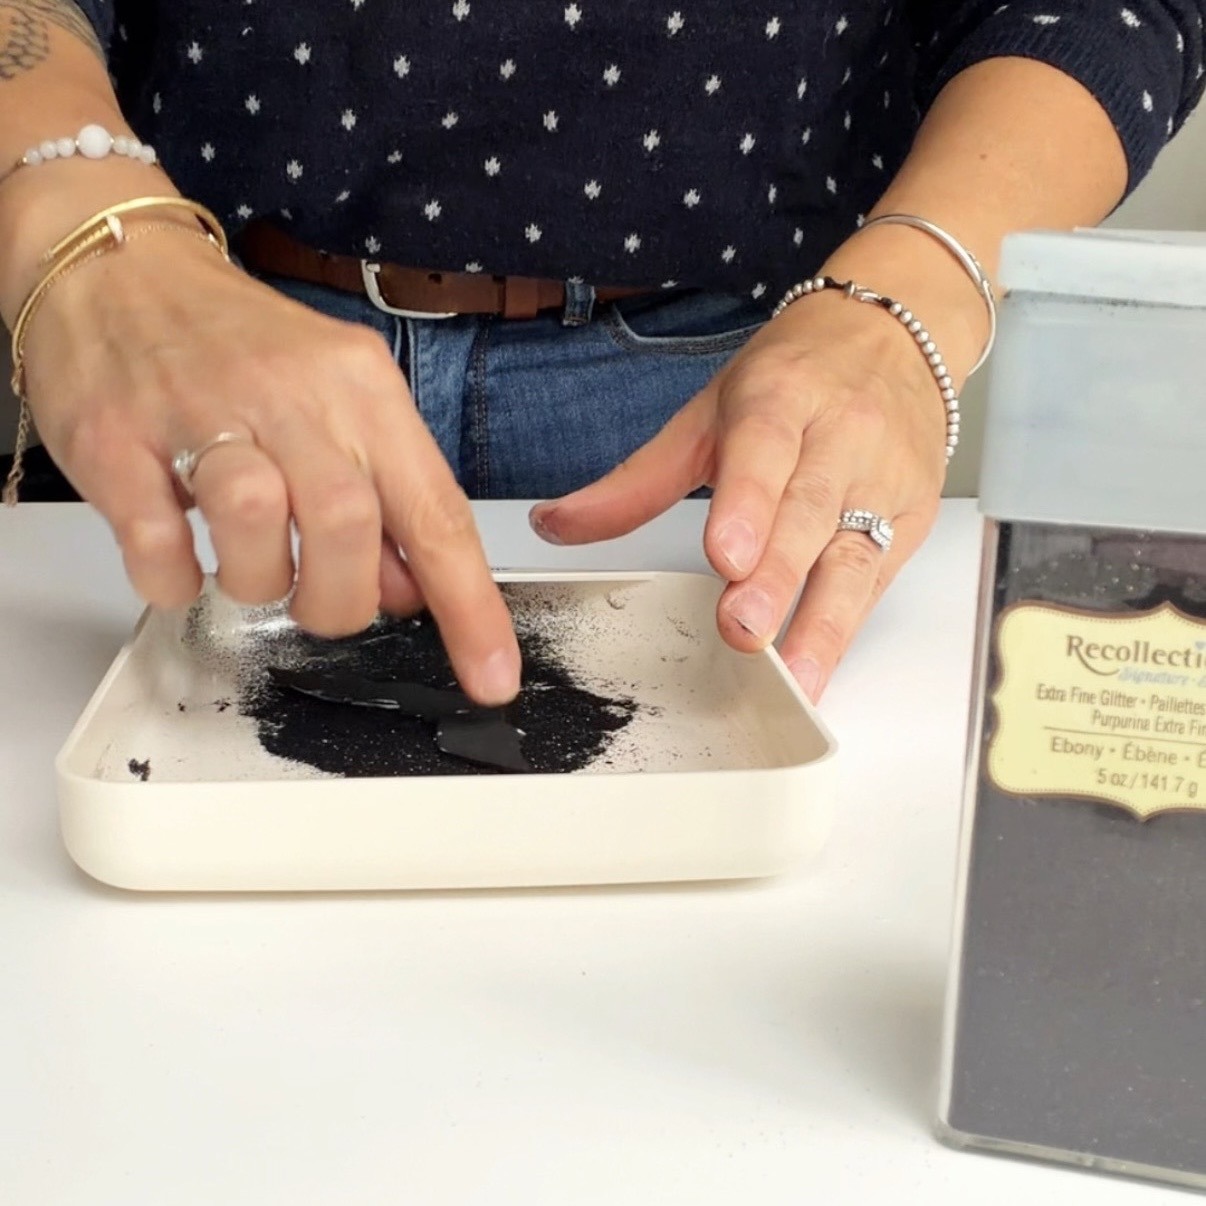
Shake off the excess and let it dry.
4. Mount the bats on a stem
Cut a piece of floral wire.
Apply hot glue to the back of one bat and place the wire end in the center.
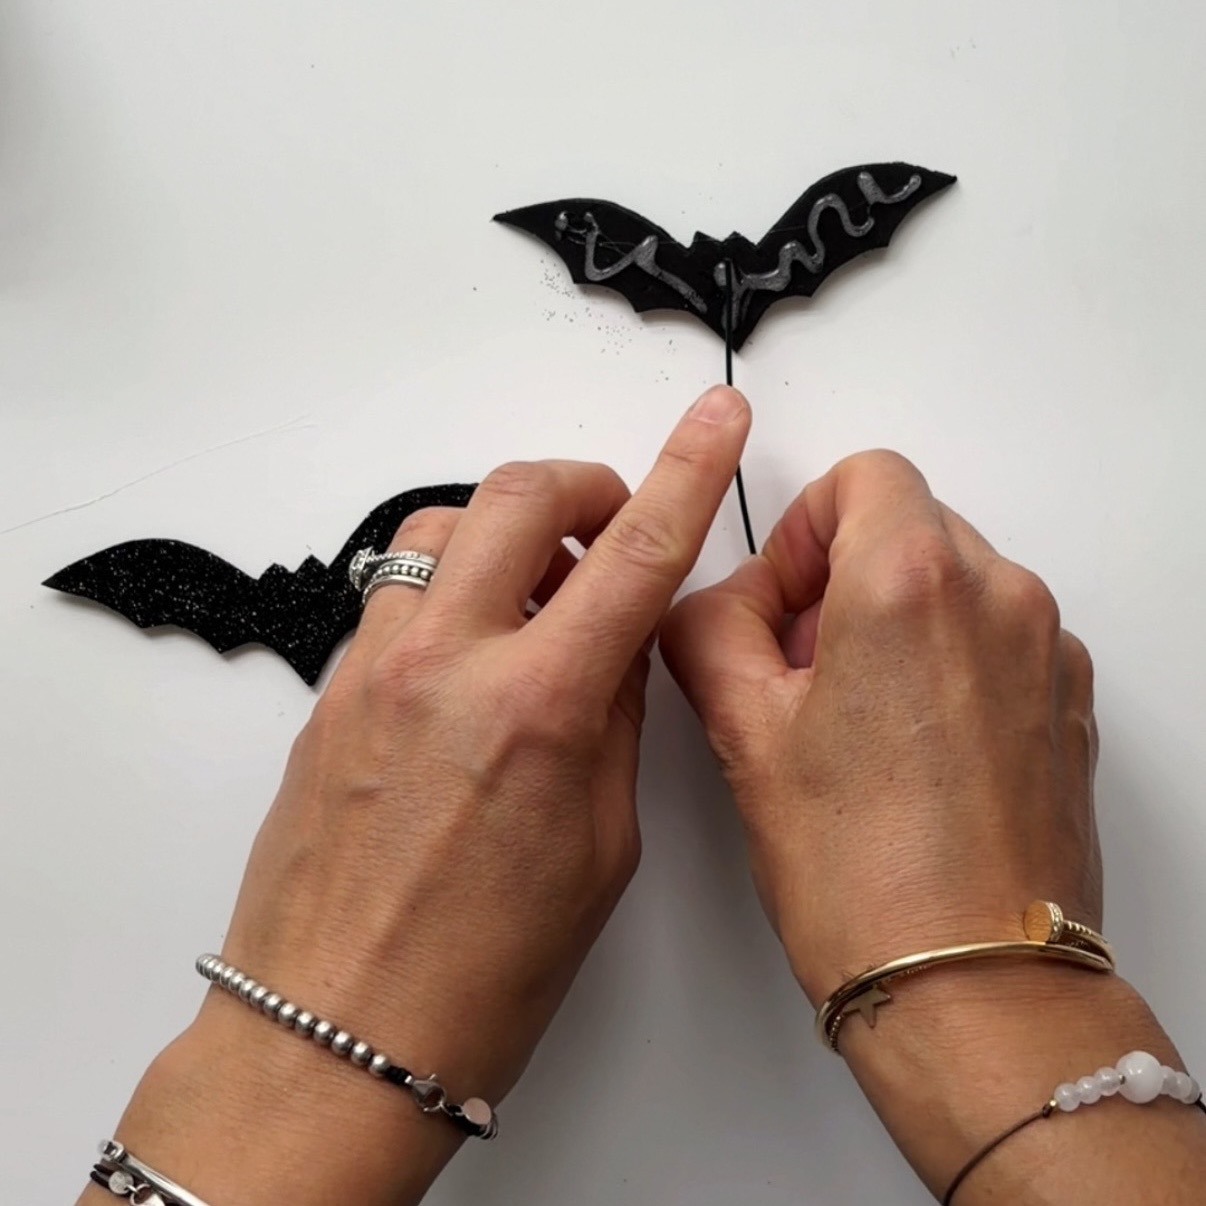
Glue the second bat on top and press firmly.
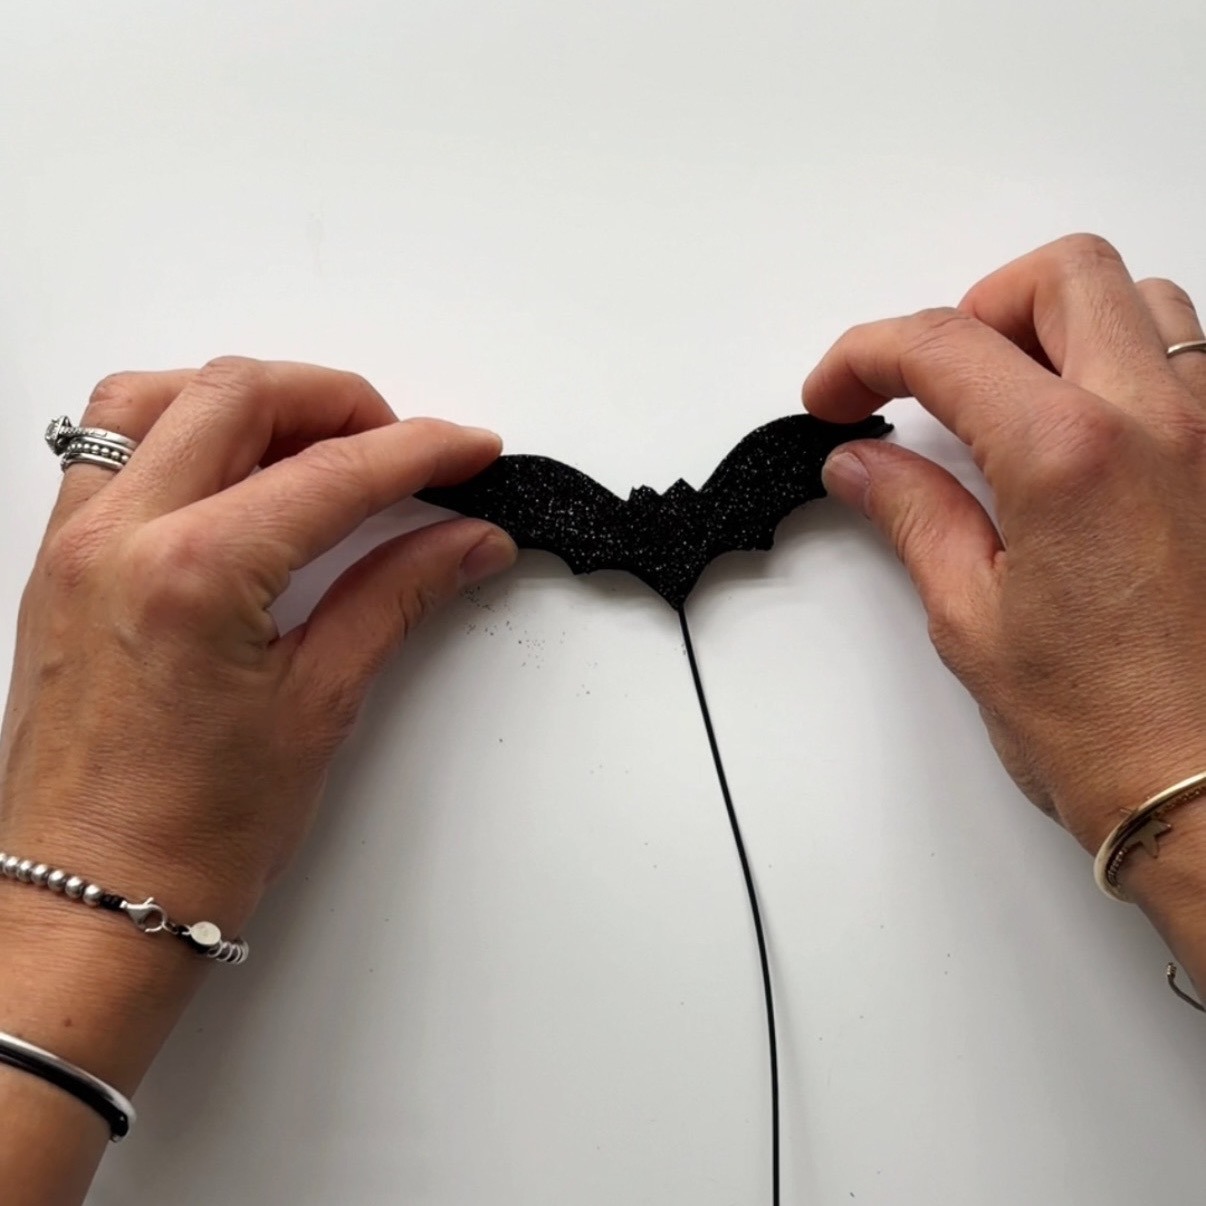
5. Prepare the roses
Cut strips of felt and/or foam sheets.
Fold the end of the strip in half.
Cut a rounded petal shape. They will be symmetrical this way.
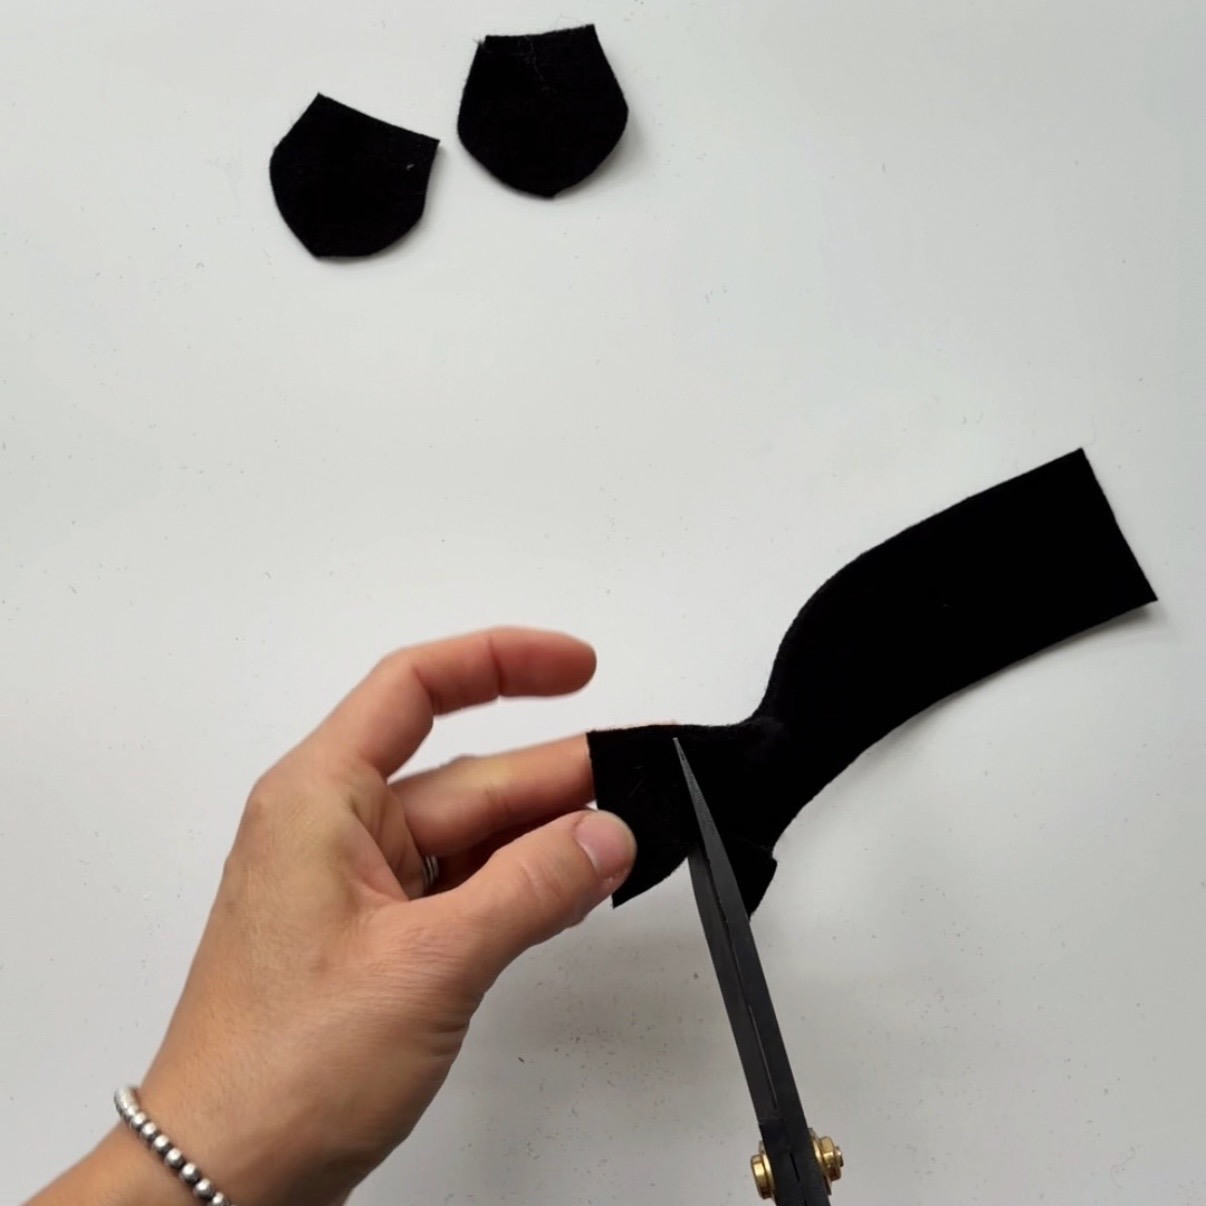
Repeat the process until you have the desired number of petals.
Cut a piece of floral wire with the pliers.
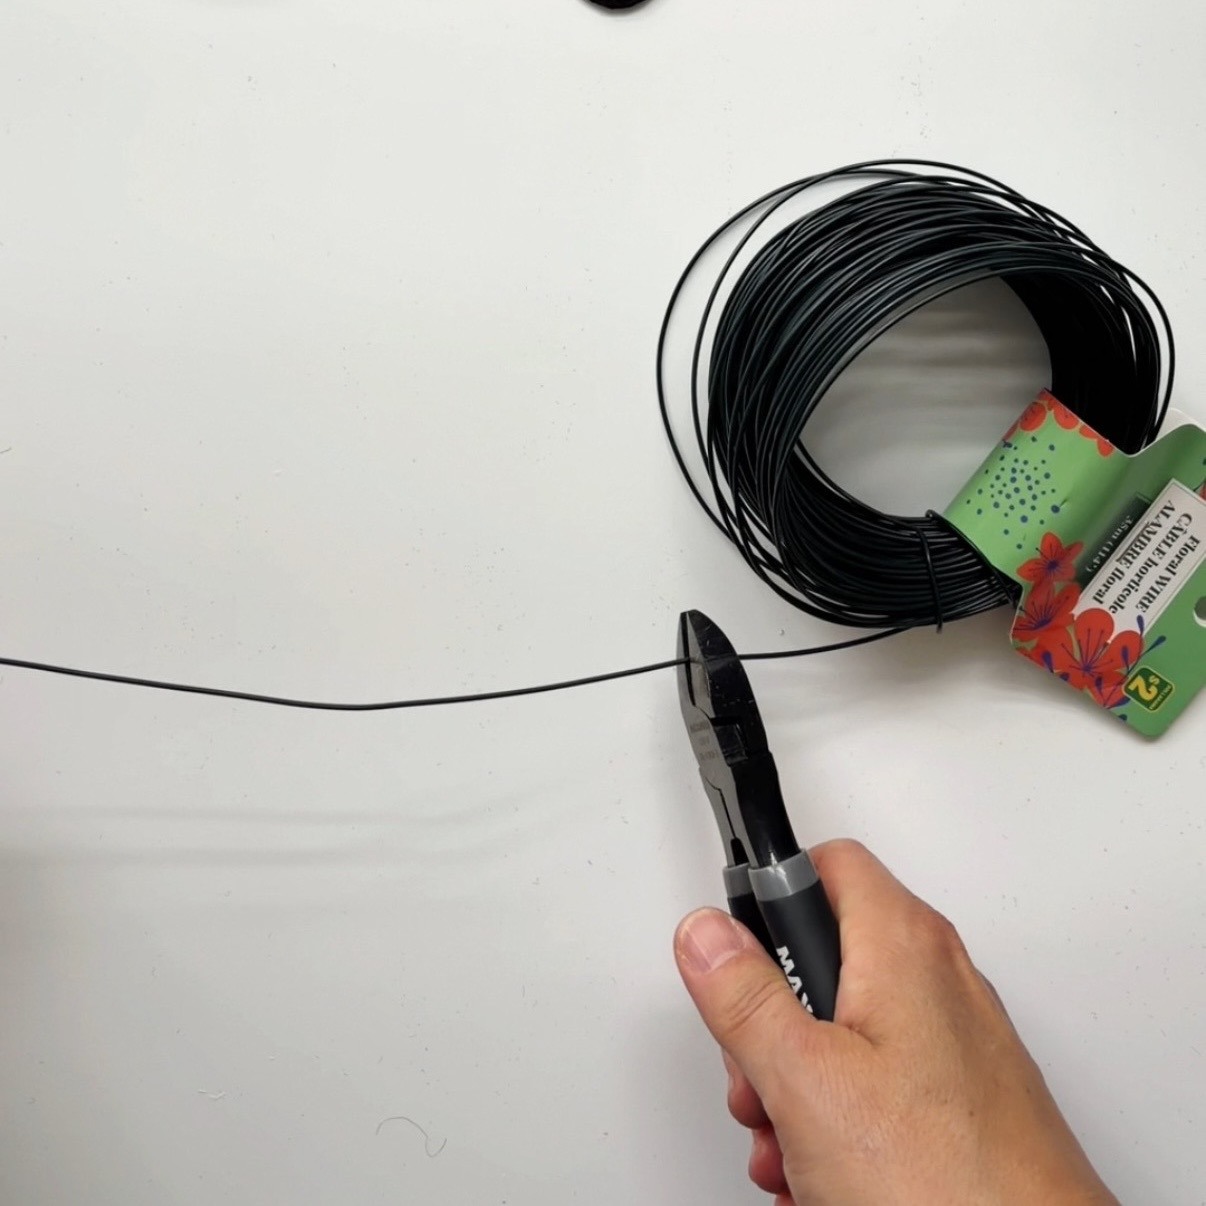
Bend one end of the wire to form a small loop.
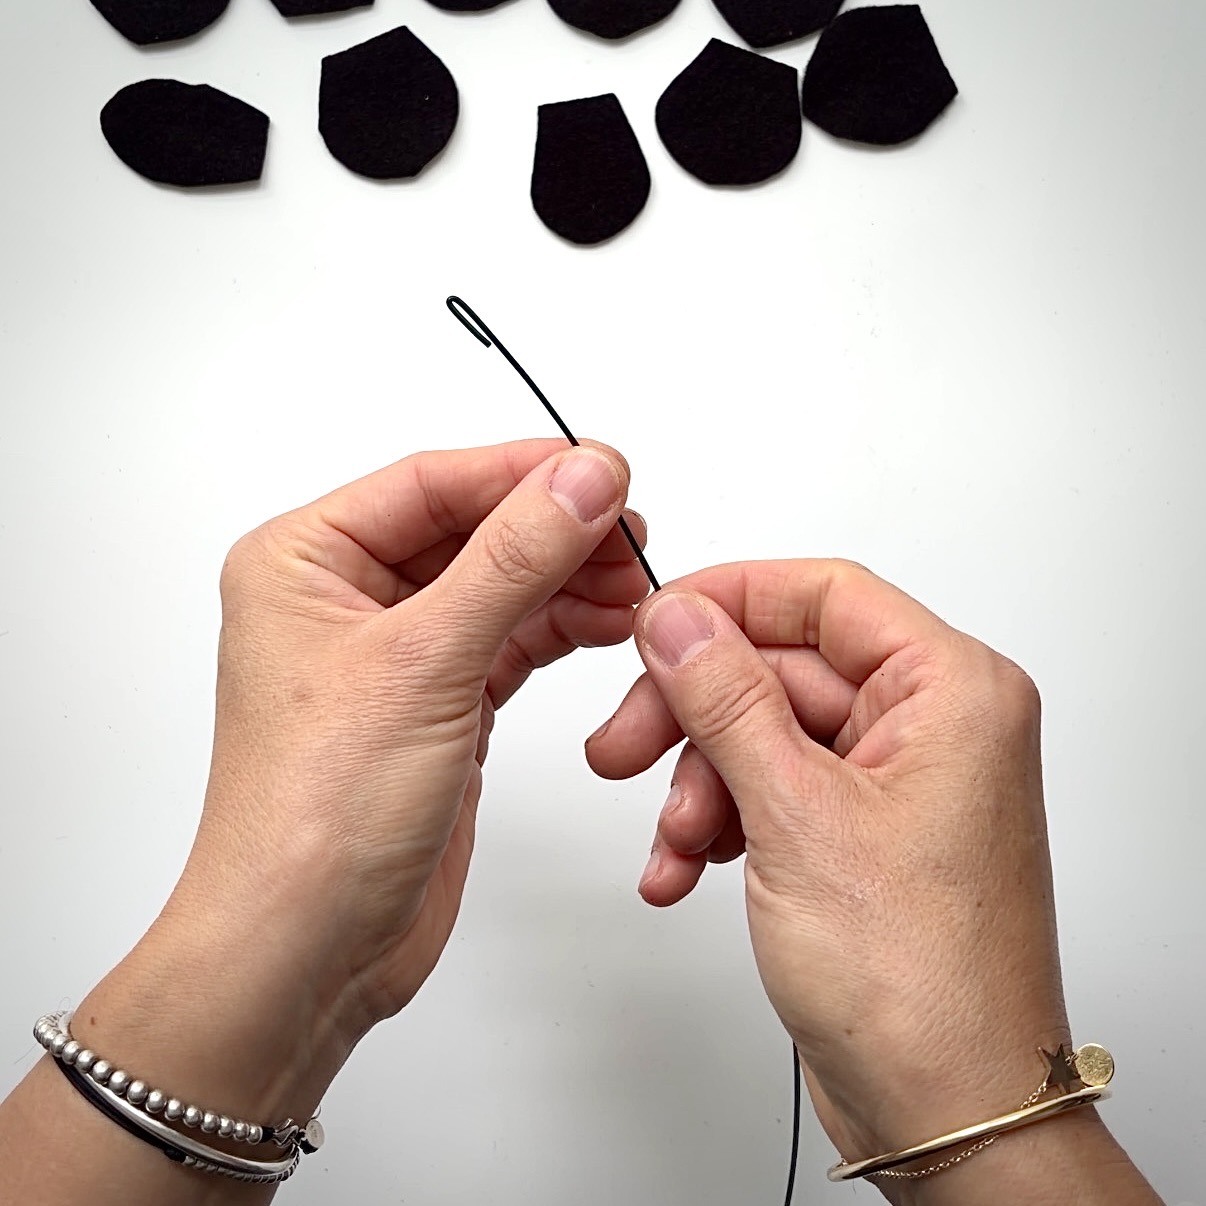
6. Form the rose's core
Put a dot of hot glue at the base of a petal.
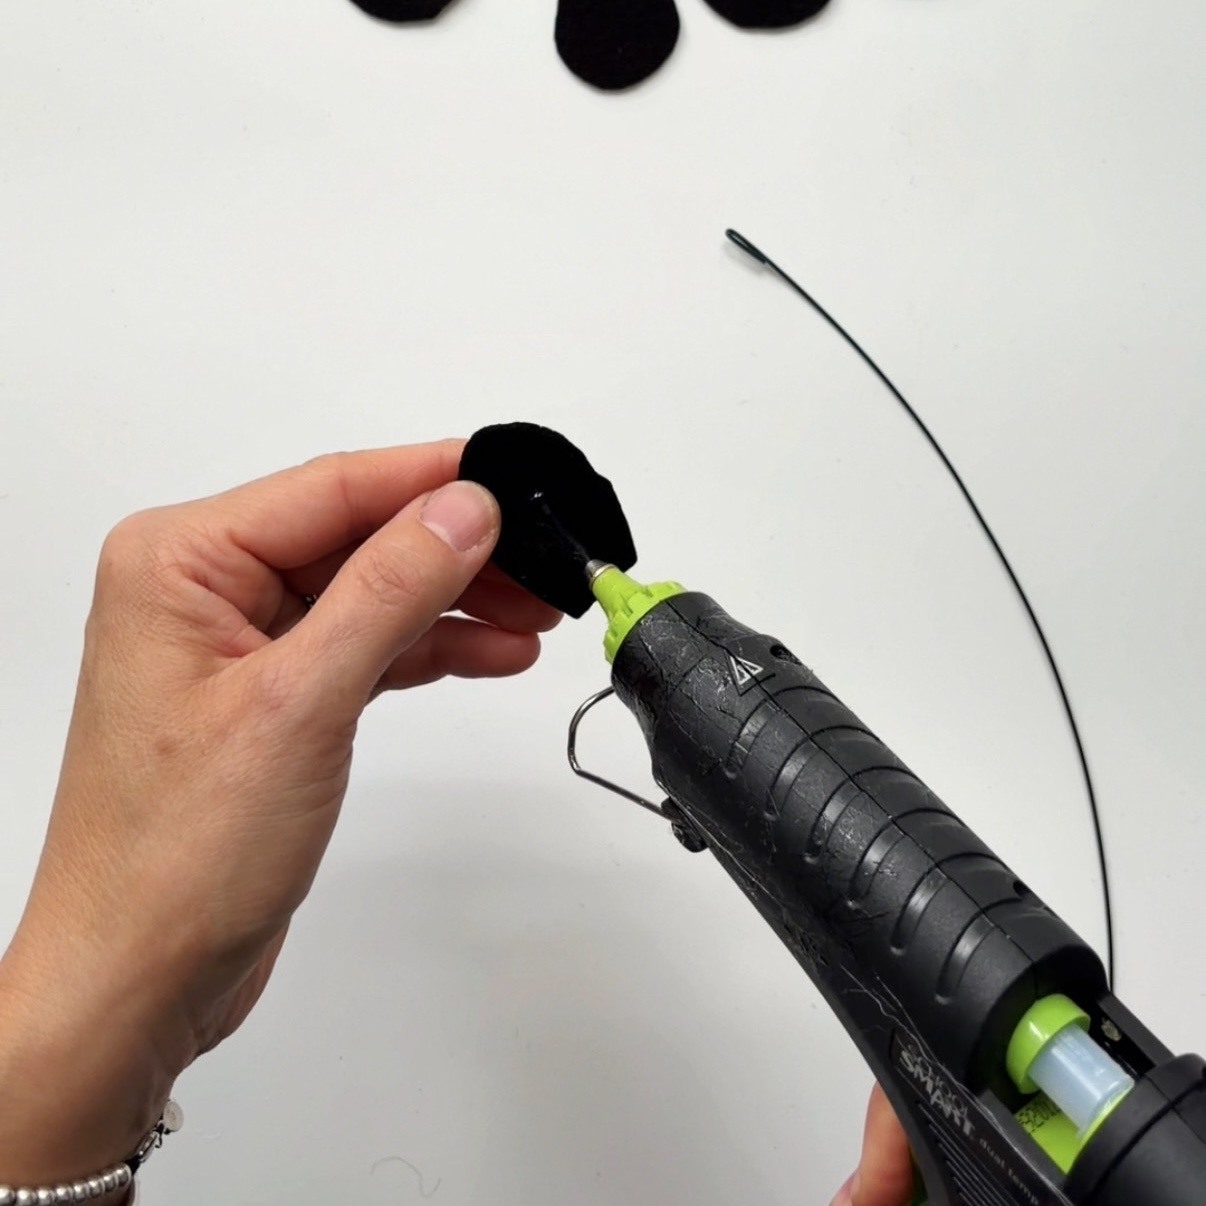
Wrap the petal tightly around the loop.
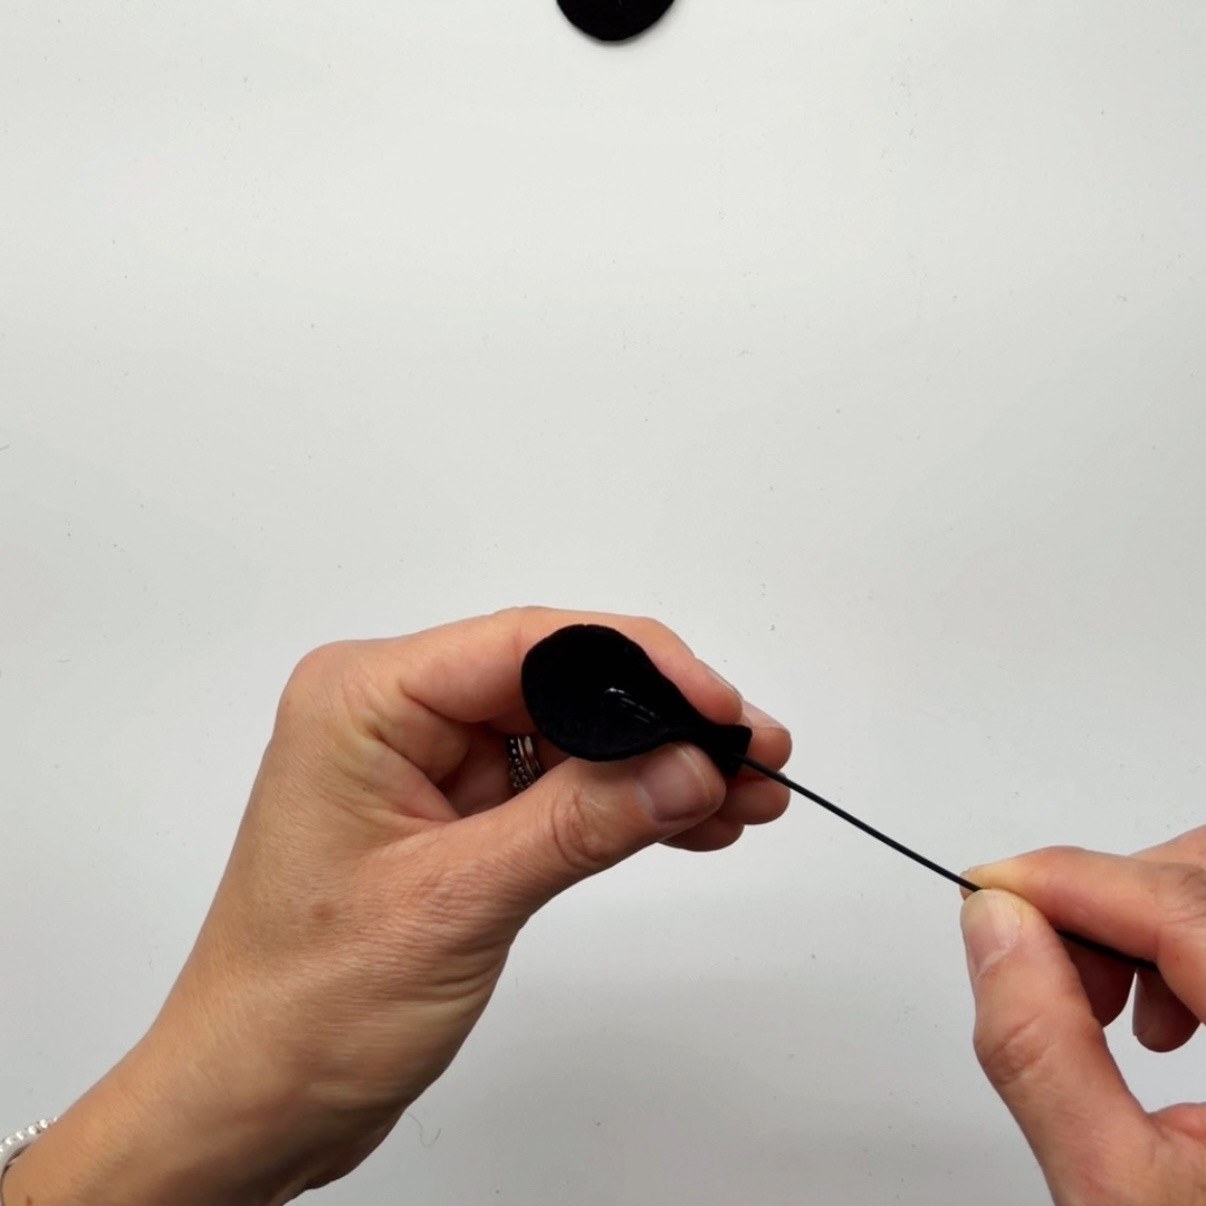
Pinch the base to secure it well.
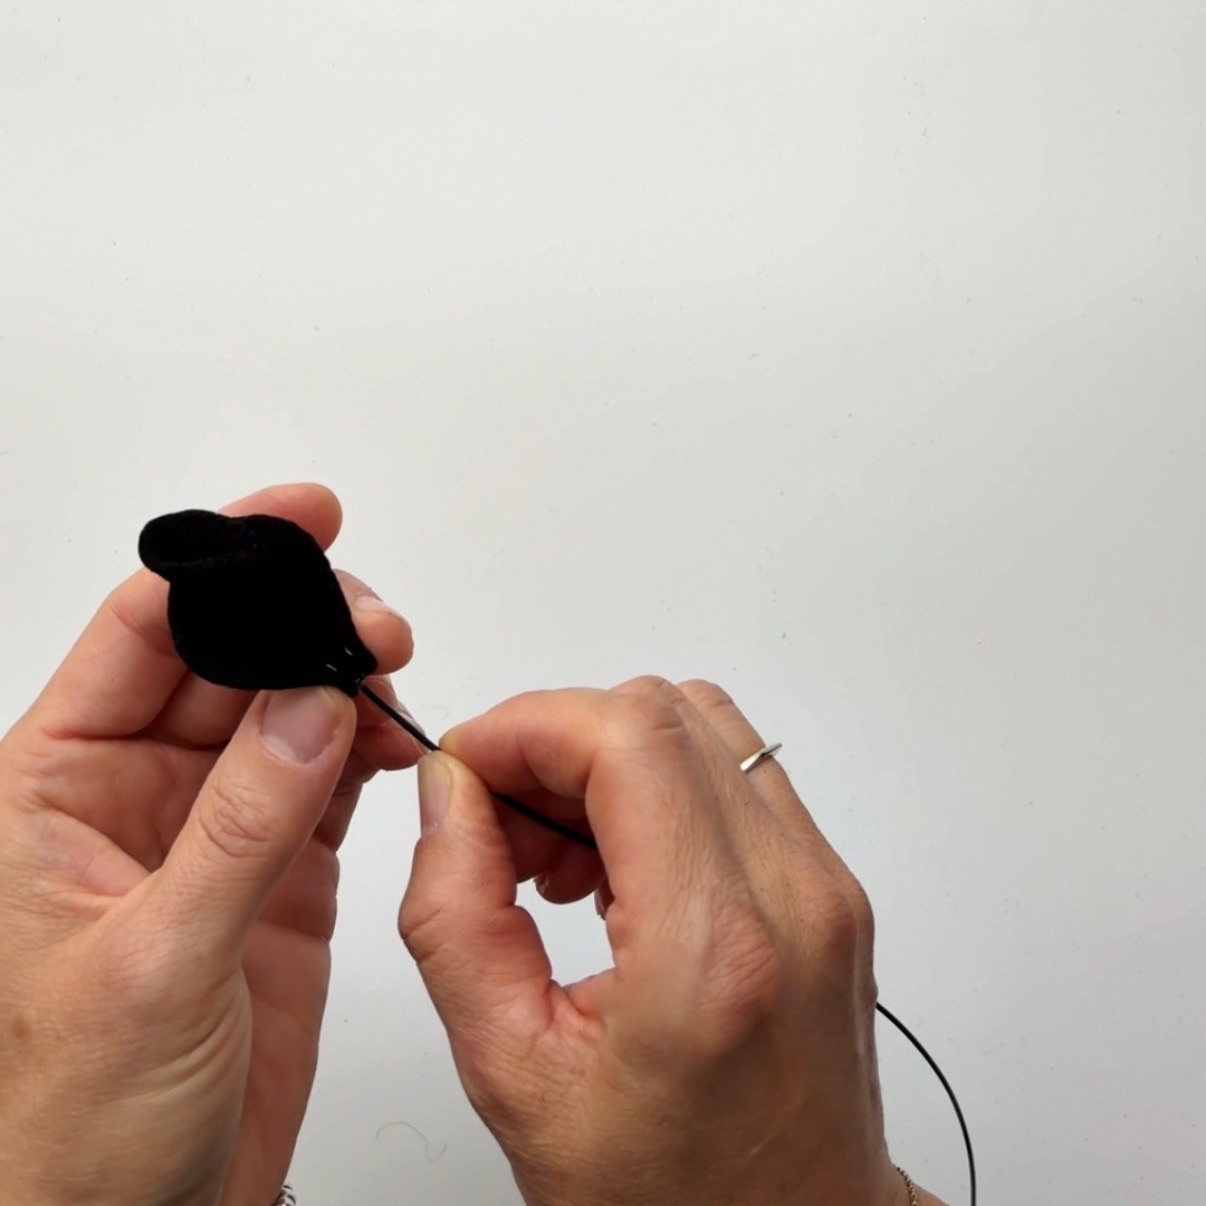
7. Bloom the rose
Glue the following petals one by one around the core, slightly offsetting them.
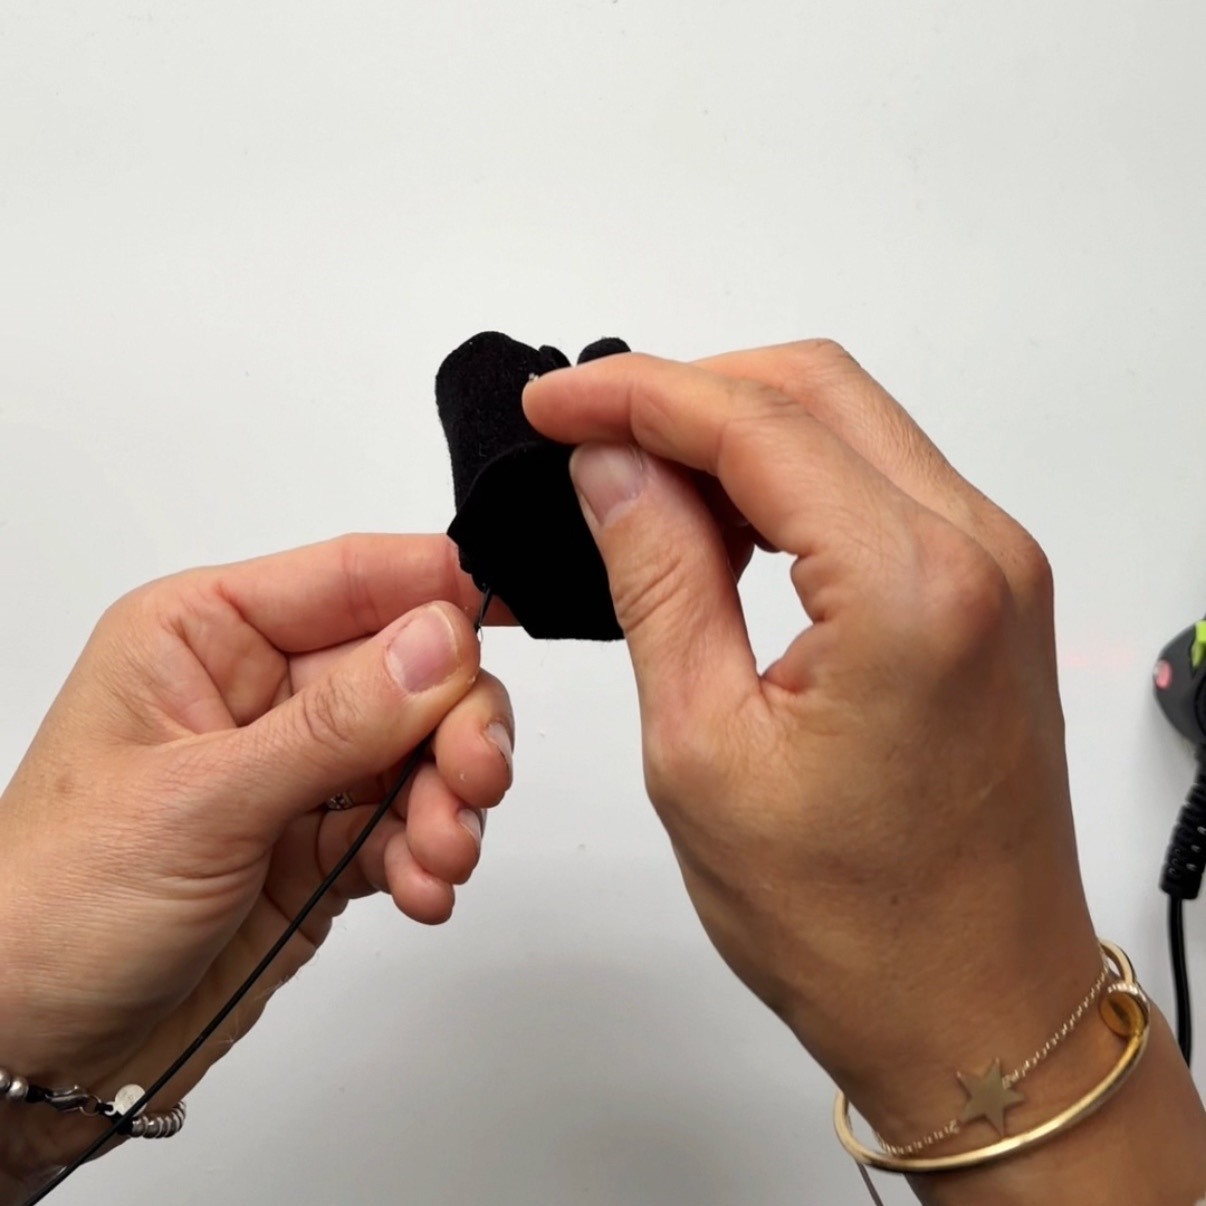
Continue until you achieve the desired size.
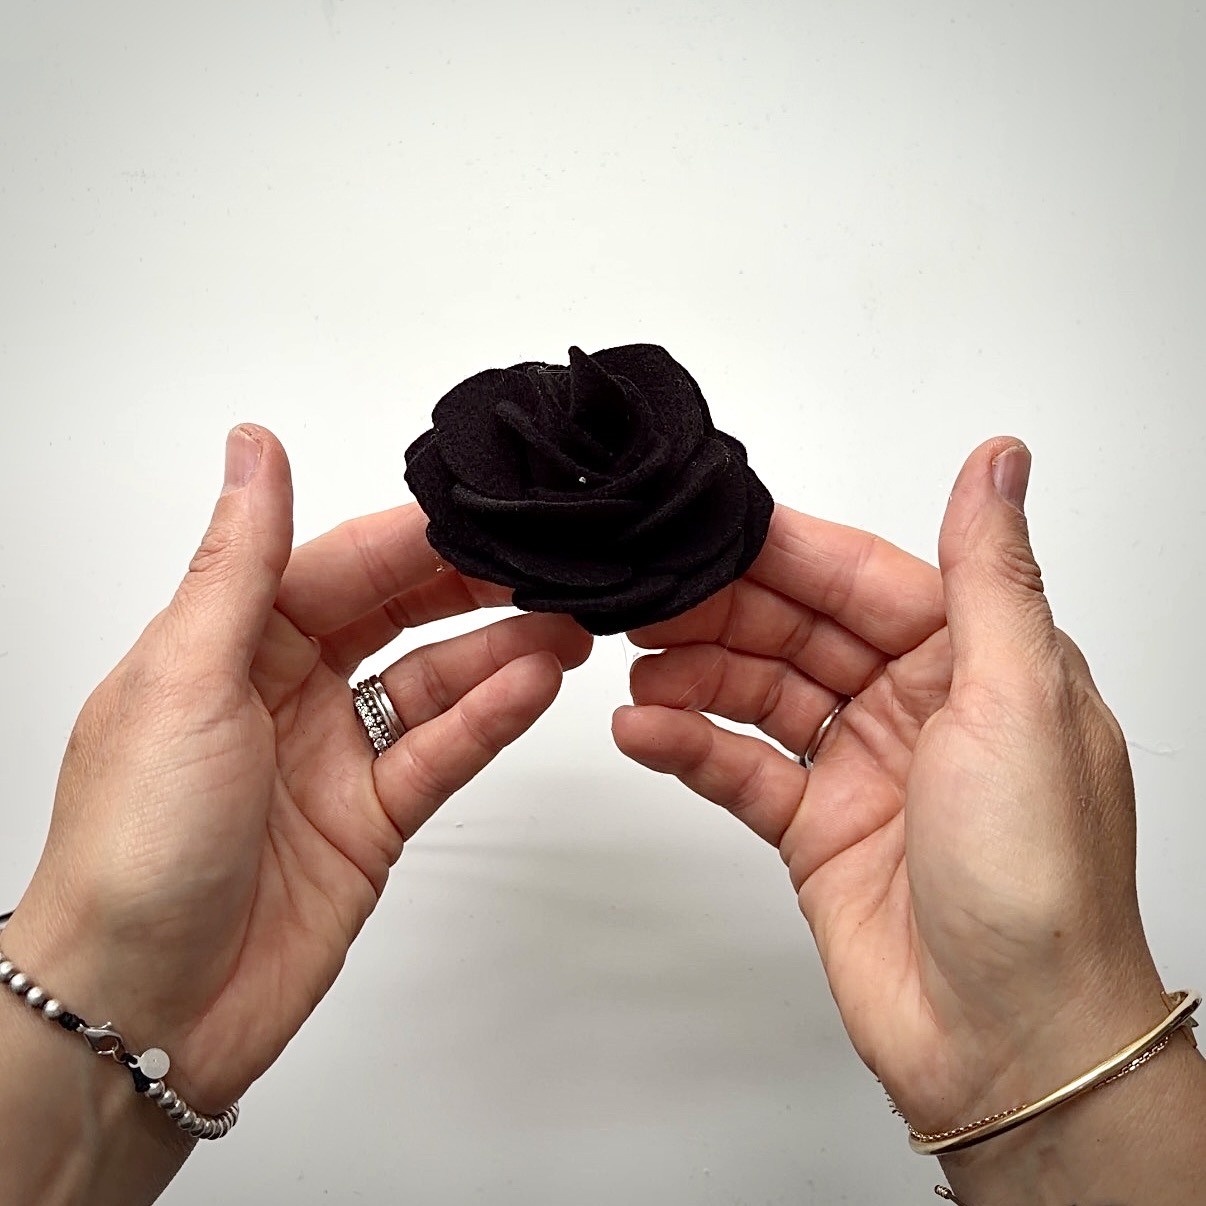
8. Prepare the branches
Fold a strip of felt and/or foam sheet in half lengthwise.
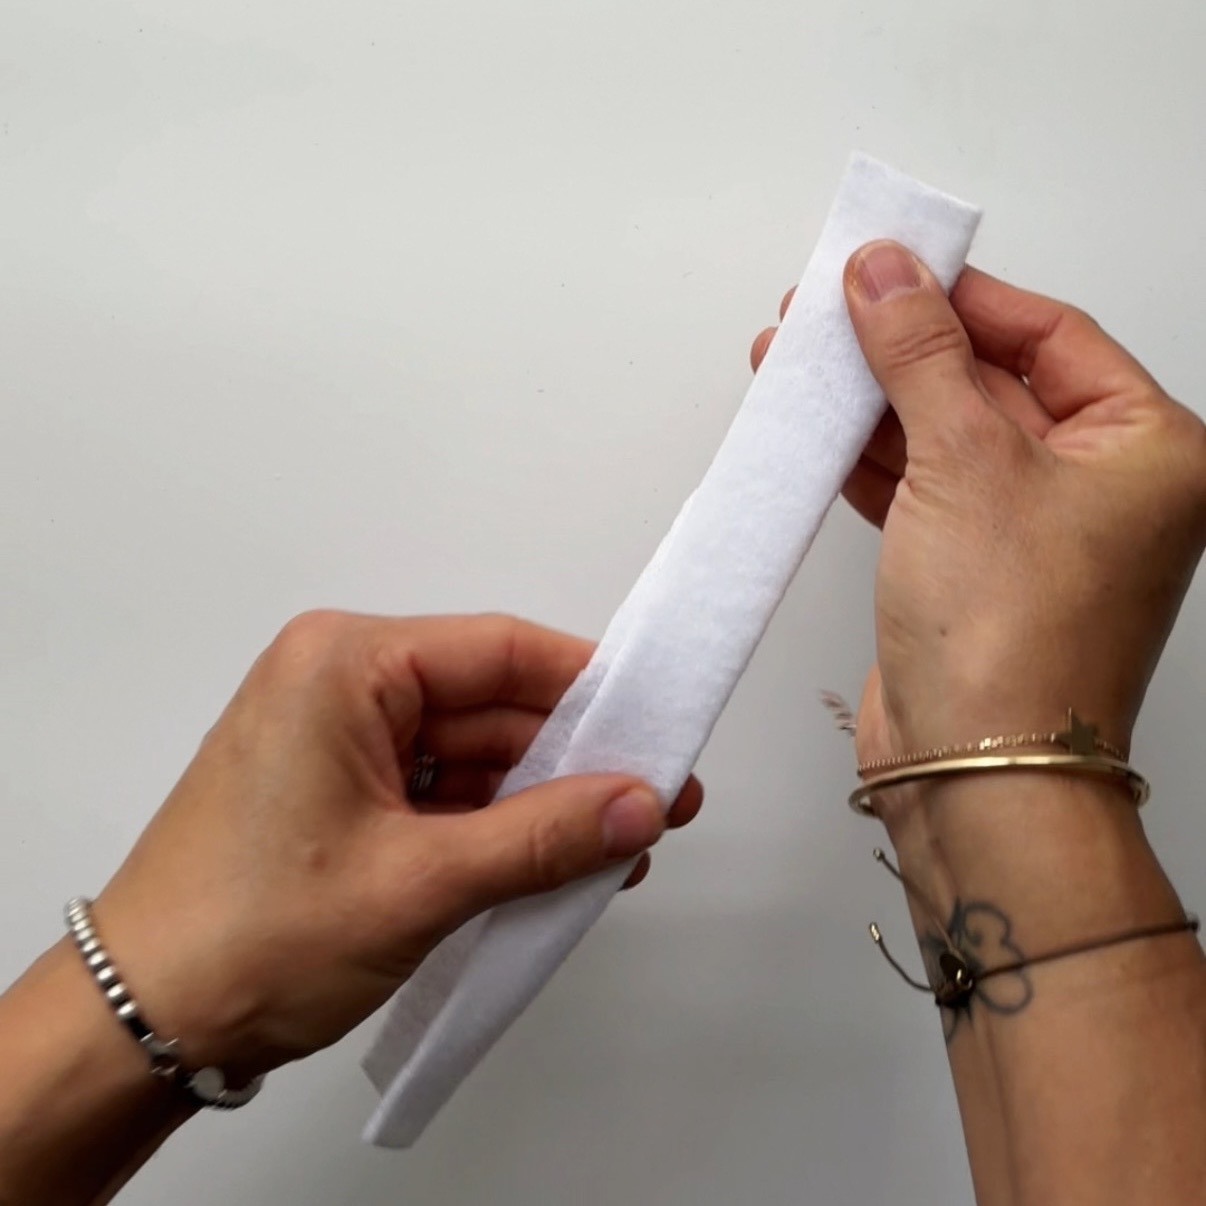
Cut leaf shapes to achieve a symmetrical result.
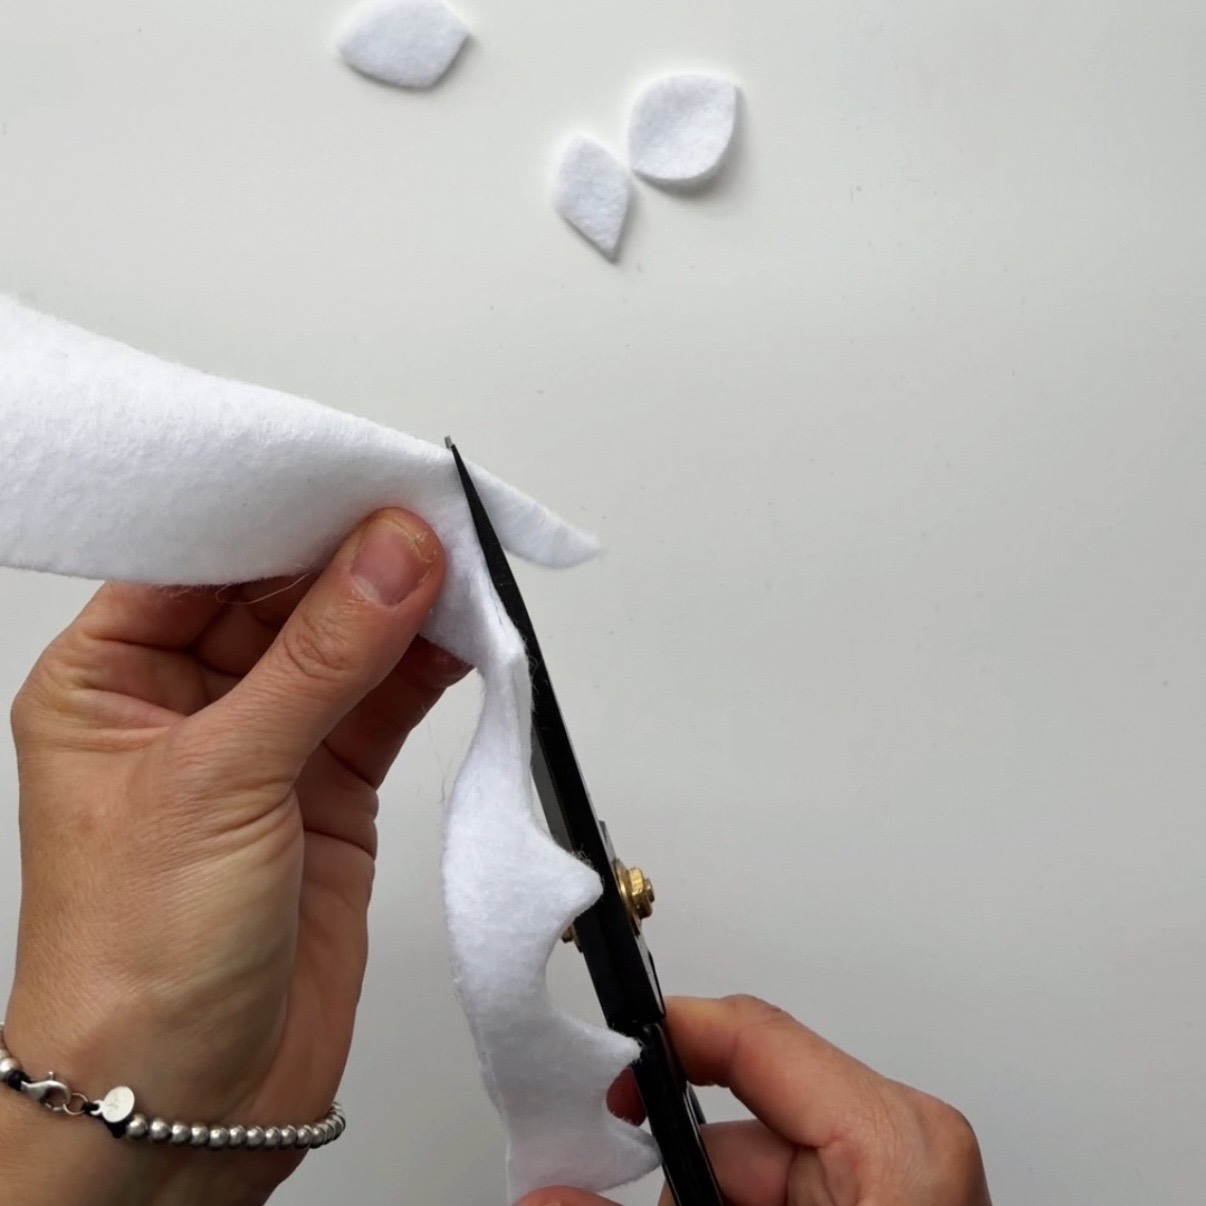
9. Create the branch framework
Cut a long piece of wire for the main stem and bend one end into a small loop.
Cut several small pieces of wire of different lengths.
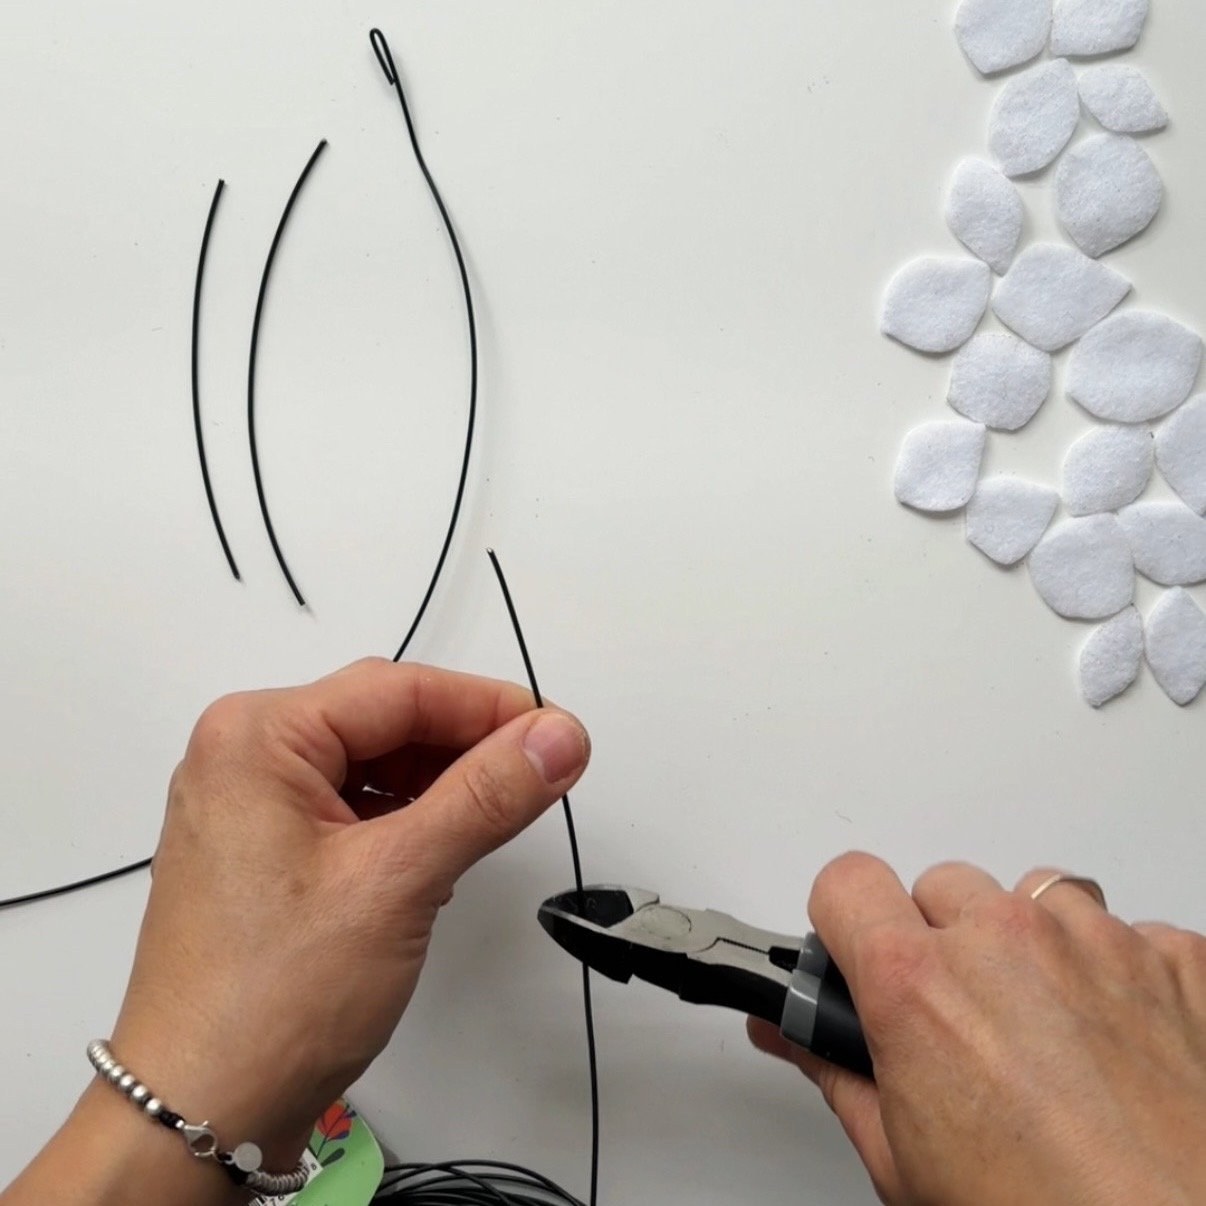
Wrap the base of a small piece around the main stem to form a branching.
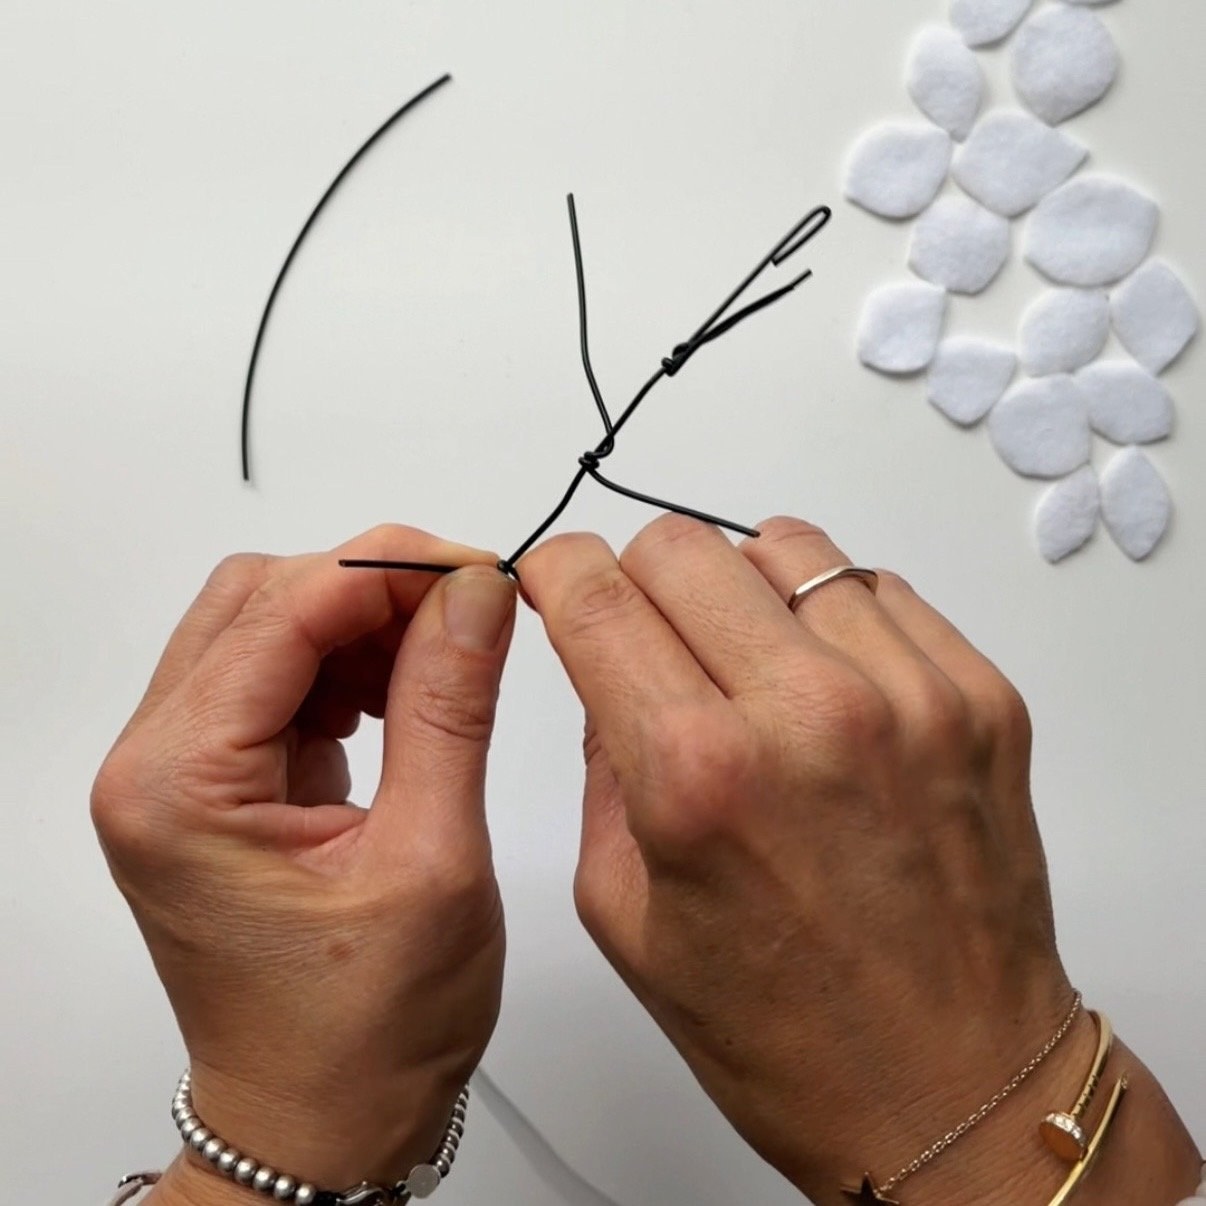
Repeat, alternating left and right, from top to bottom, until you have a nice branch.
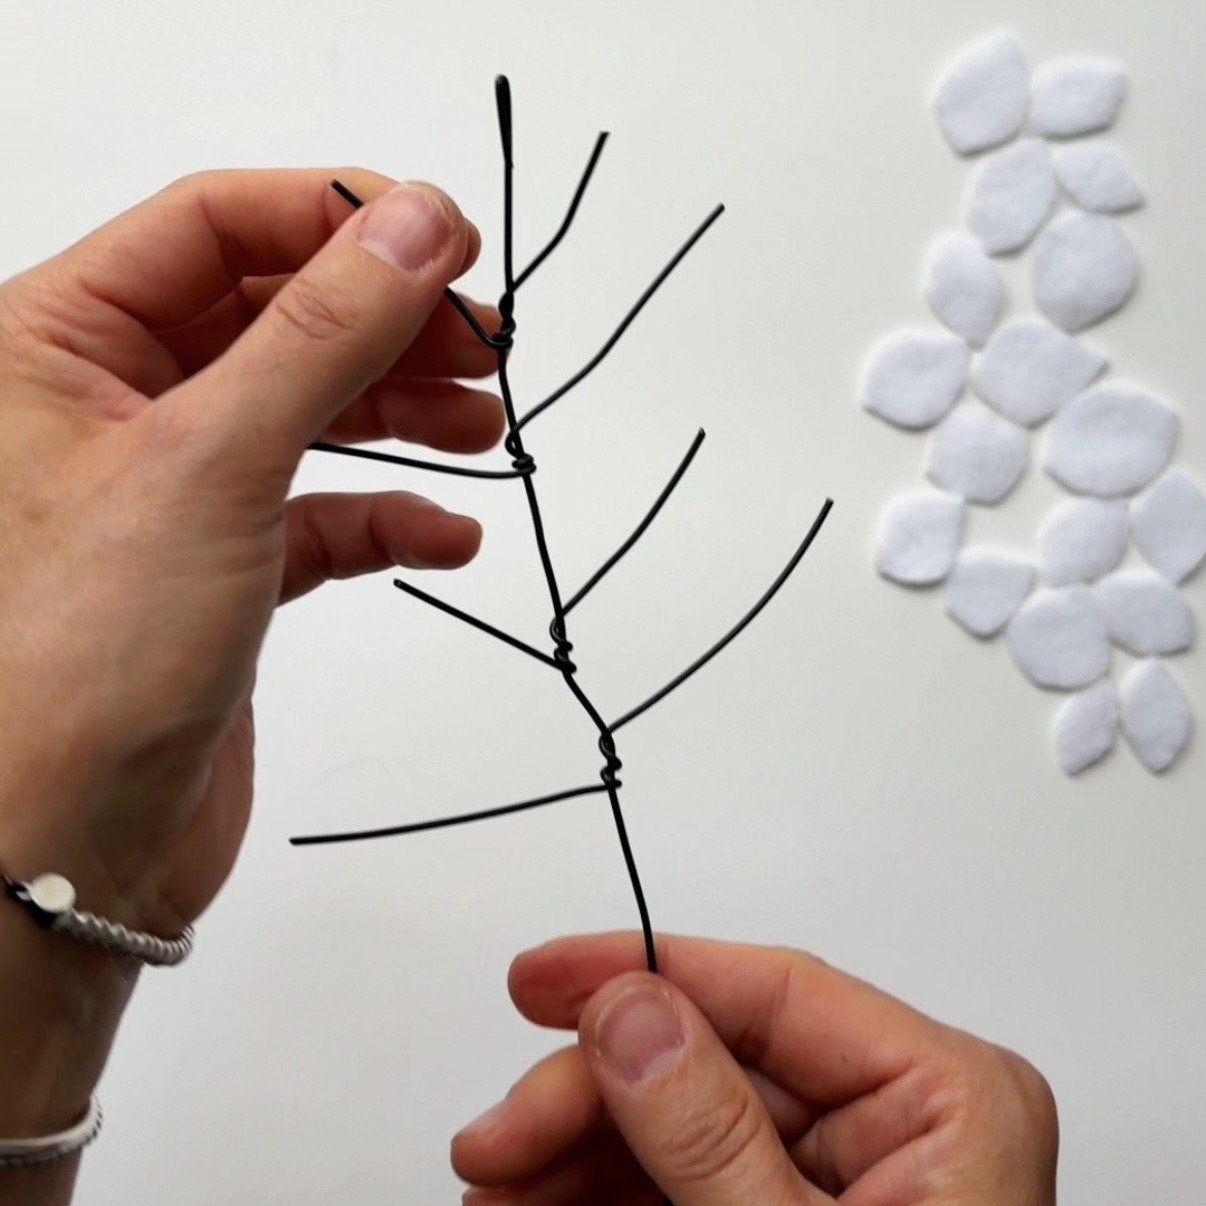
10. Dress the branch
Put a dot of hot glue at the end of each stem.
Place a leaf on it and slightly close it around the wire.
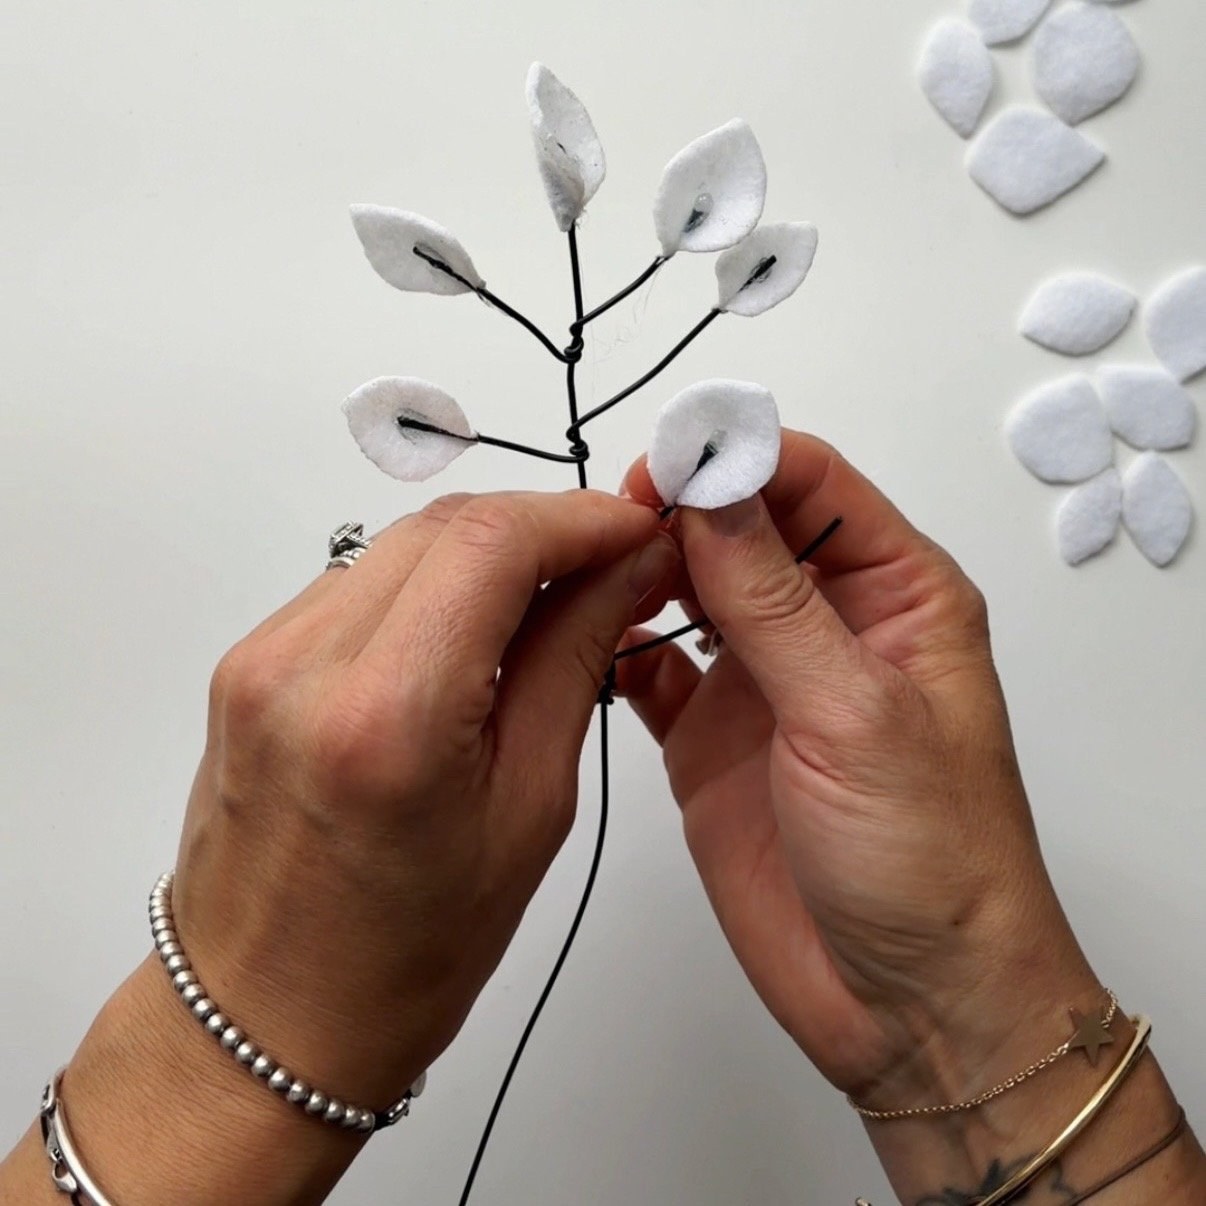
Repeat with felt of another color or foam to create other foliage.
11. Assemble the wreath
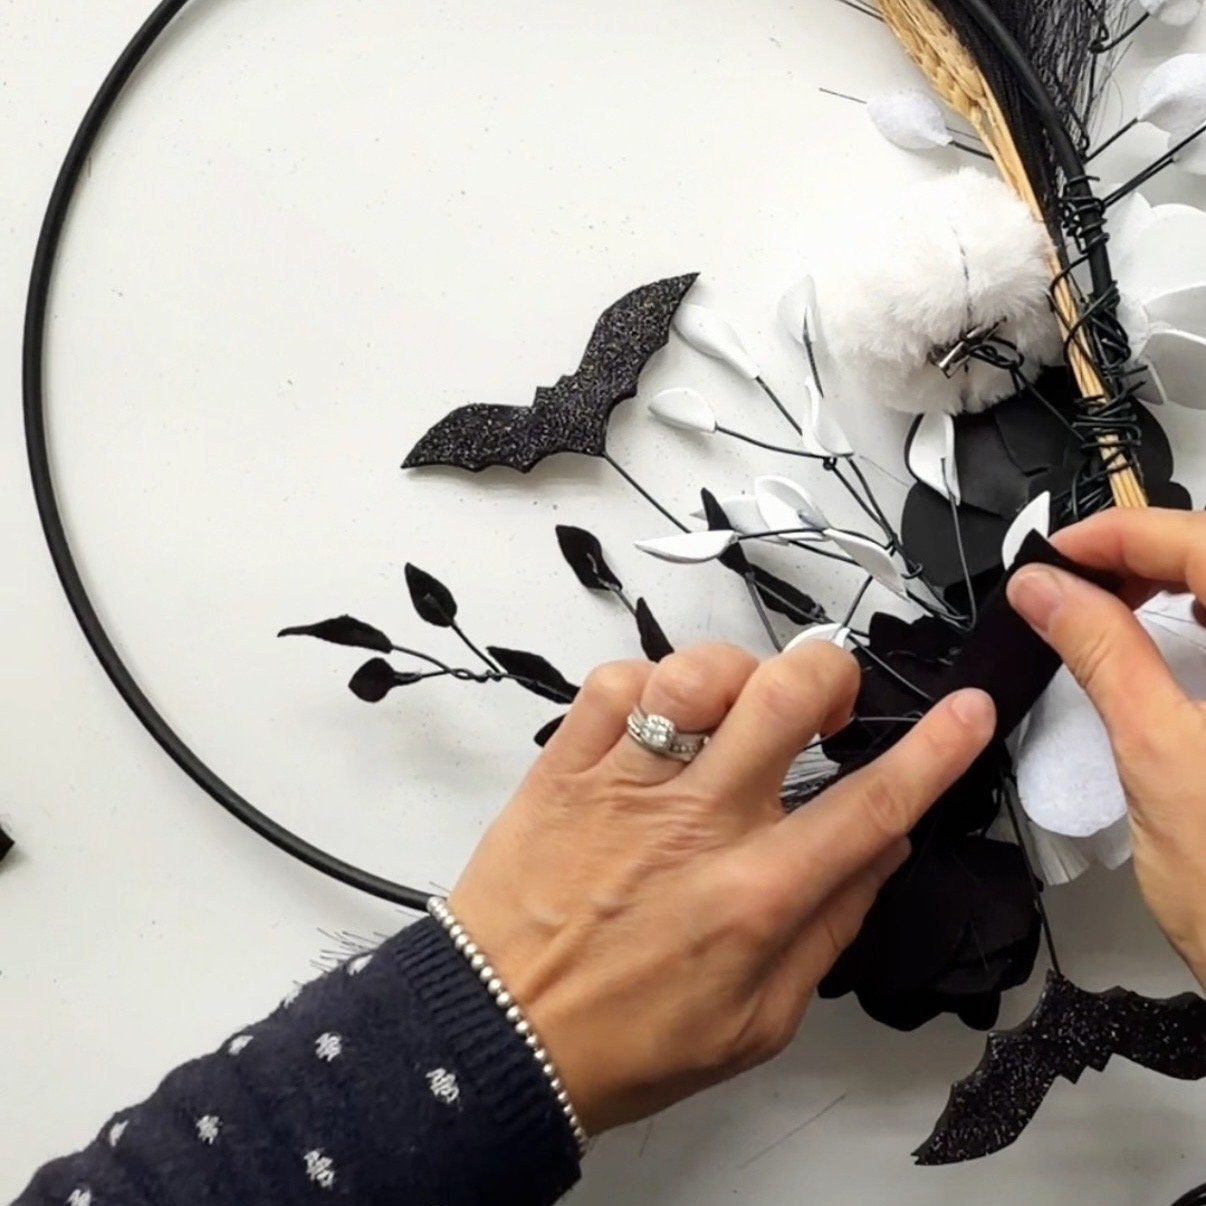
Place the flowers on the ring and secure them by wrapping the wire tightly.
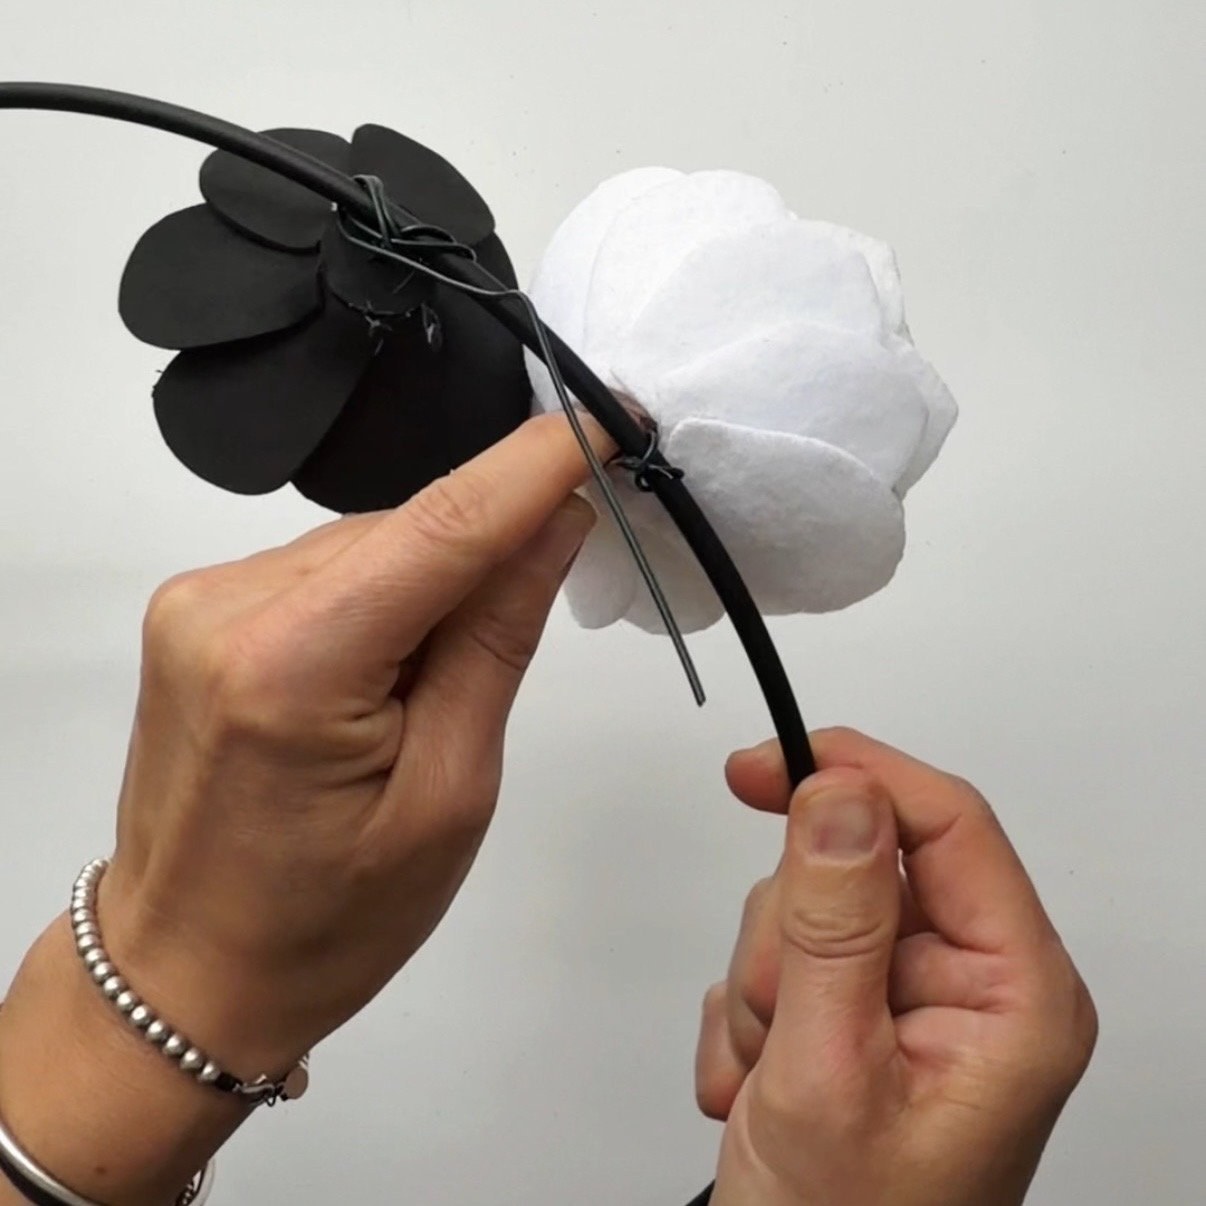
Add the wheat ears and pampas feathers, then attach them securely with wire.
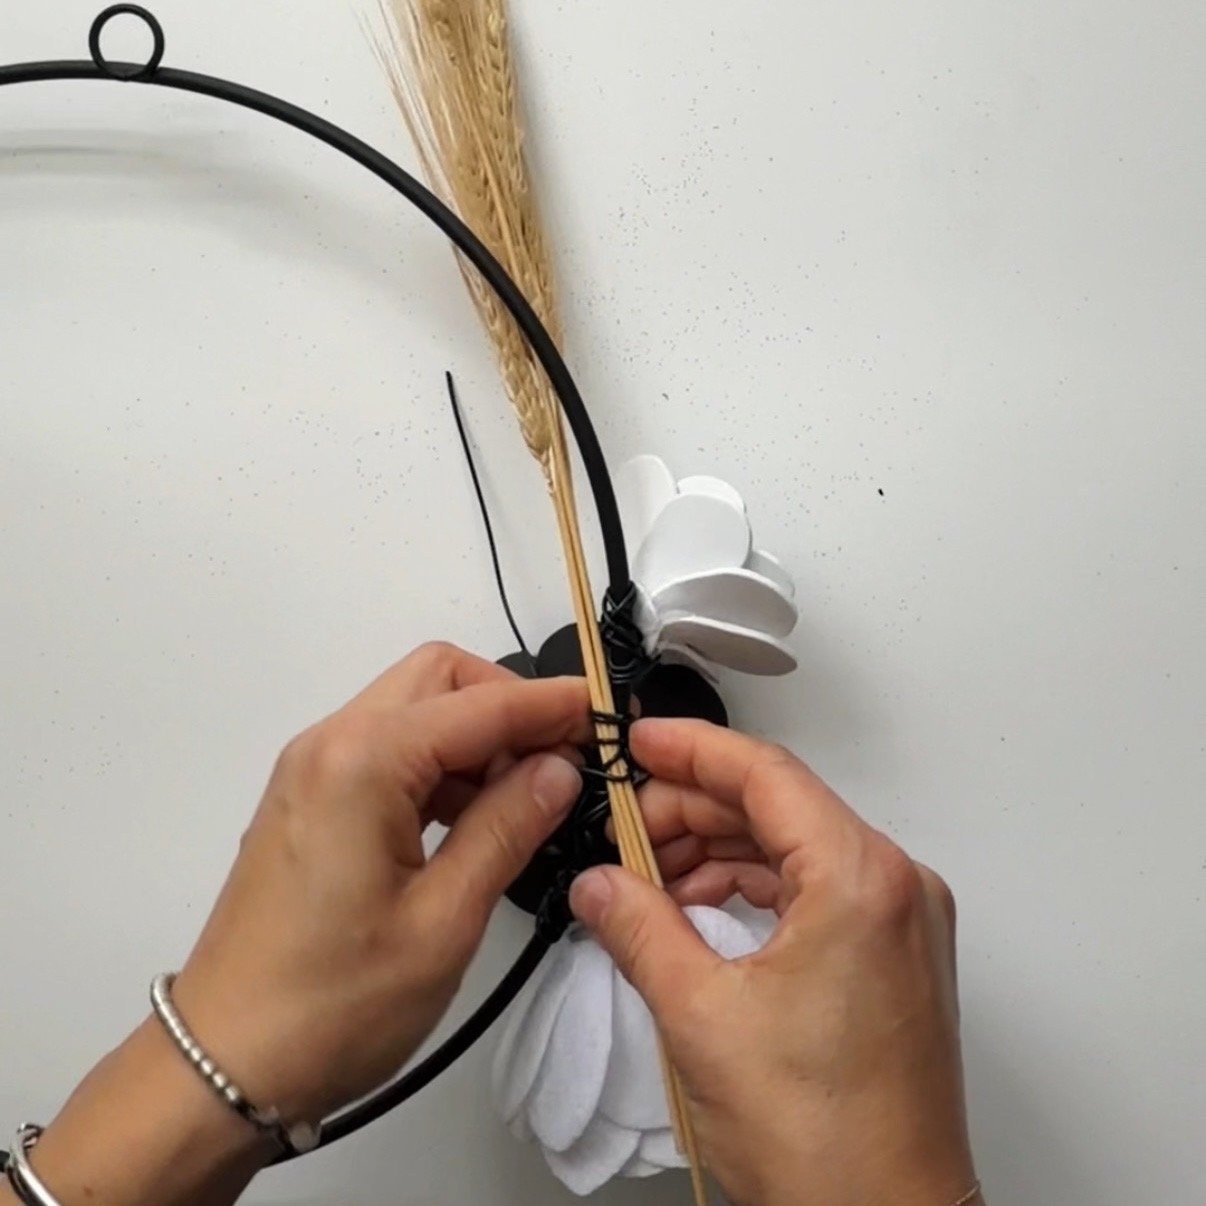
Complete with the pumpkins, branches, and bats.
Adjust the position of each element to balance the composition.
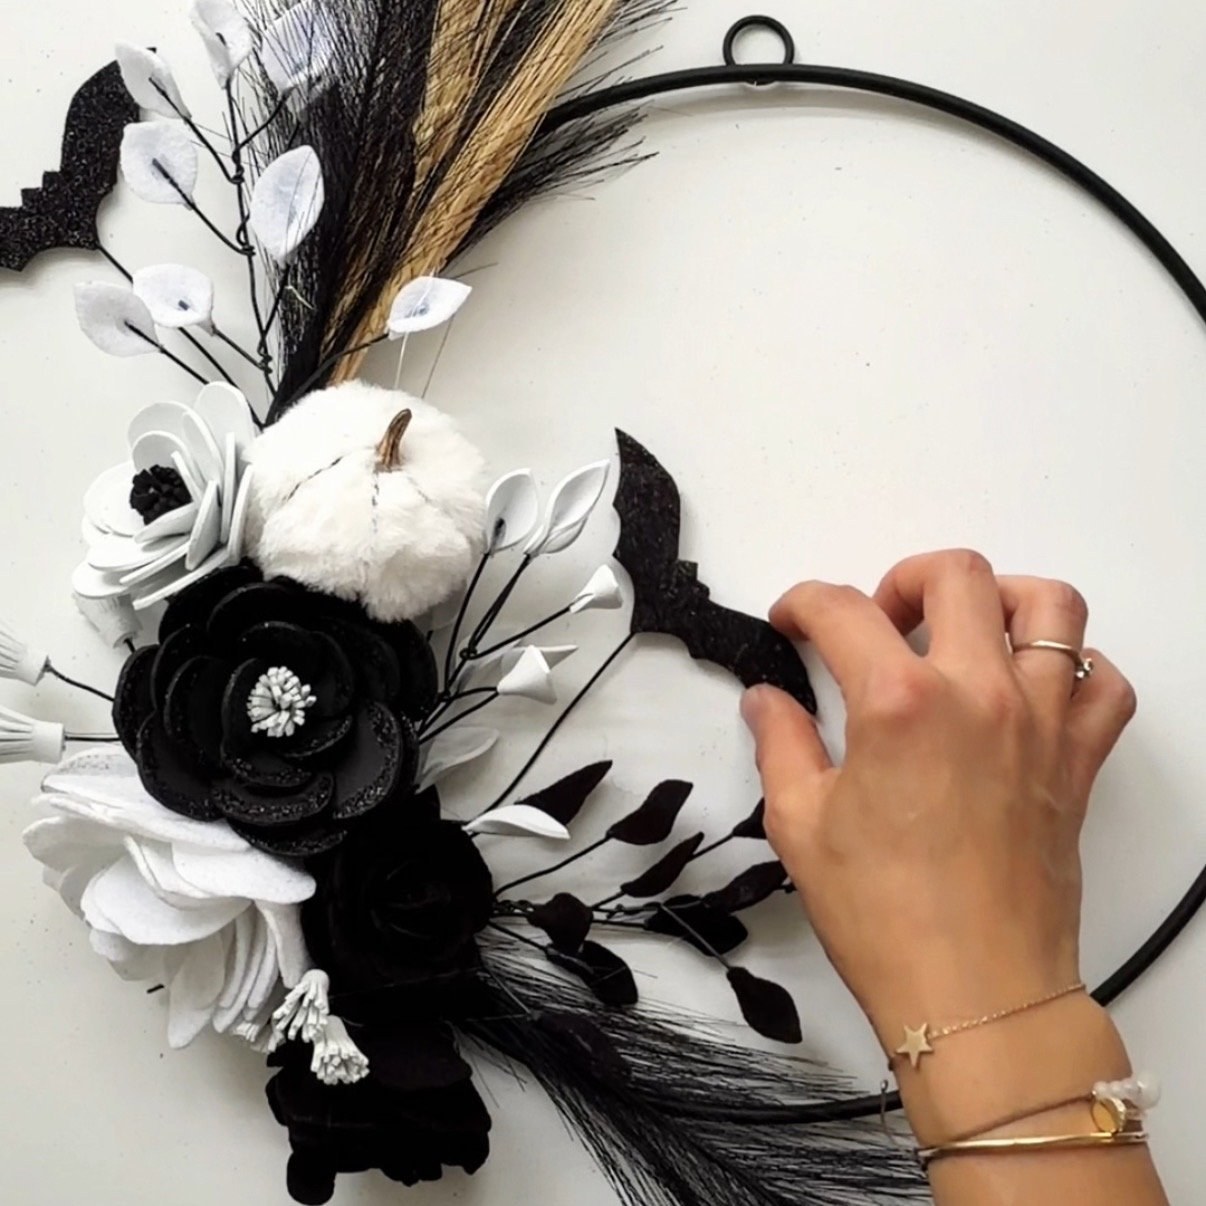
Hang and admire!
Tips & Tricks
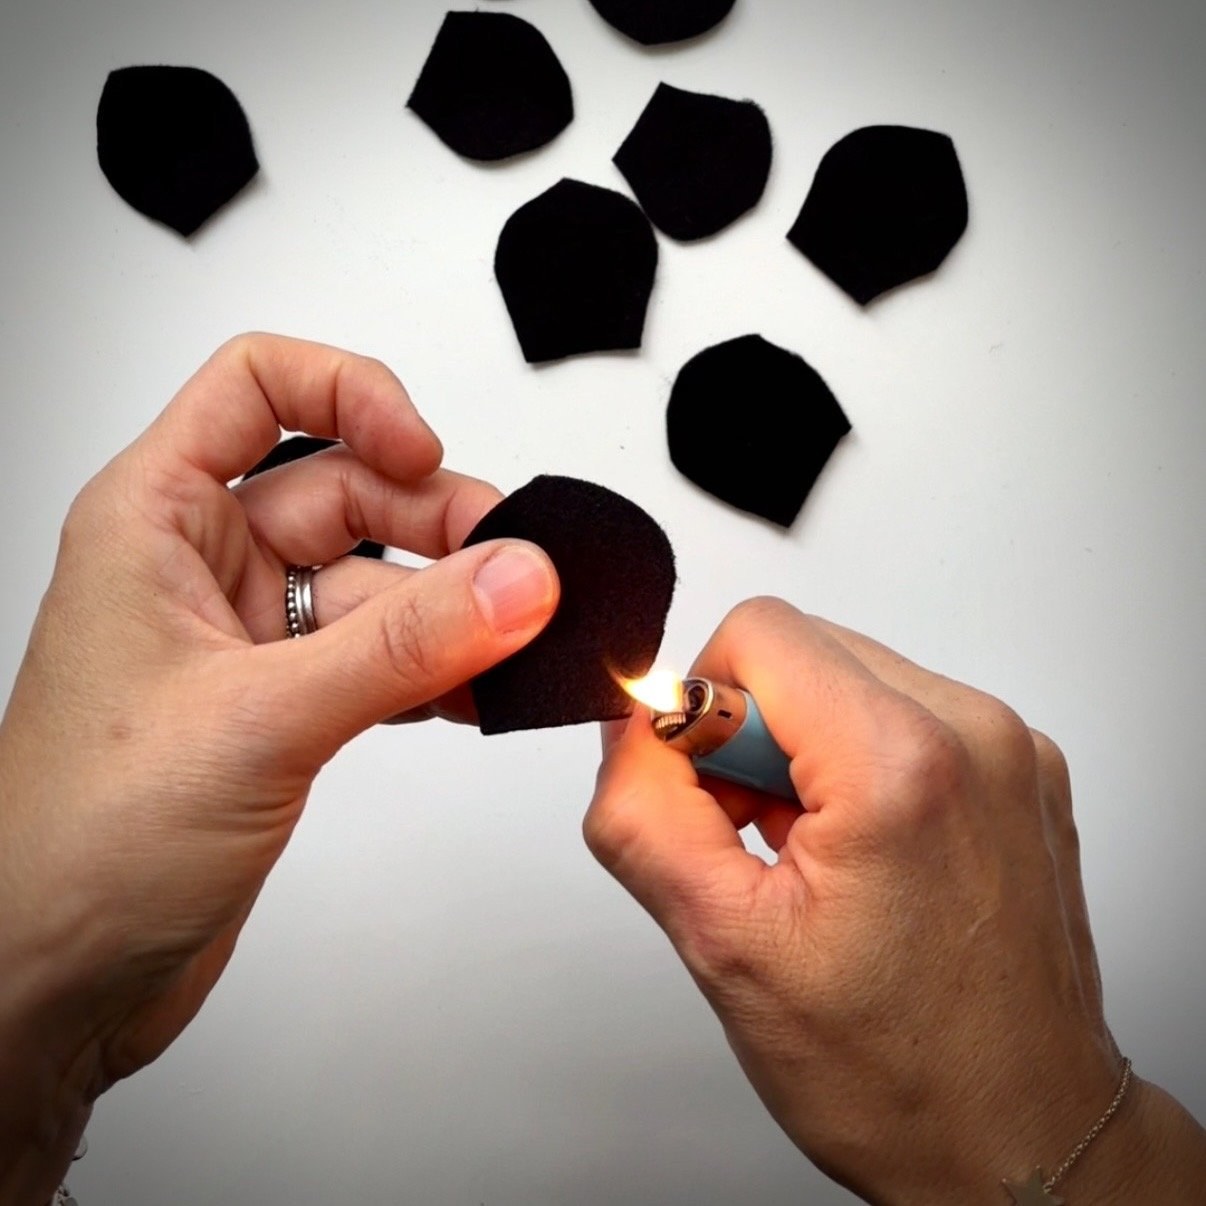
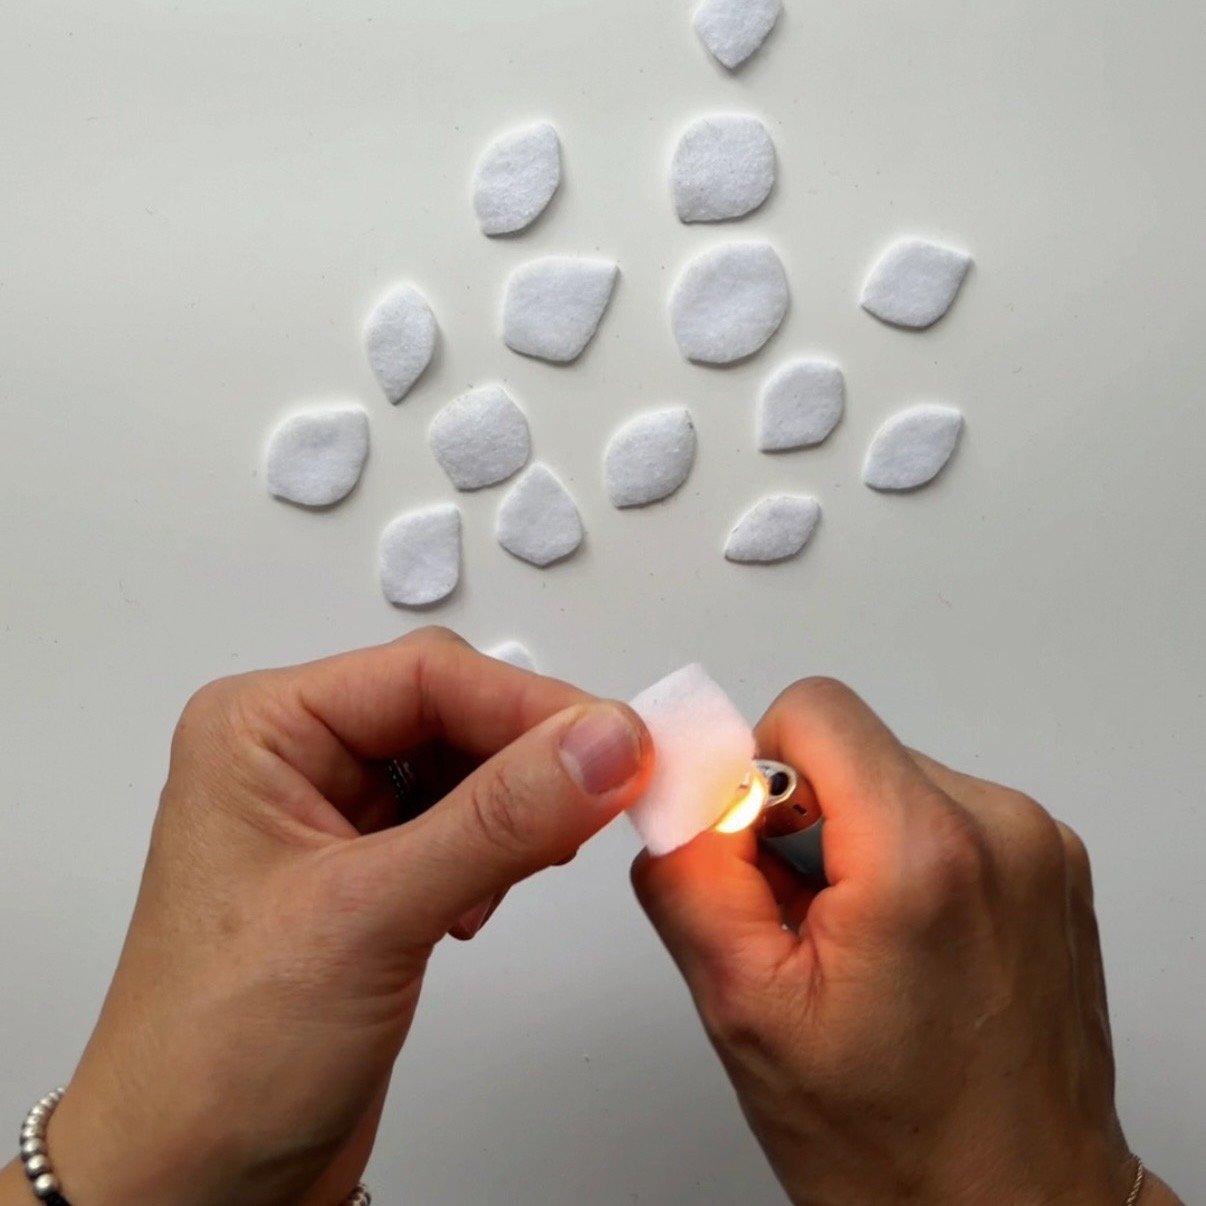
Quickly pass the flame of a lighter over the edges of the felt petals and leaves: the felt fibers slightly melt, the edges become neat, and no longer fray. Keep the flame moving and at a safe distance!
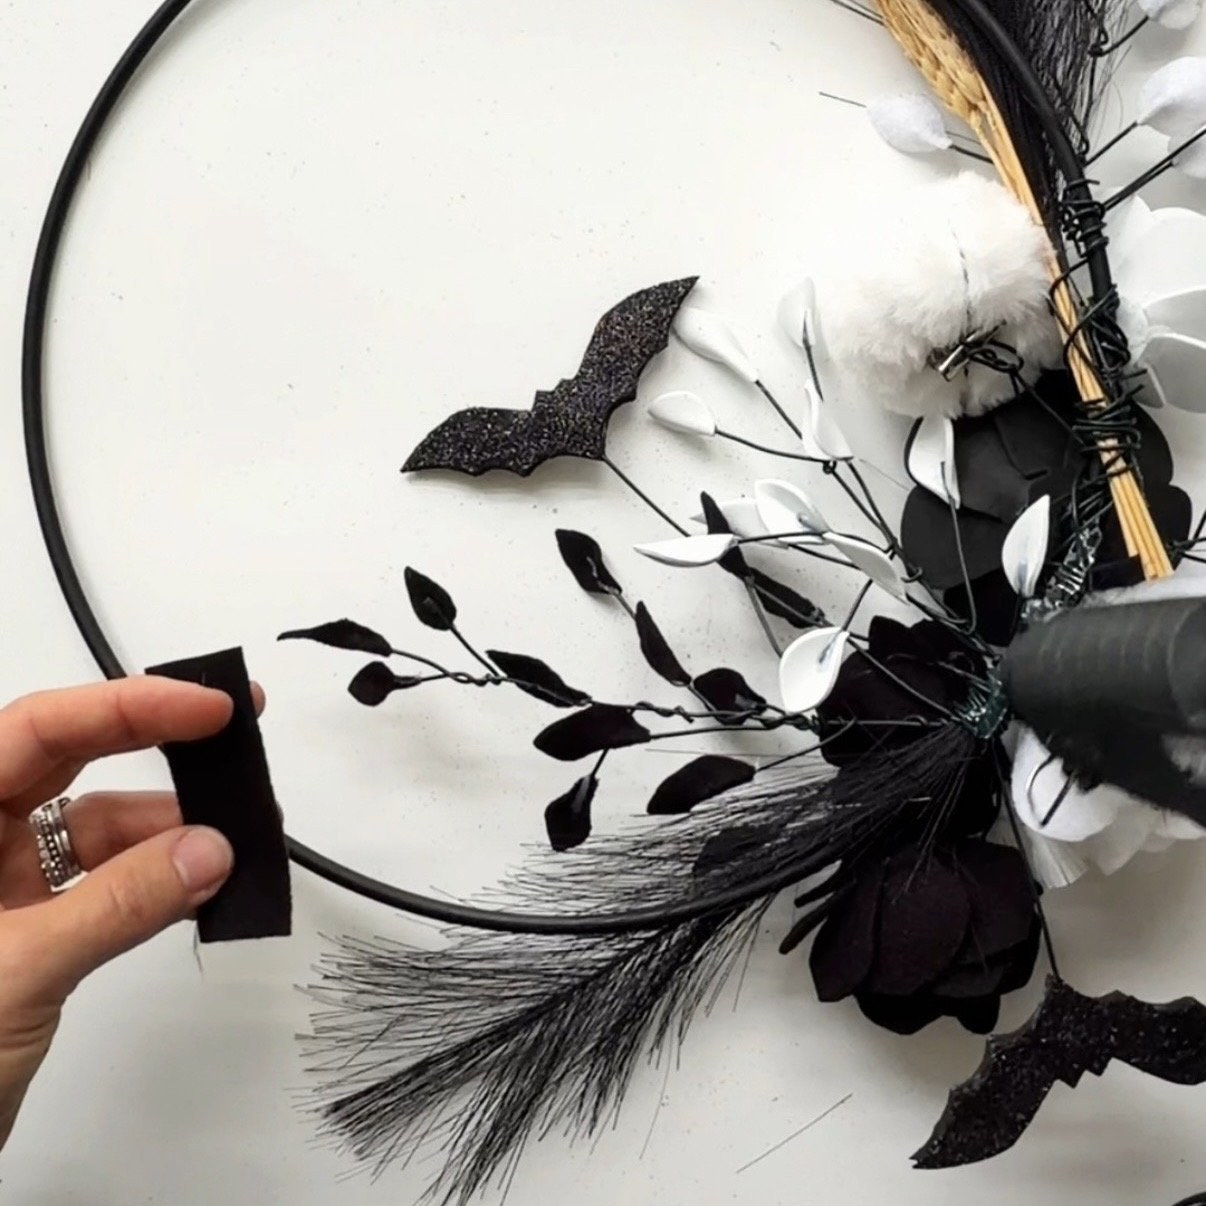
Hide the wire attachments: put a bit of hot glue on the wires at the back of the wreath and cover them with a small strip of black felt. This will reinforce the attachment of each element and prevent the wires from scratching the surface on which the wreath will be hung.
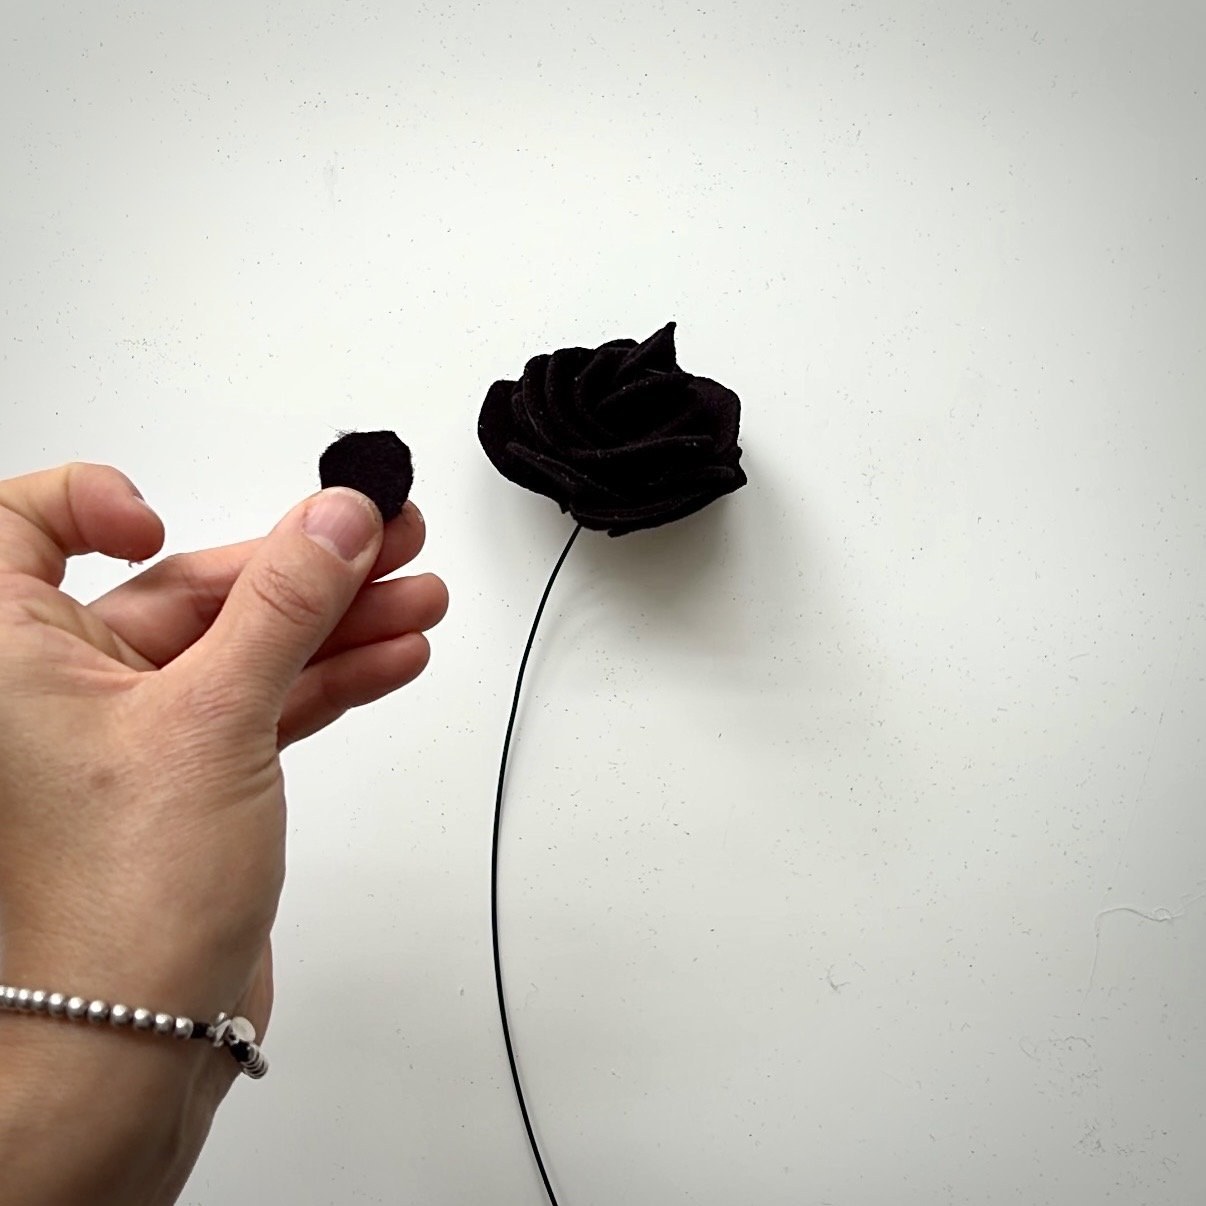
For a professional finish at the back of the roses, cut a small round of felt or foam, make a small incision in the center, thread it onto the stem, and glue it under the flower to hide the glue and petal ends.
- Work with glitter over a tray to put the excess back into the pot. Zero waste, zero glitter underfoot and throughout the house!
- Keep the decoration to one-third of the ring only: leaving space makes the wreath much more chic.
- Pass a loop of fishing line through the ring to hang the wreath on the door: the line becomes invisible and the wreath seems to float.
And there you have a Halloween wreath that plays the elegance card rather than fright! It can be made in an afternoon and can even stay on your door until the end of autumn. Just remove the bats after the 31st.
And you, are you more of a black and white team like here, or do you stick to the good old pumpkin orange?
Credits:
Photos, video, writing & production: Chloé Comte
Video music: Vitamin String Quartet
Tips and advice


